I have been in love with rocks for the last few years.
Before that, I used mulch like most people do. It looks fine when you first put it down. But then spring comes, and half of it is gone. What is left is faded and discolored. It looks worse than nothing. I had to redo it every year and it still never looked right.
So I went to the box store and bought stones. I spent hundreds of dollars. Bag after bag. Those smaller, uniform stones you see in some of the photos — those came from the store. It was expensive, but I could see right away that rocks were the better choice. They do not wash away. They do not fade. They just sit there and look good, year after year.
Once I understood the cost of doing this right, I started paying attention differently. Free rocks were not just a nice idea. They were worth real money.
Then someone on Facebook wanted to get rid of their rocks.
His name was Mike. I saw the post, reached out, and showed up with my minivan the next weekend. Mike was a really nice guy. Every time I came to load, he would come outside and talk. We talked about the rocks, about the yard, about all kinds of things. Three weekends in a row, I filled the back of the van, drove home, and added to the pile in the driveway. Mike was happy to see them go. I was very happy to take them.
For the formal borders I also bought Belgian blocks and stone-look concrete blocks from Lowes. They give a clean straight edge. When those ran out, Mike’s larger river rocks took over as the natural border — laid end to end, they hold their own. Together, bought blocks and free rocks went around the front beds, the side yards, the backyard, and the mailbox base.
Three Saturdays of hauling. Three Sundays of laying. At the end, it looks nice.
Step-by-Step
1. Loading the minivan
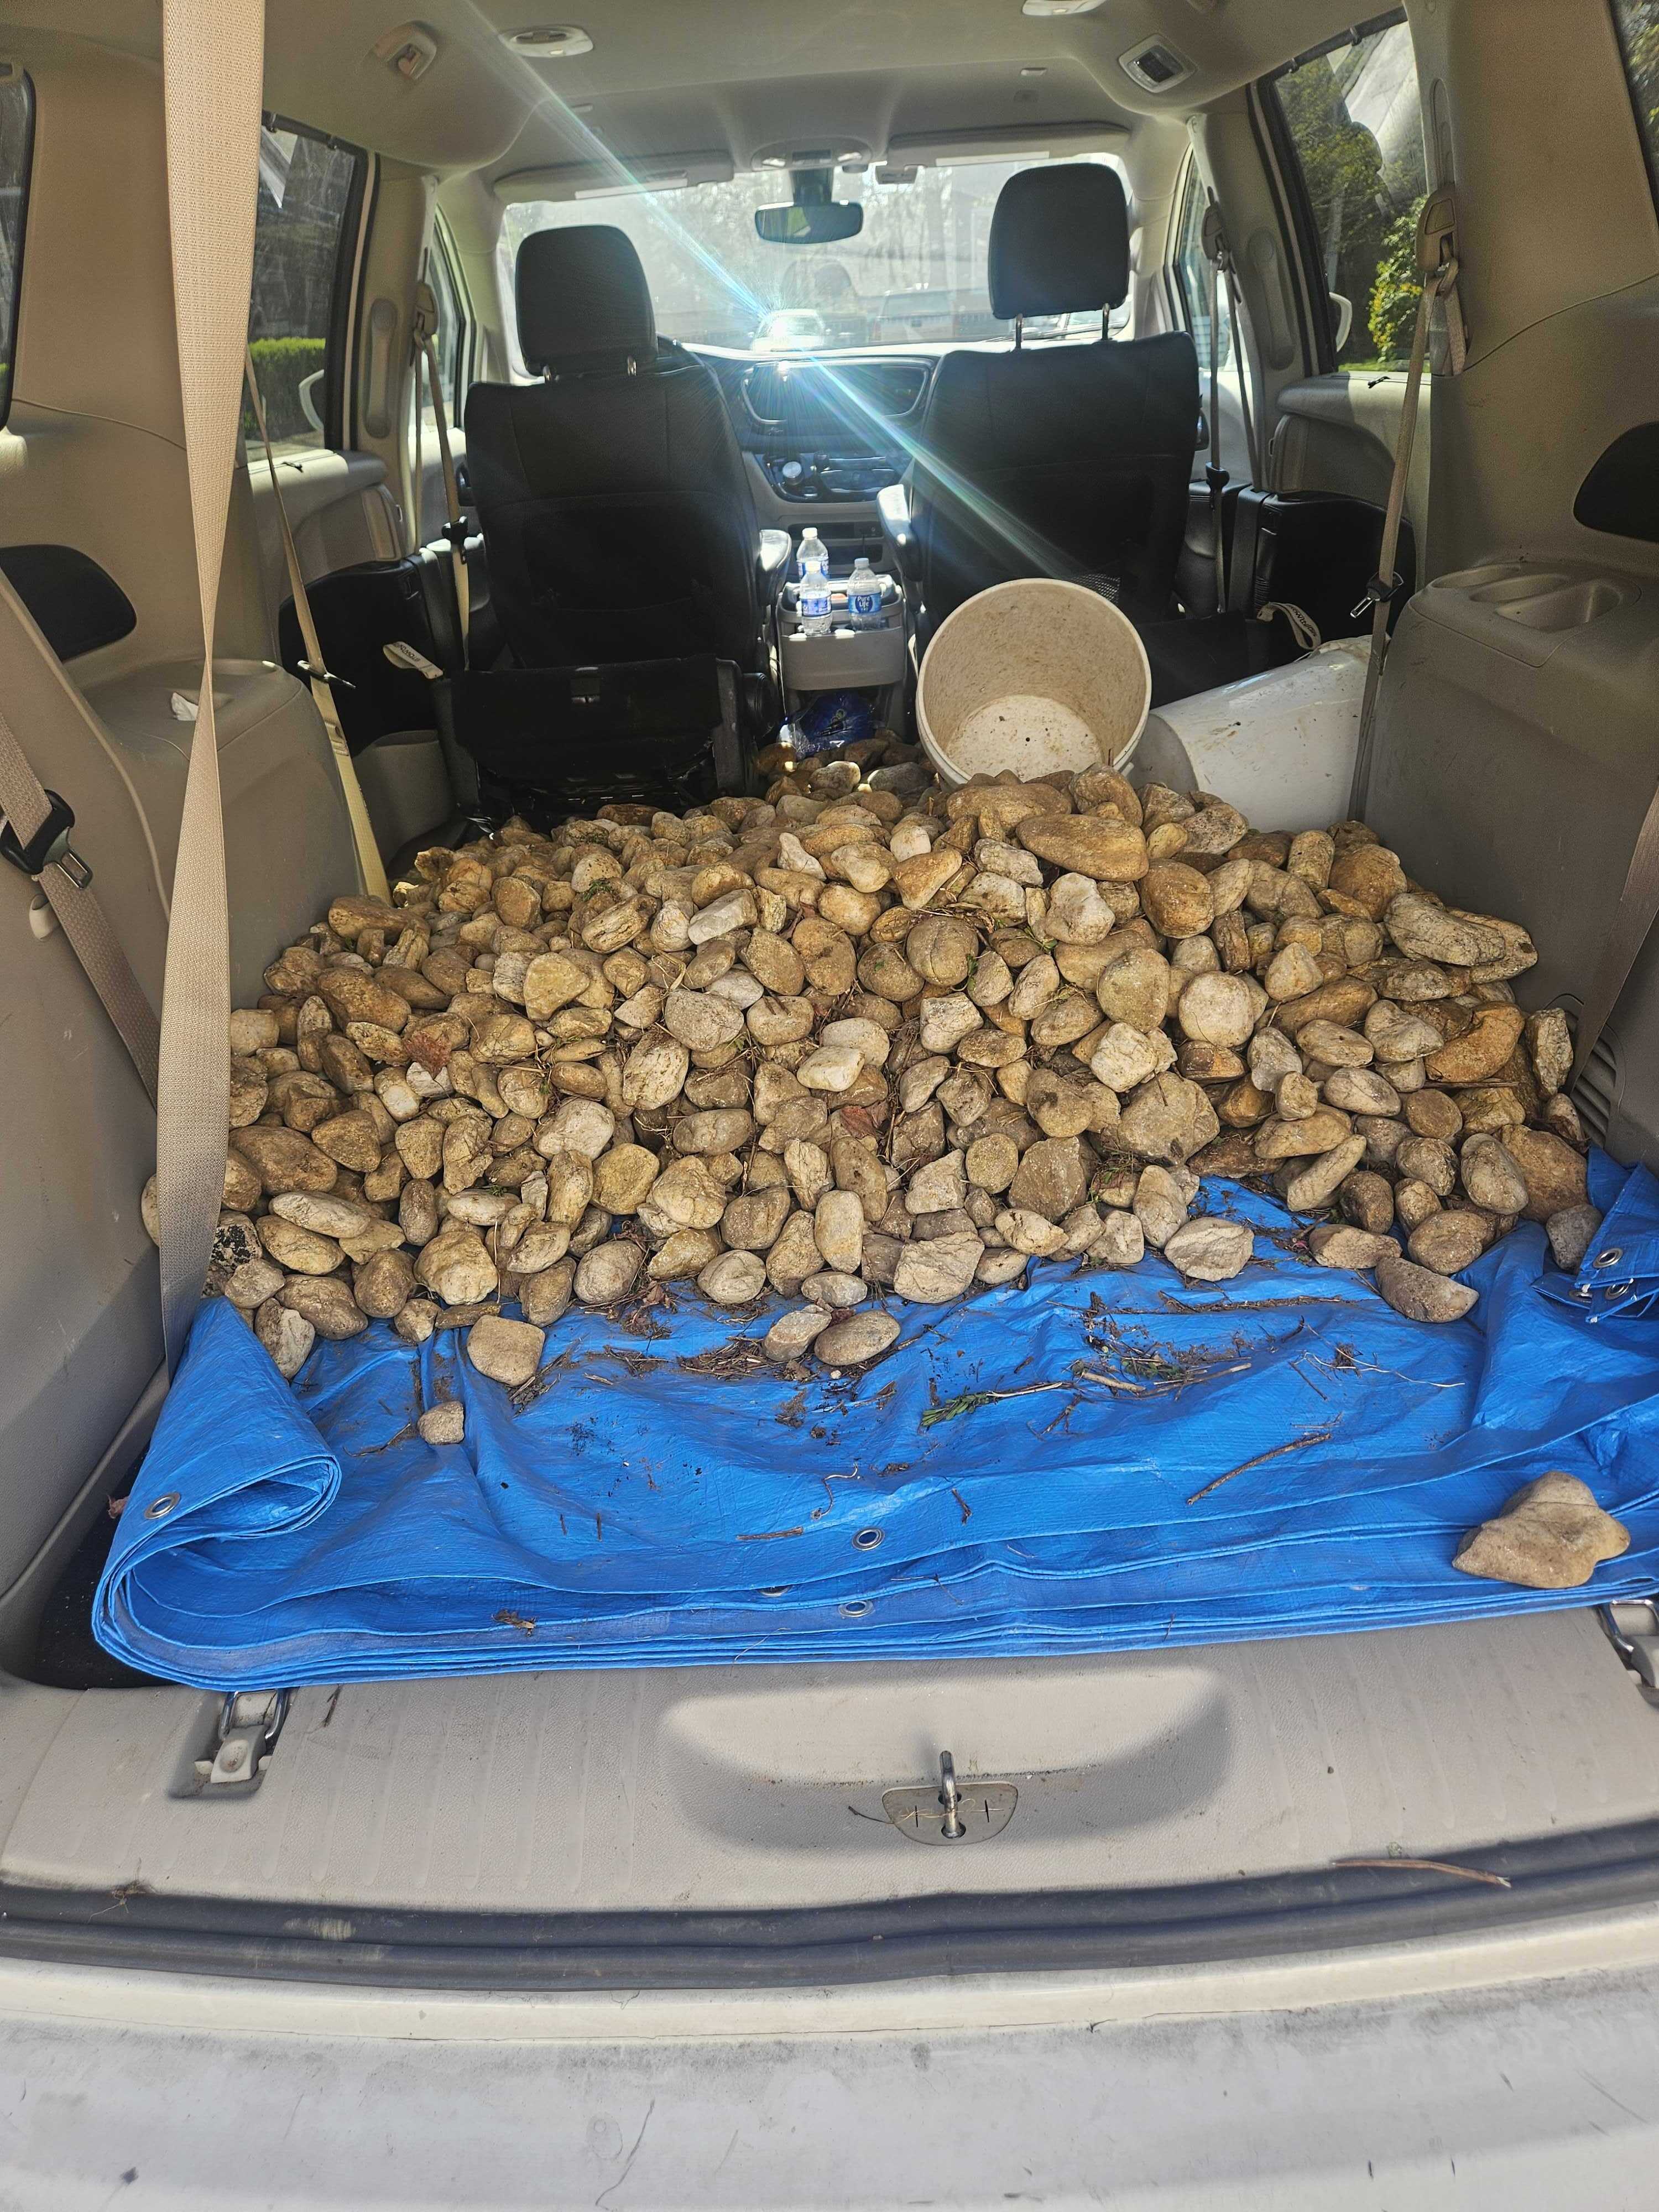
Each trip, the back of the minivan was loaded with river rocks on a blue tarp. Mike came outside every time I showed up and we talked while I loaded. Good guy. All the rocks cost me was time and a sore back.
2. Moving rocks by wagon
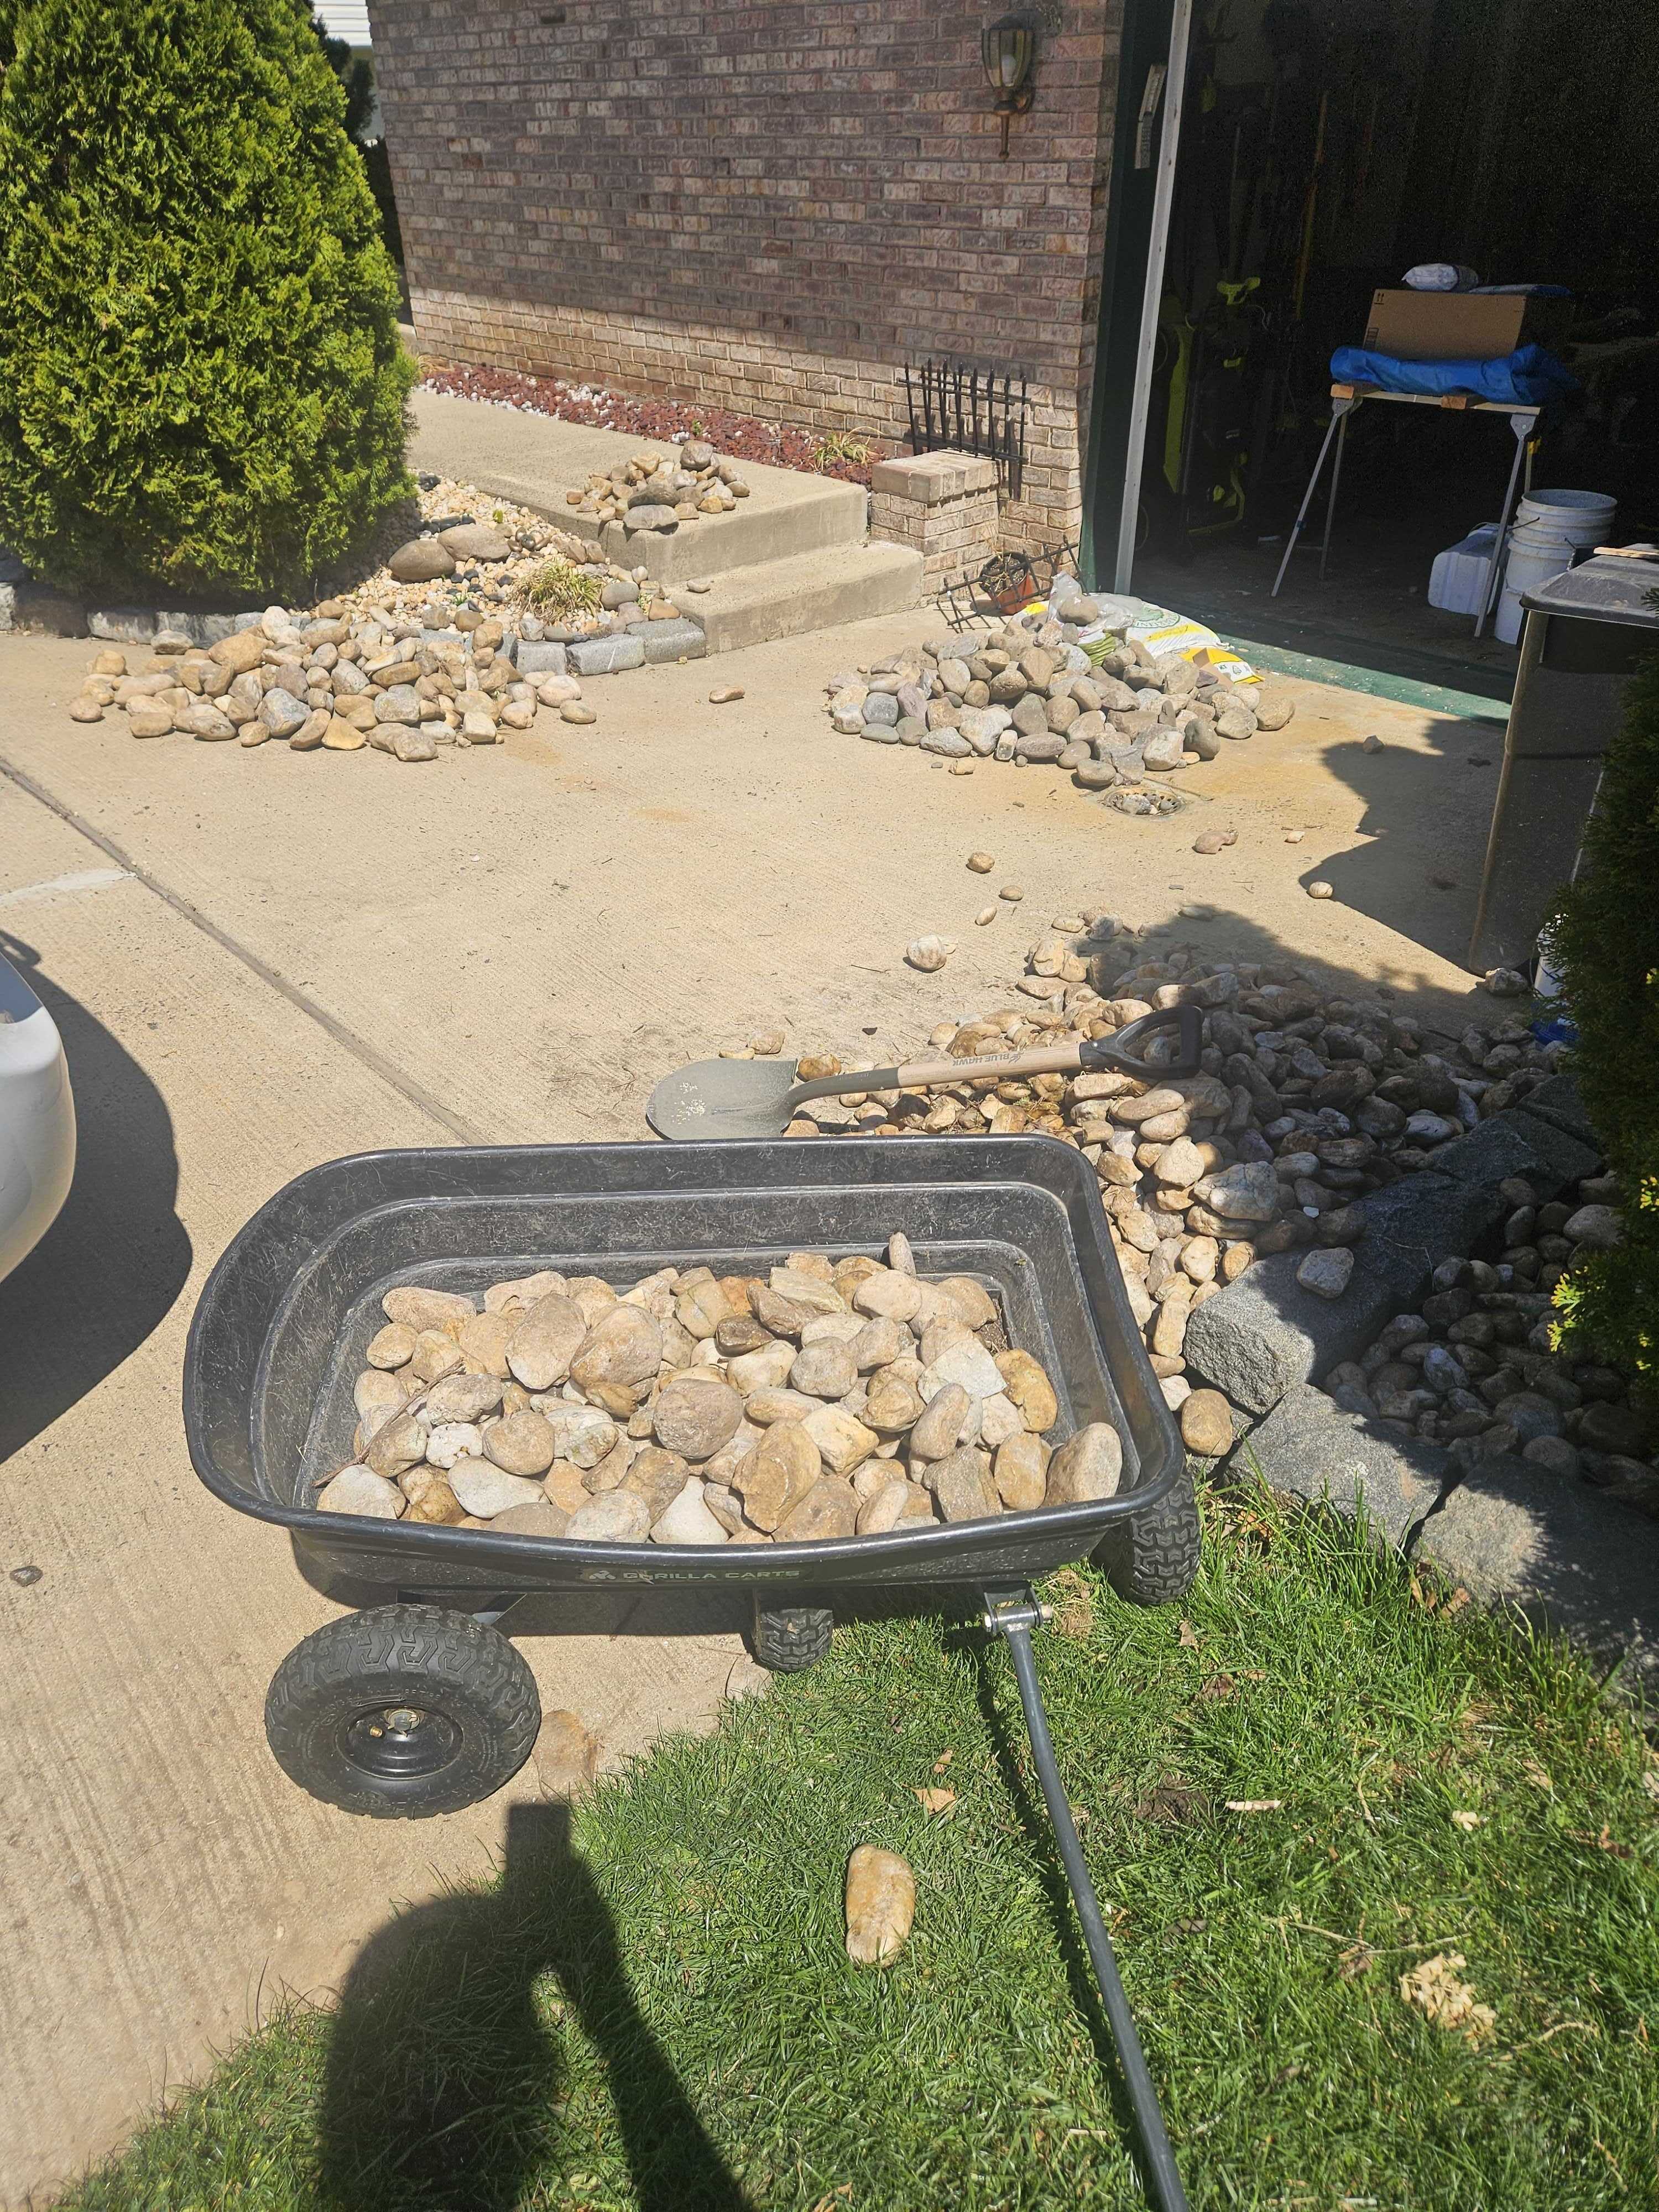
Once unloaded, the rocks moved around the property by wagon. You can see the piles in the background, sorted near where they would be used. A wagon saves you a hundred trips carrying rocks by hand.
3. Laying the first border blocks
I started with Belgian blocks and stone-look concrete blocks from Lowes. They give a clean, straight edge. When the Lowes blocks ran out, the big hauled rocks took over as the border.
4. The side yard bed
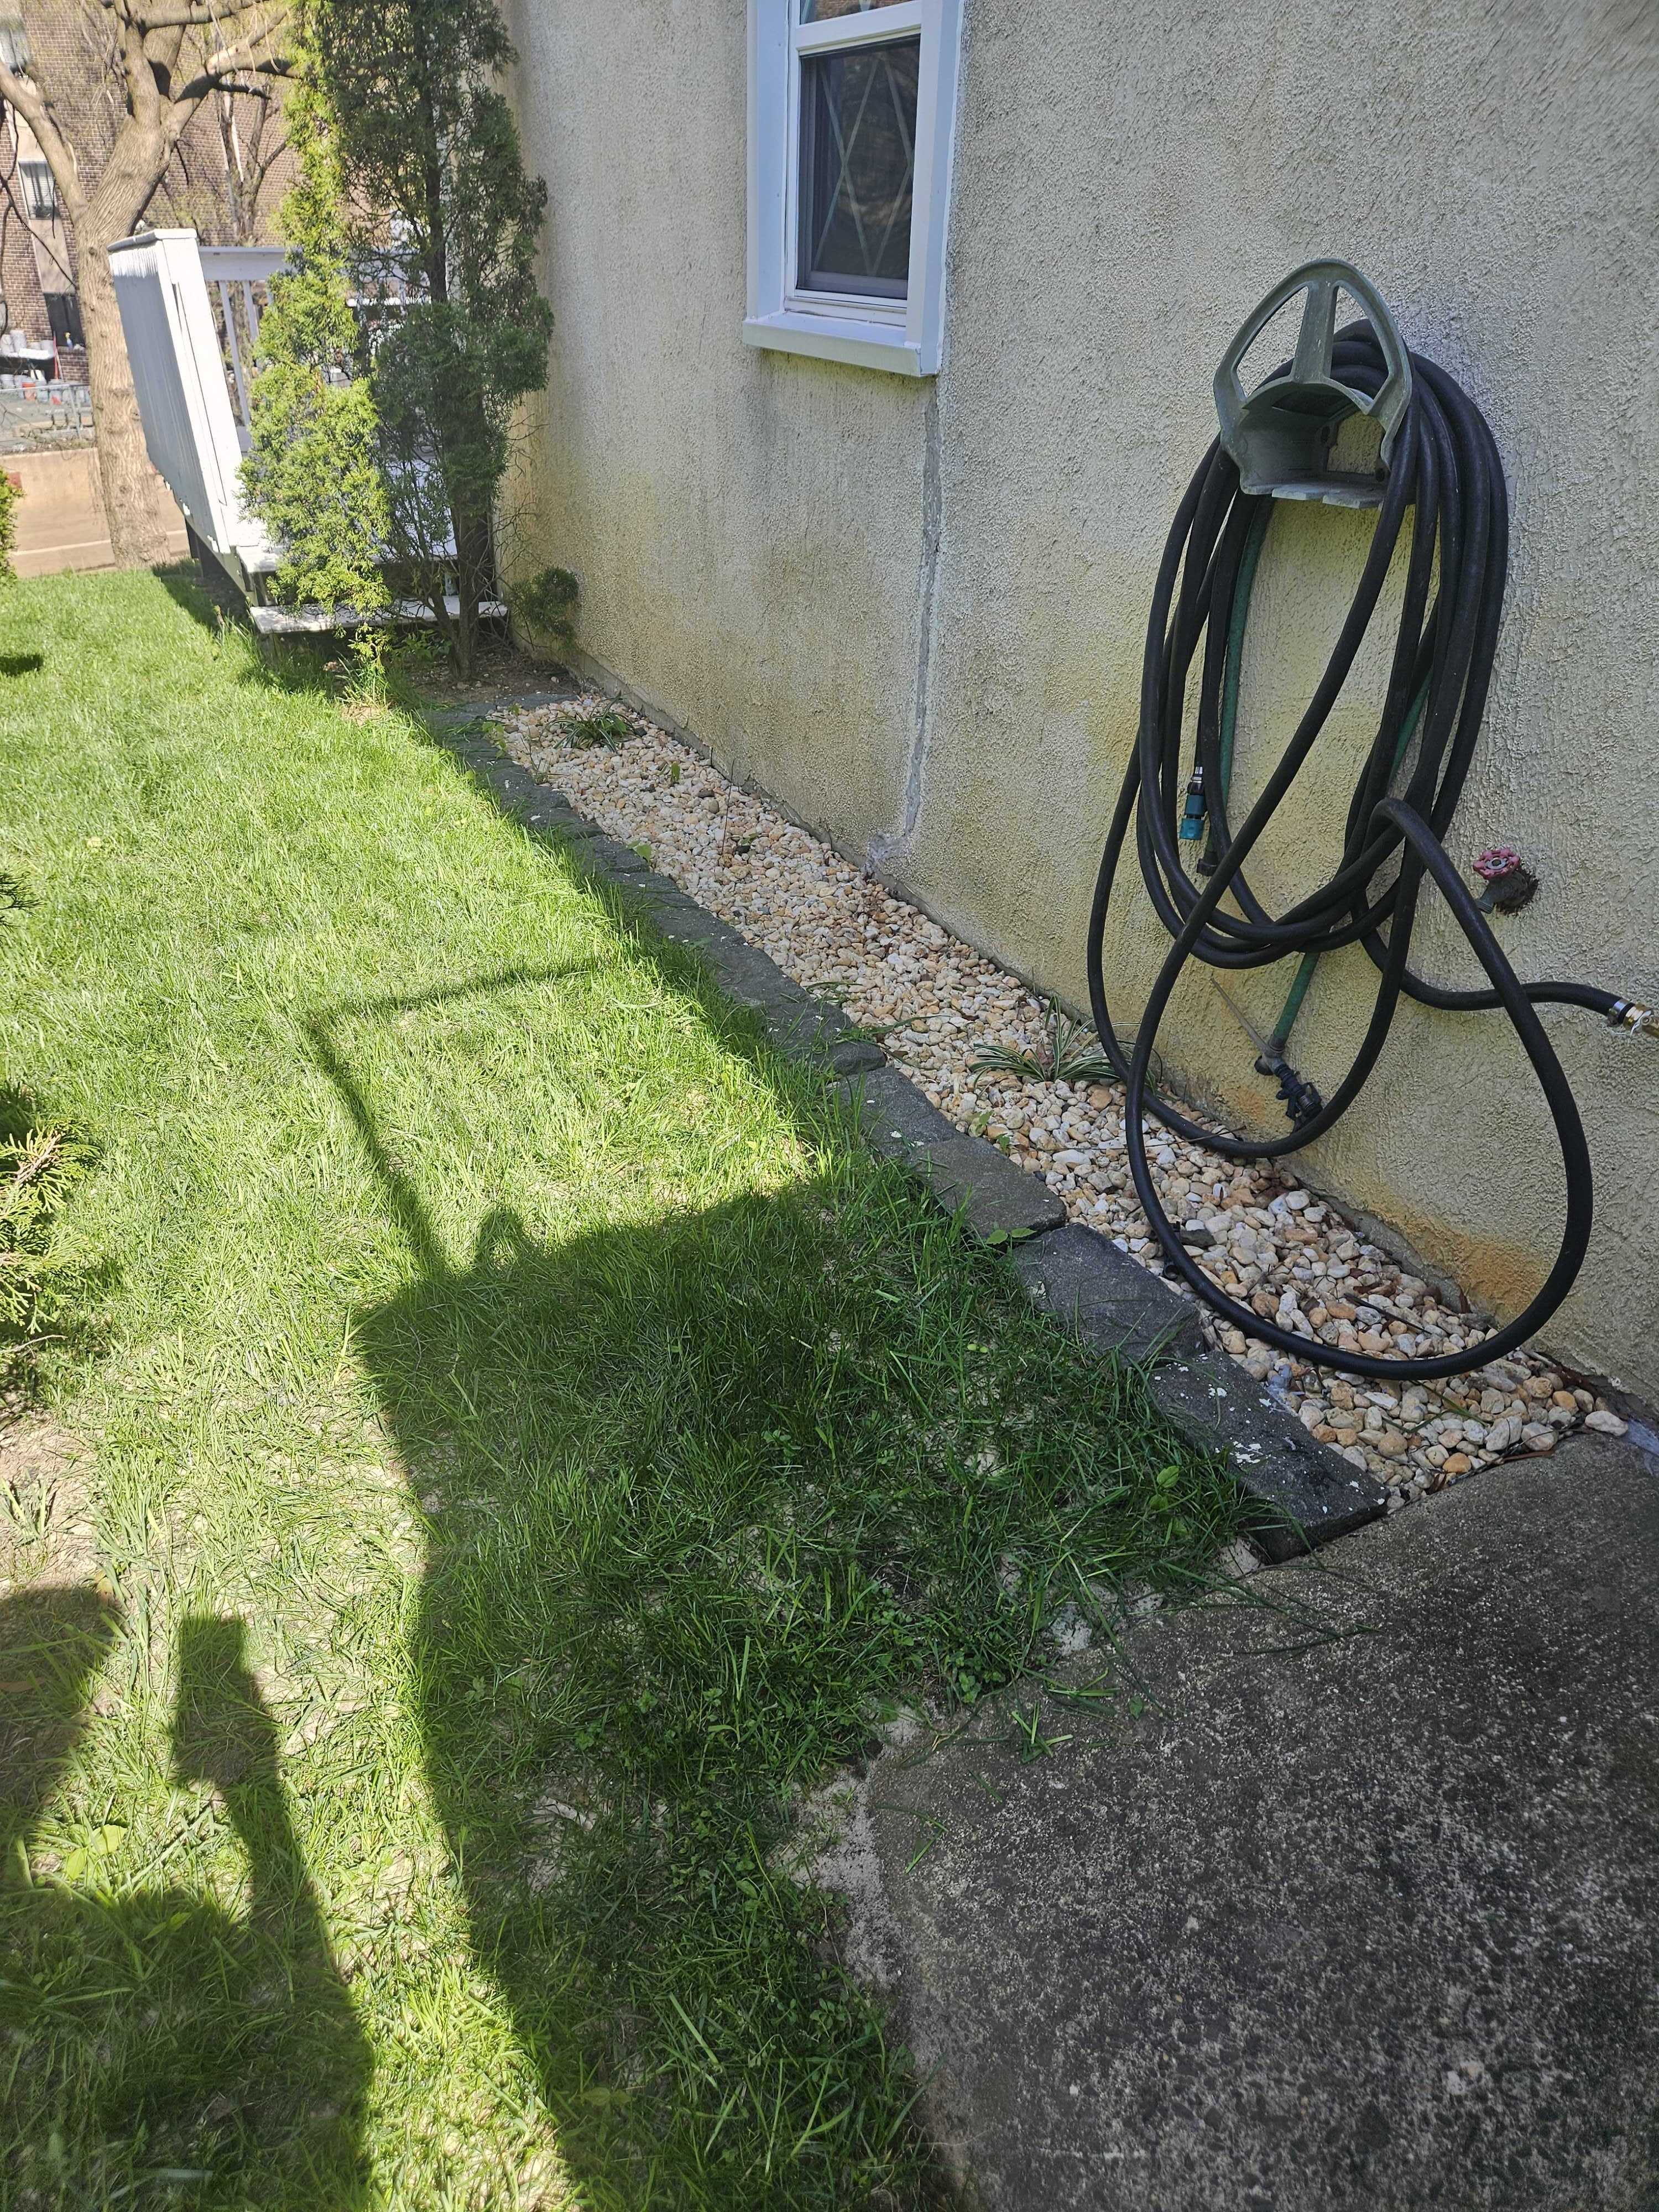
Block border on the edge, river rock fill behind it. Getting this line straight took patience — you set one block, step back, adjust, repeat. But once it is right it stays right.
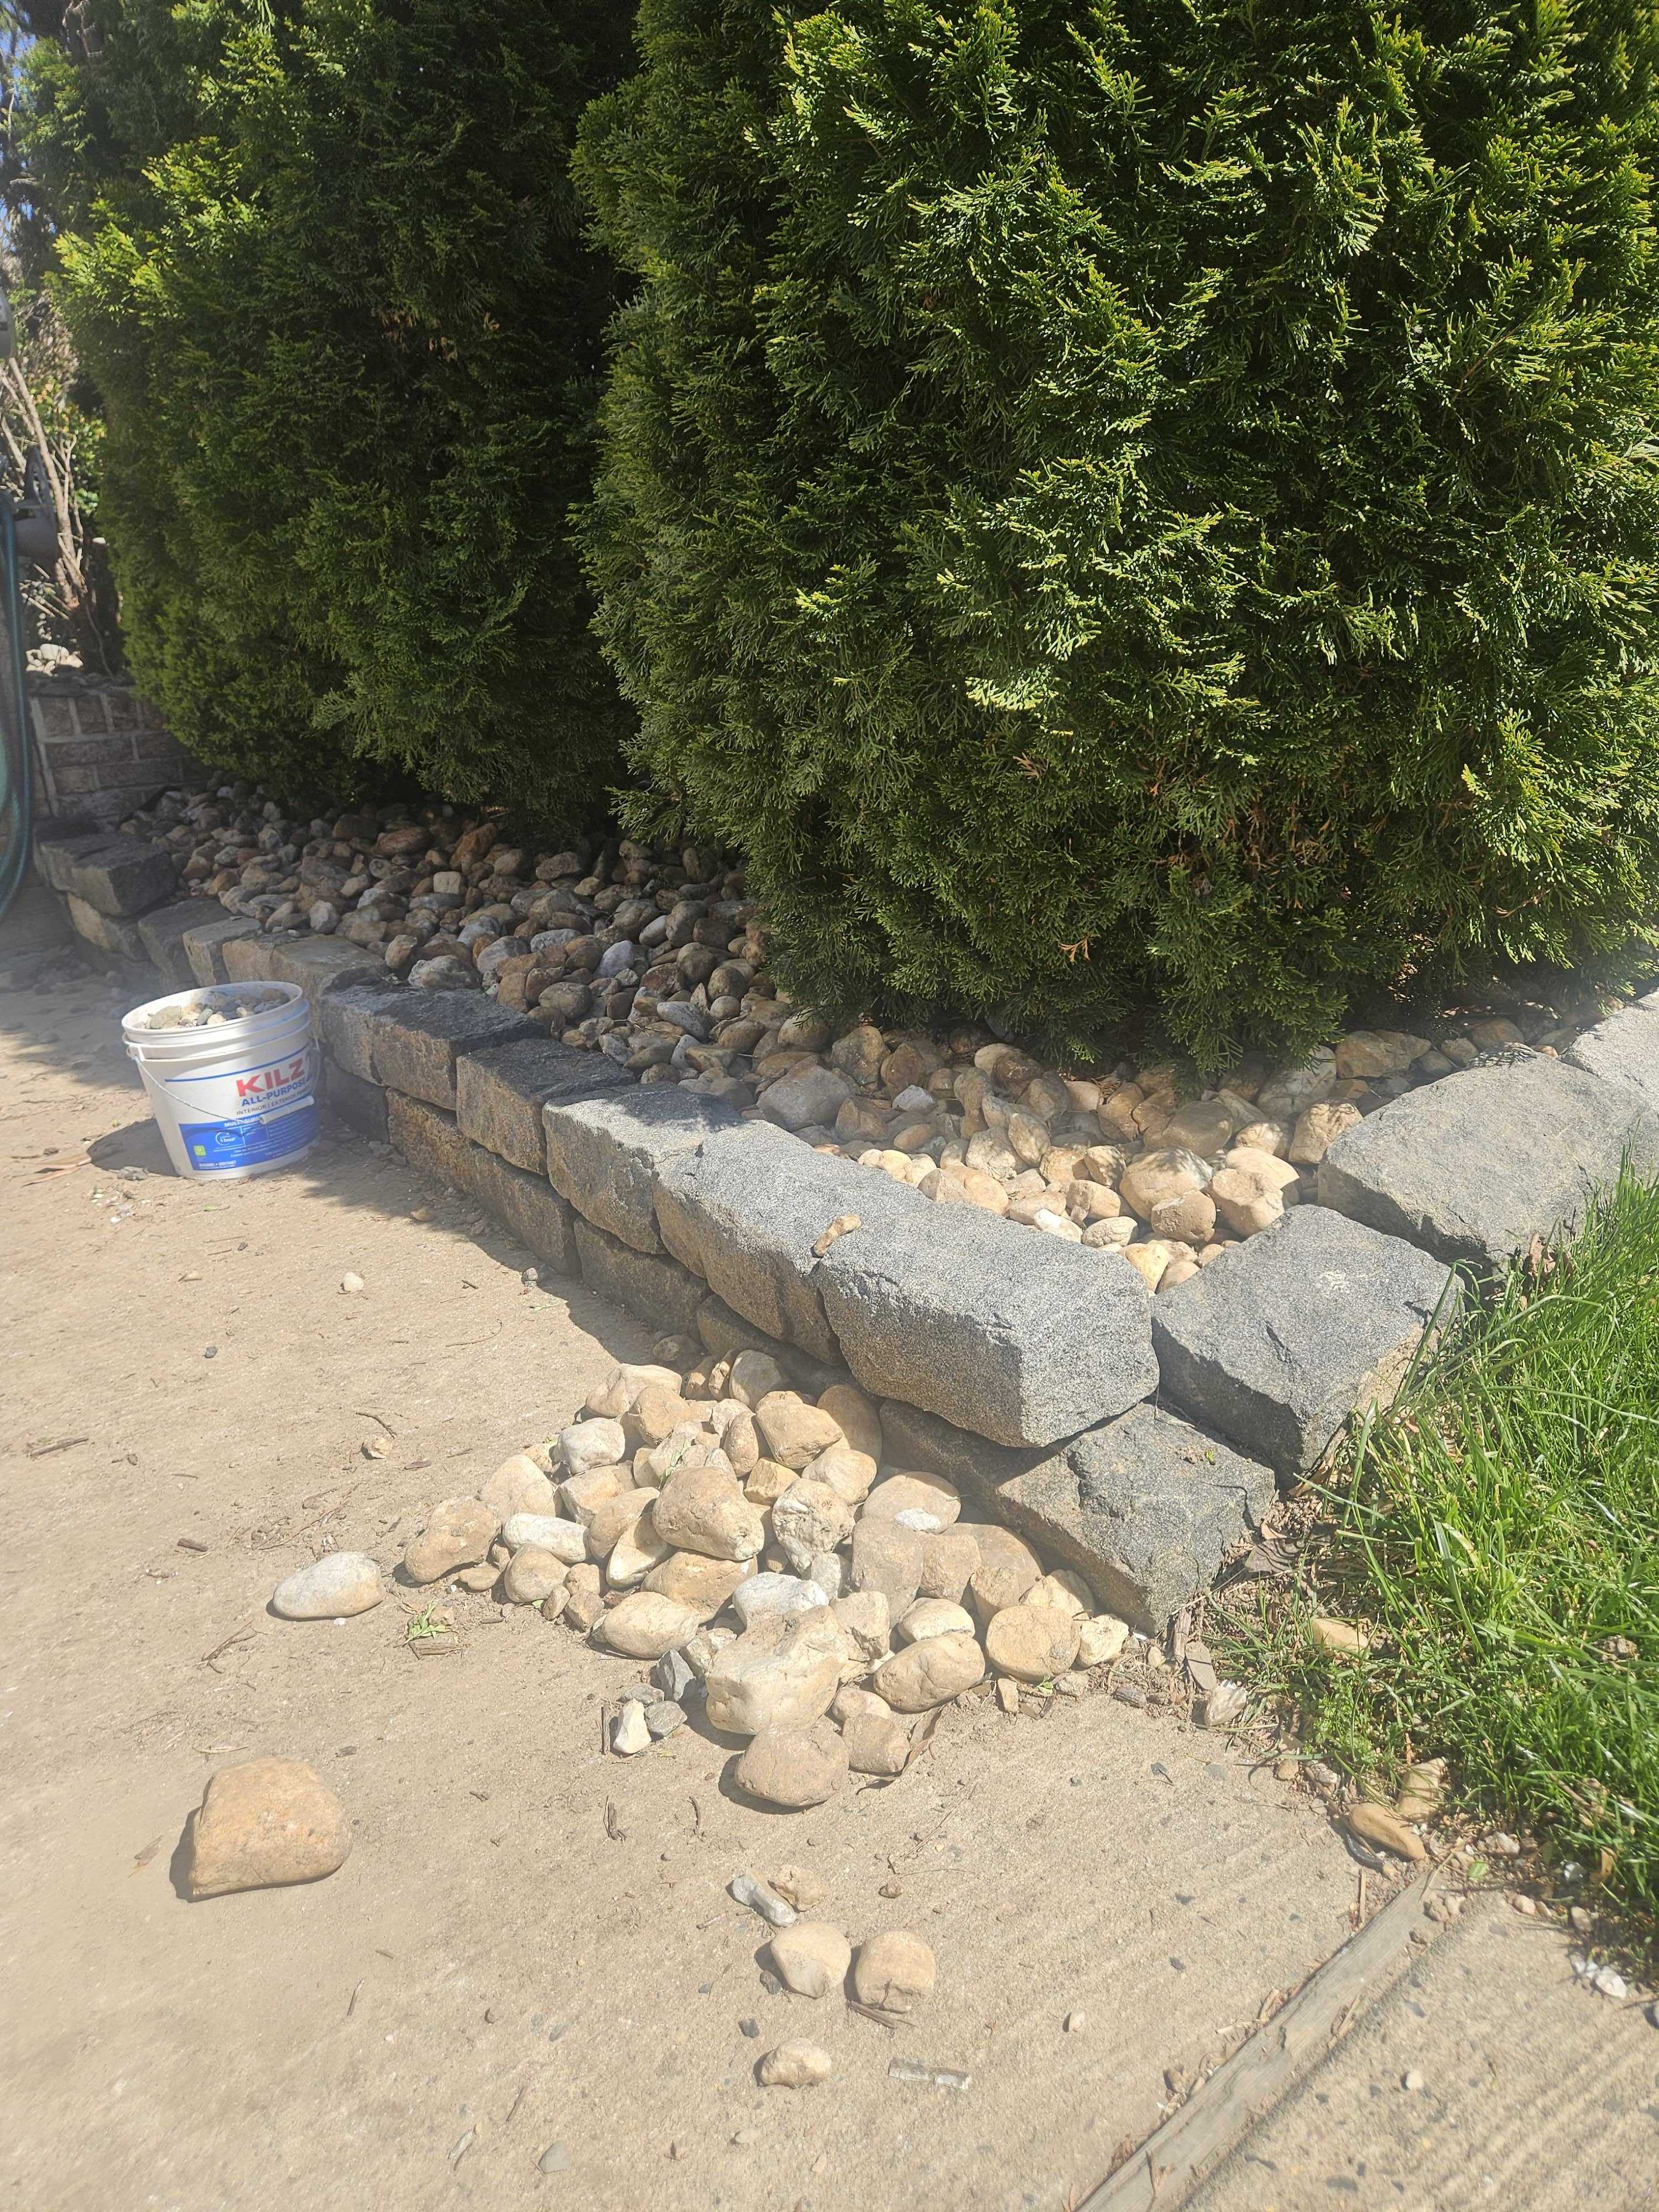
5. The arborvitae bed
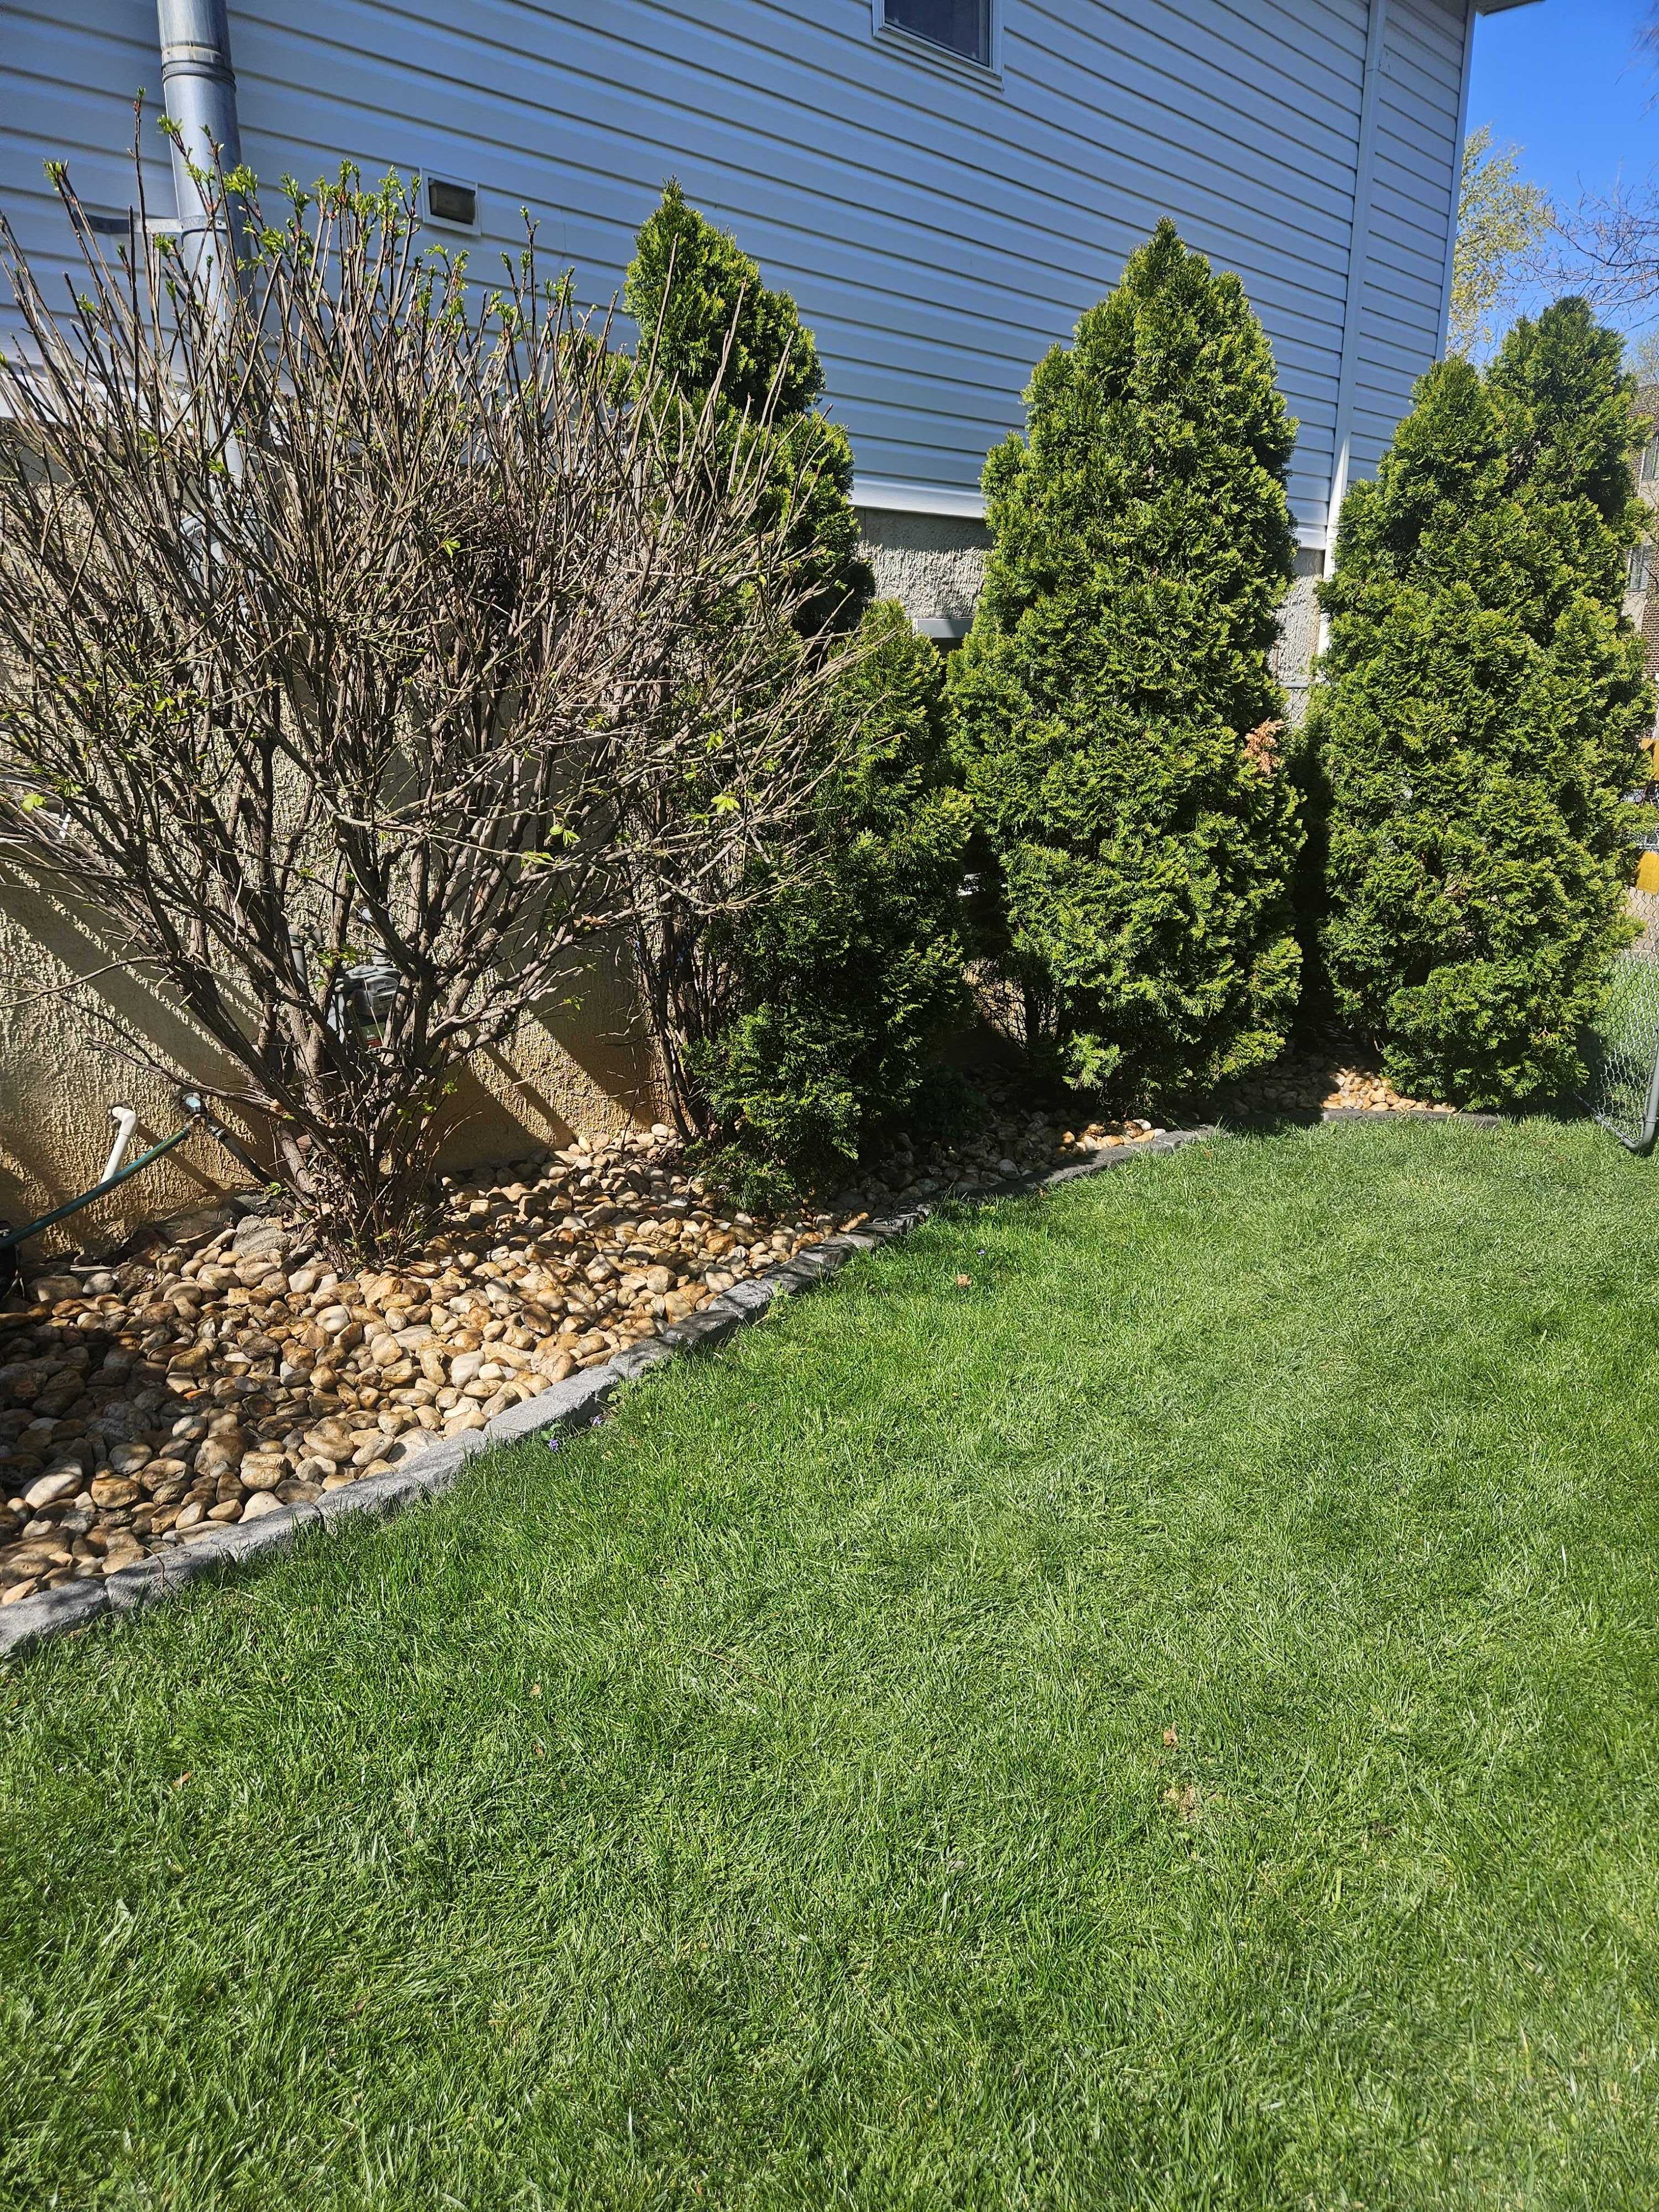
The block border holds the edge and the river rocks fill the bed. The arborvitae have a proper bed now instead of just growing out of bare ground. The whole side of the house looks good now.
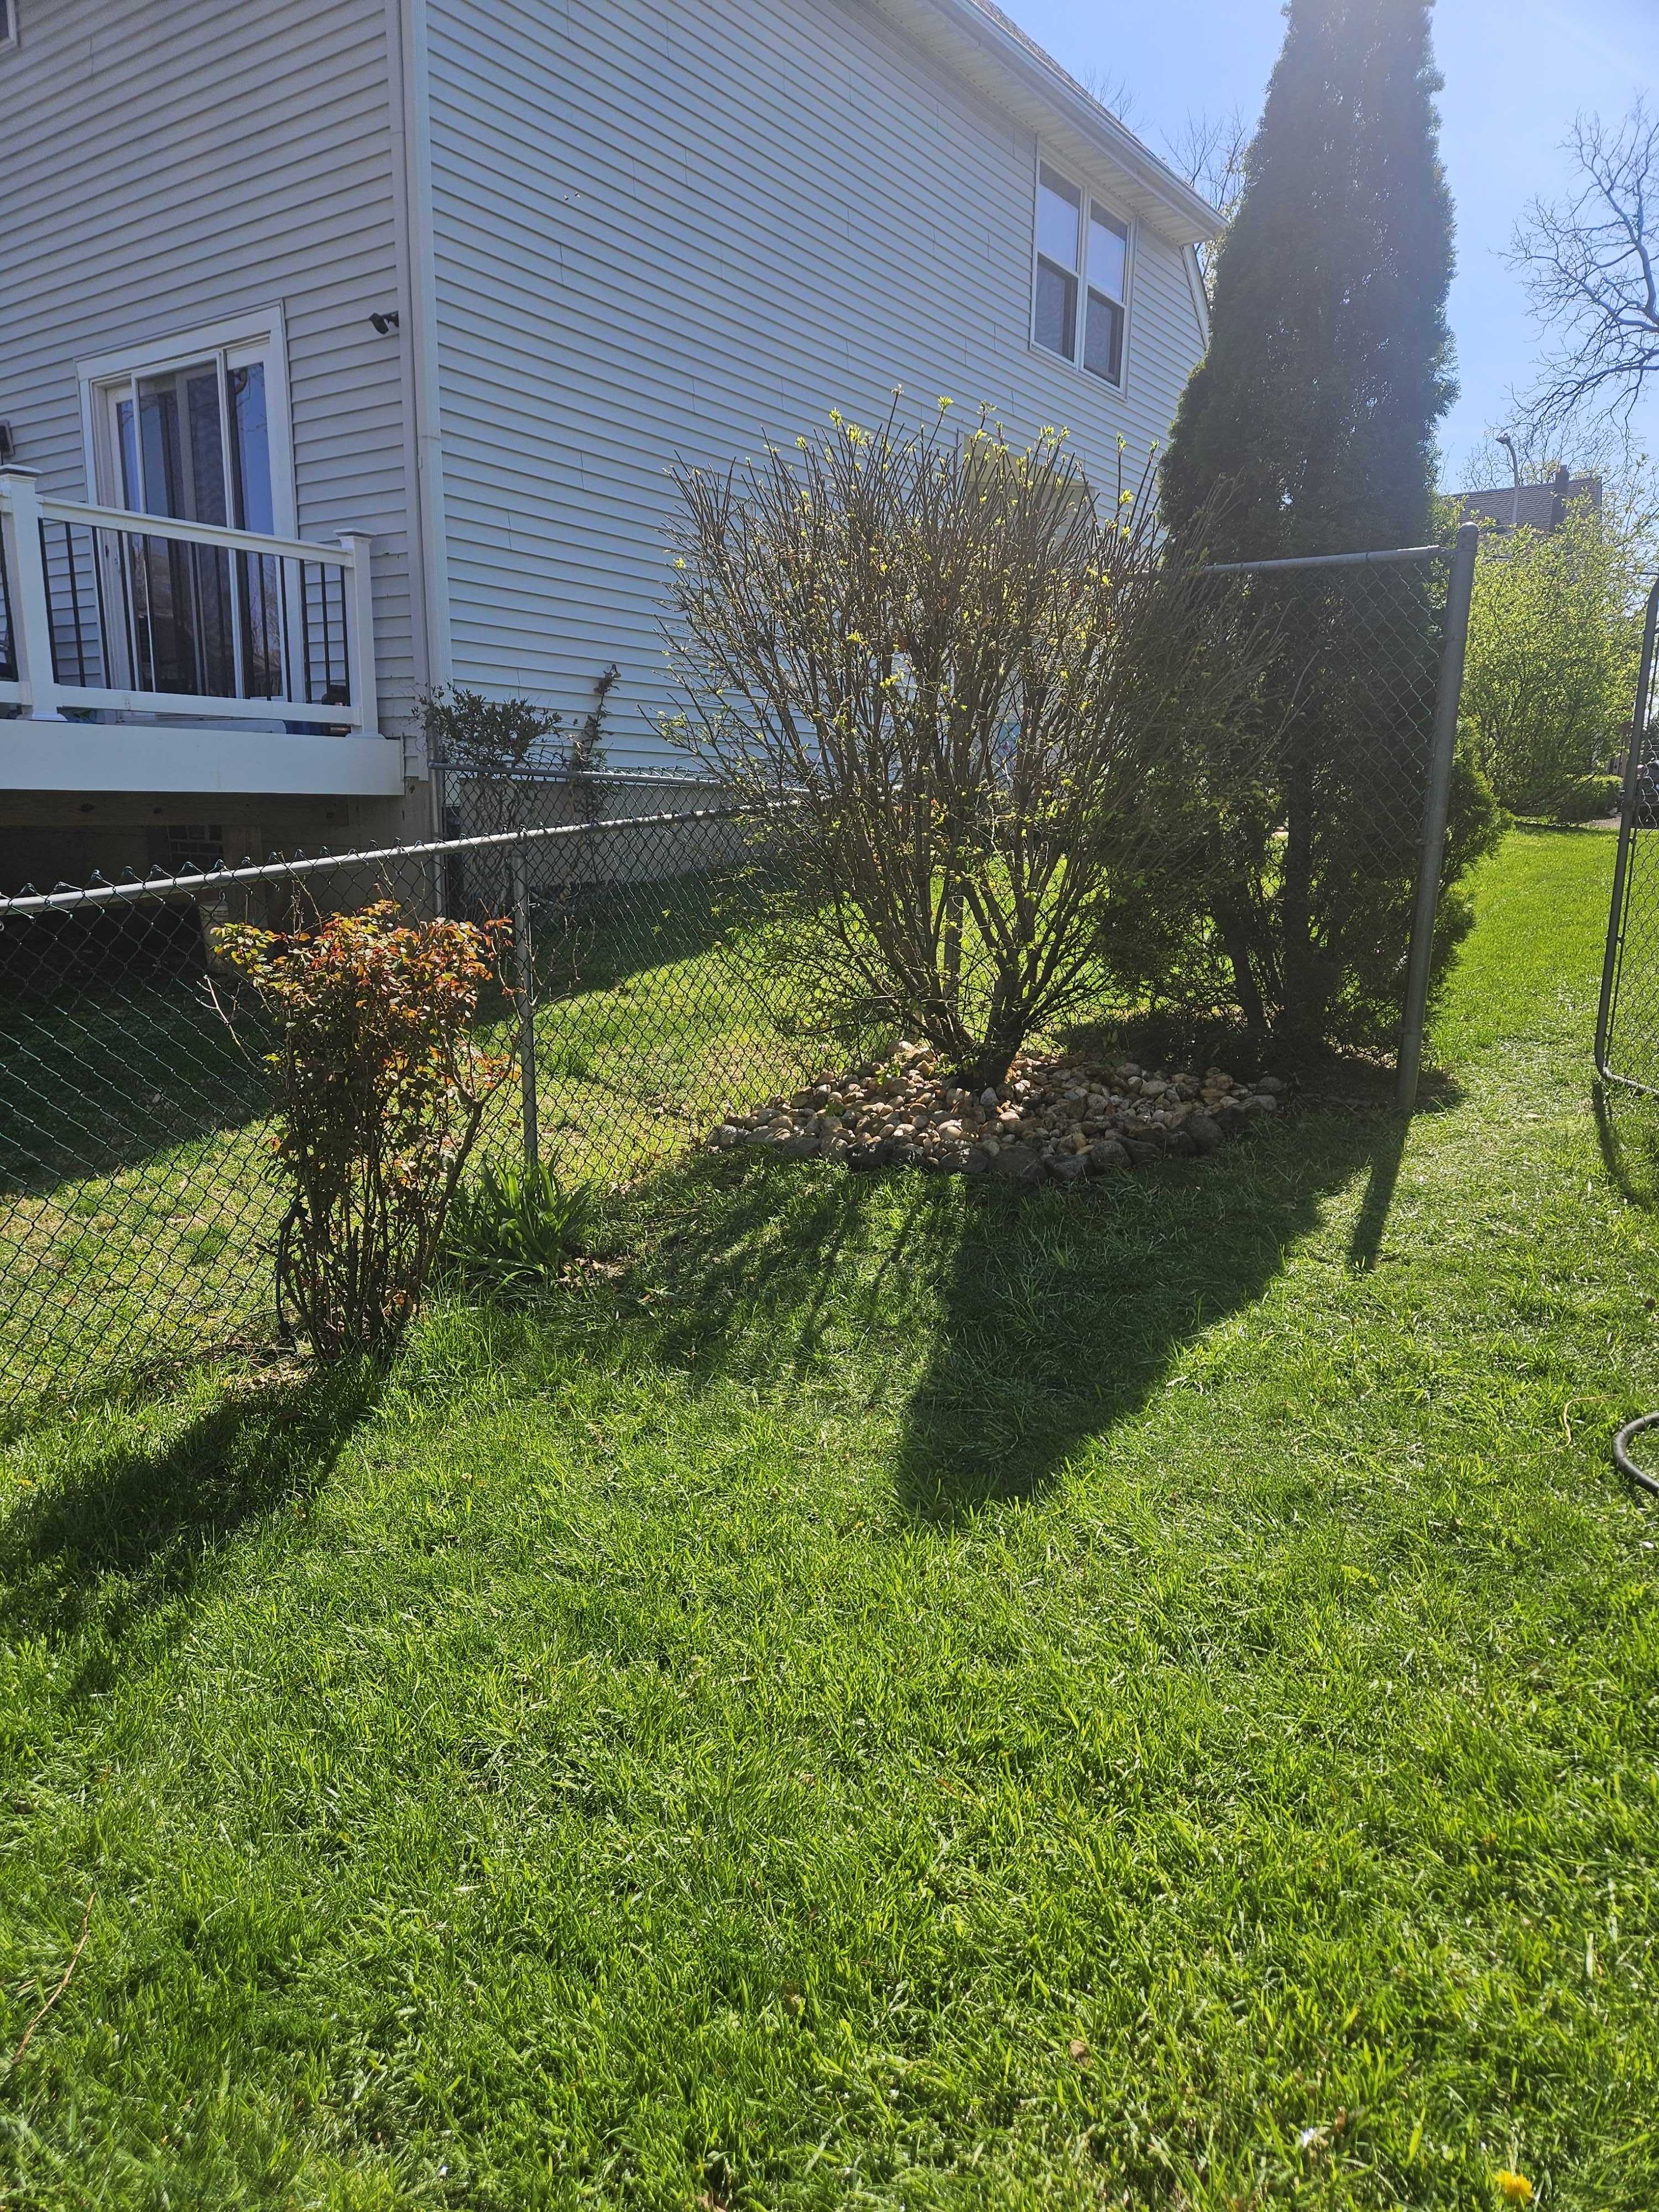
6. The backyard fence line
The shrubs along the fence had no definition — just growing out of plain grass. Rocks went around the base of each one. Small change, big difference.
7. The gate corner
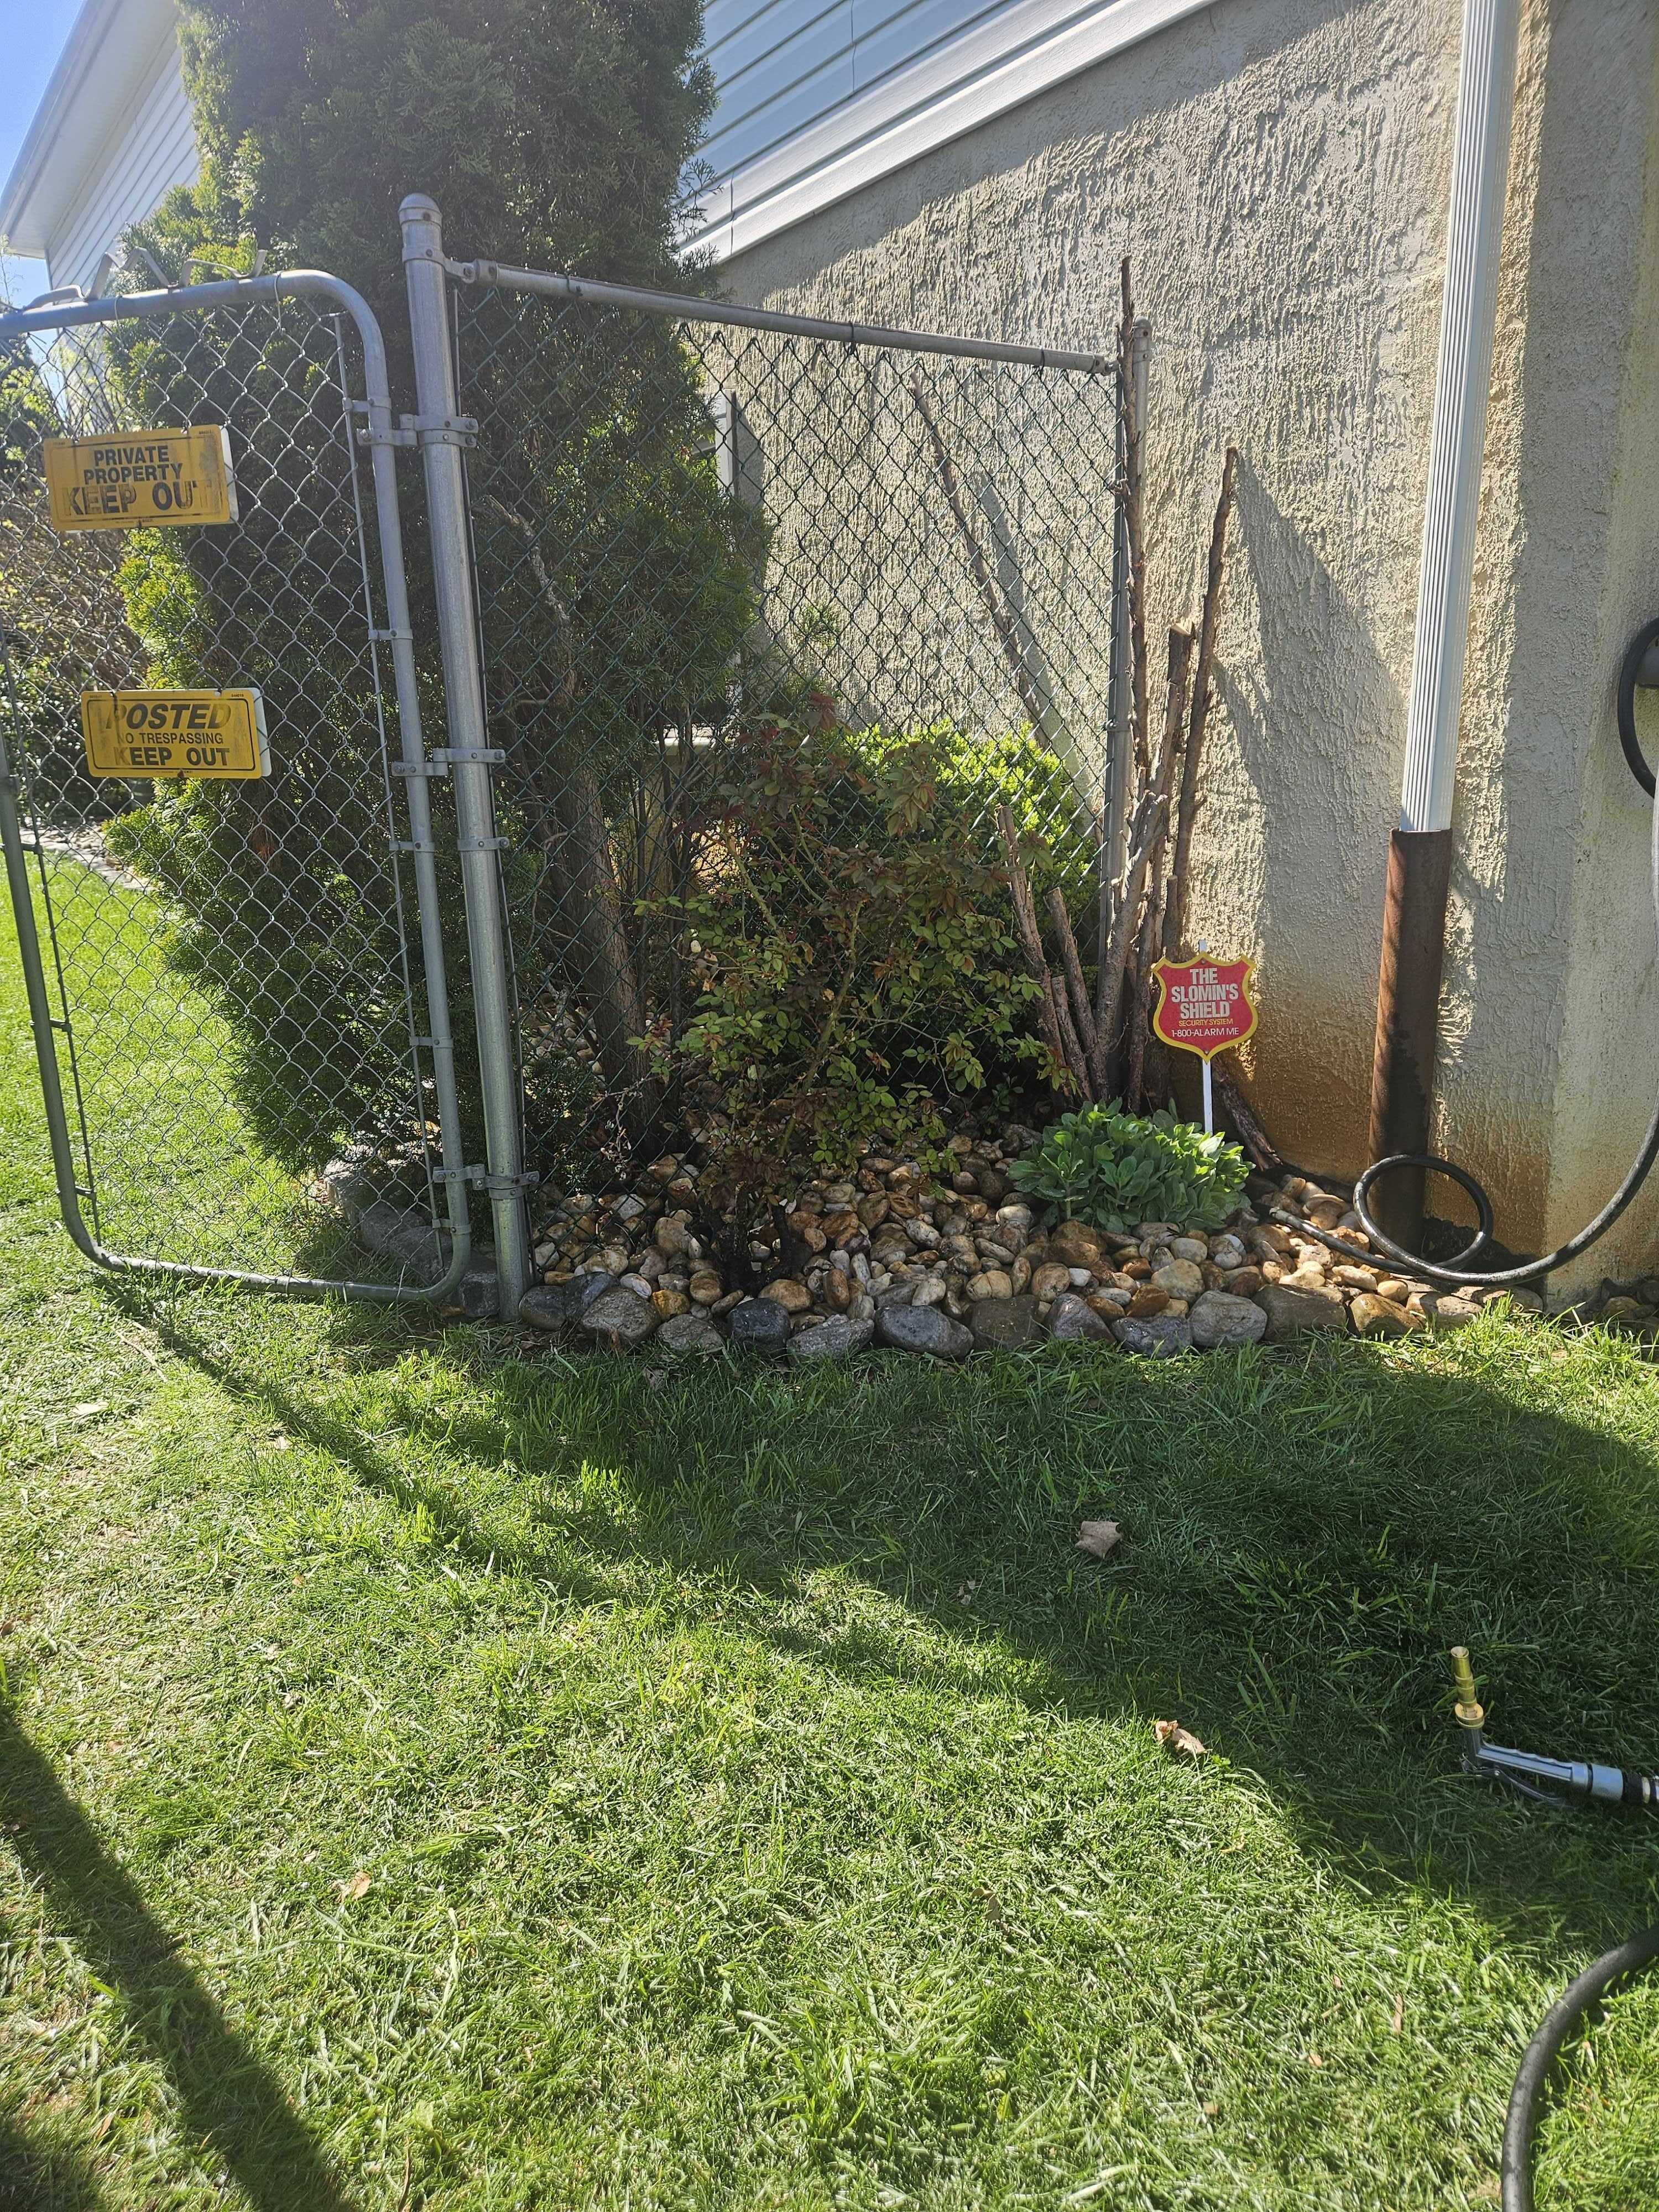
The corner by the gate was tight and hard to mow. Rocks fixed it. No mowing, no weeding, no bare dirt. Just a corner that takes care of itself.
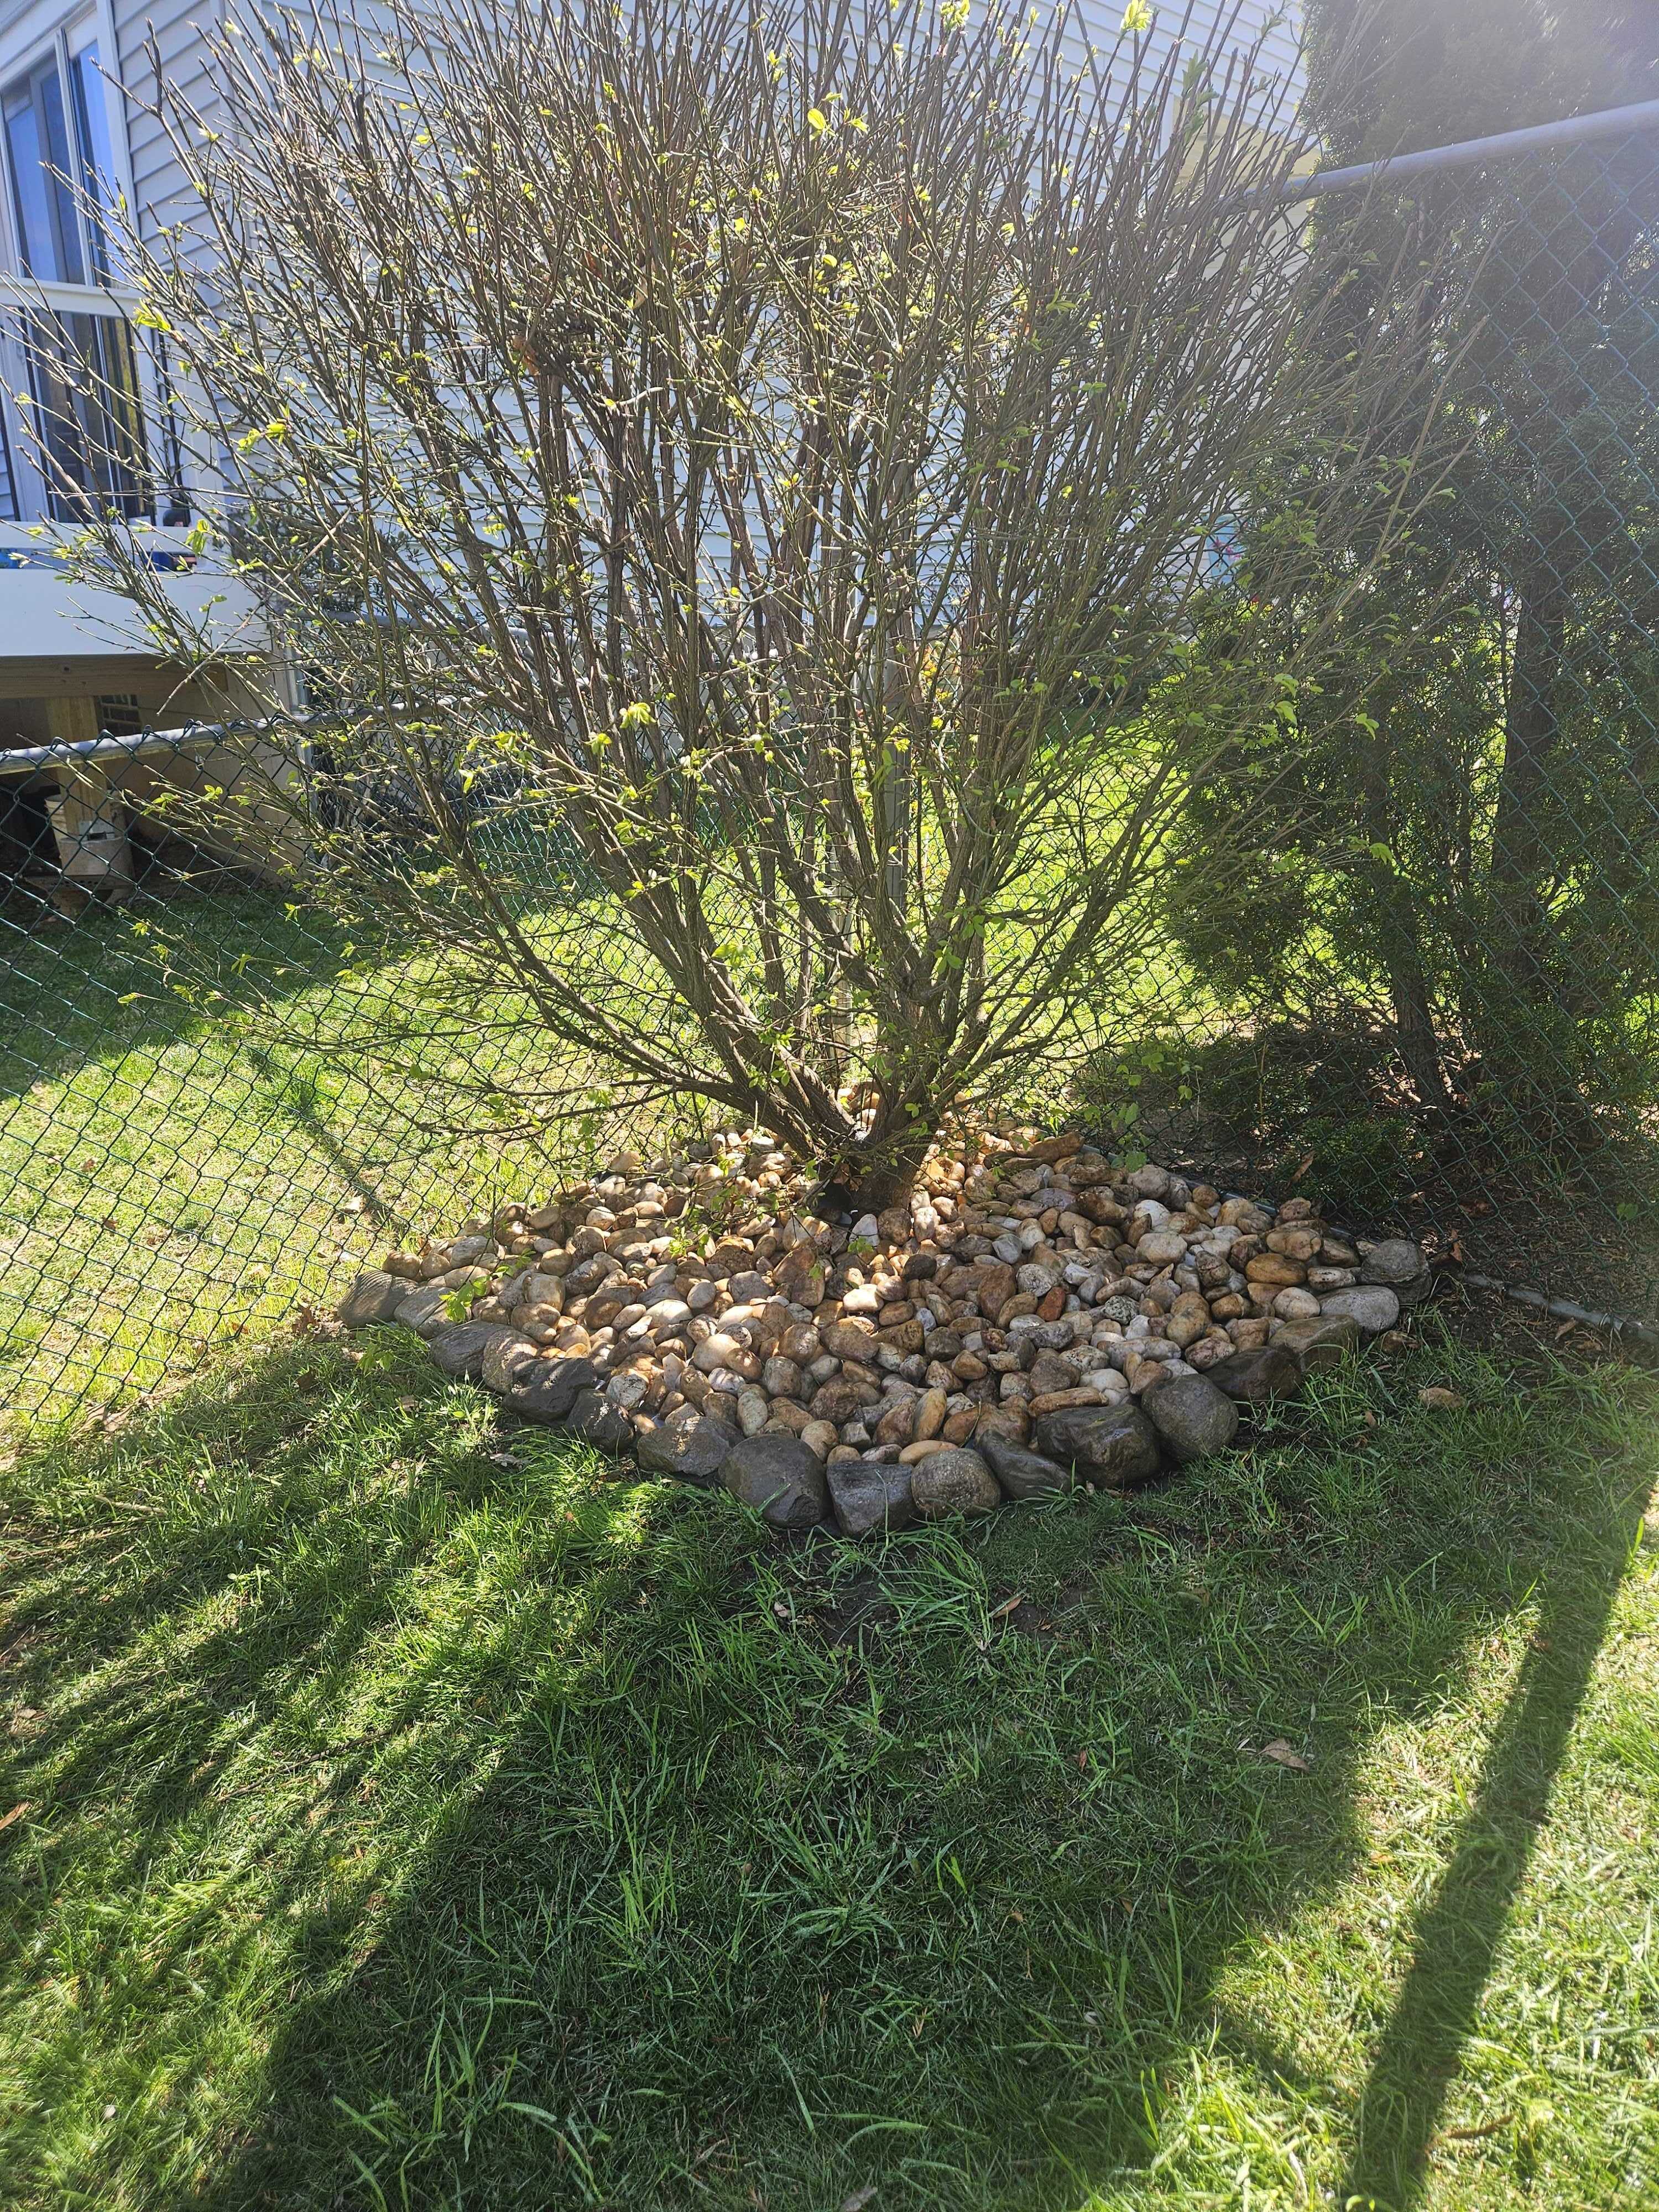
8. Rocks around the bush
For the solo bush in the lawn I laid the larger river rocks in a circle around the base. No blocks here — the big rounded rocks look natural and give the bush its own space.
9. The front bed
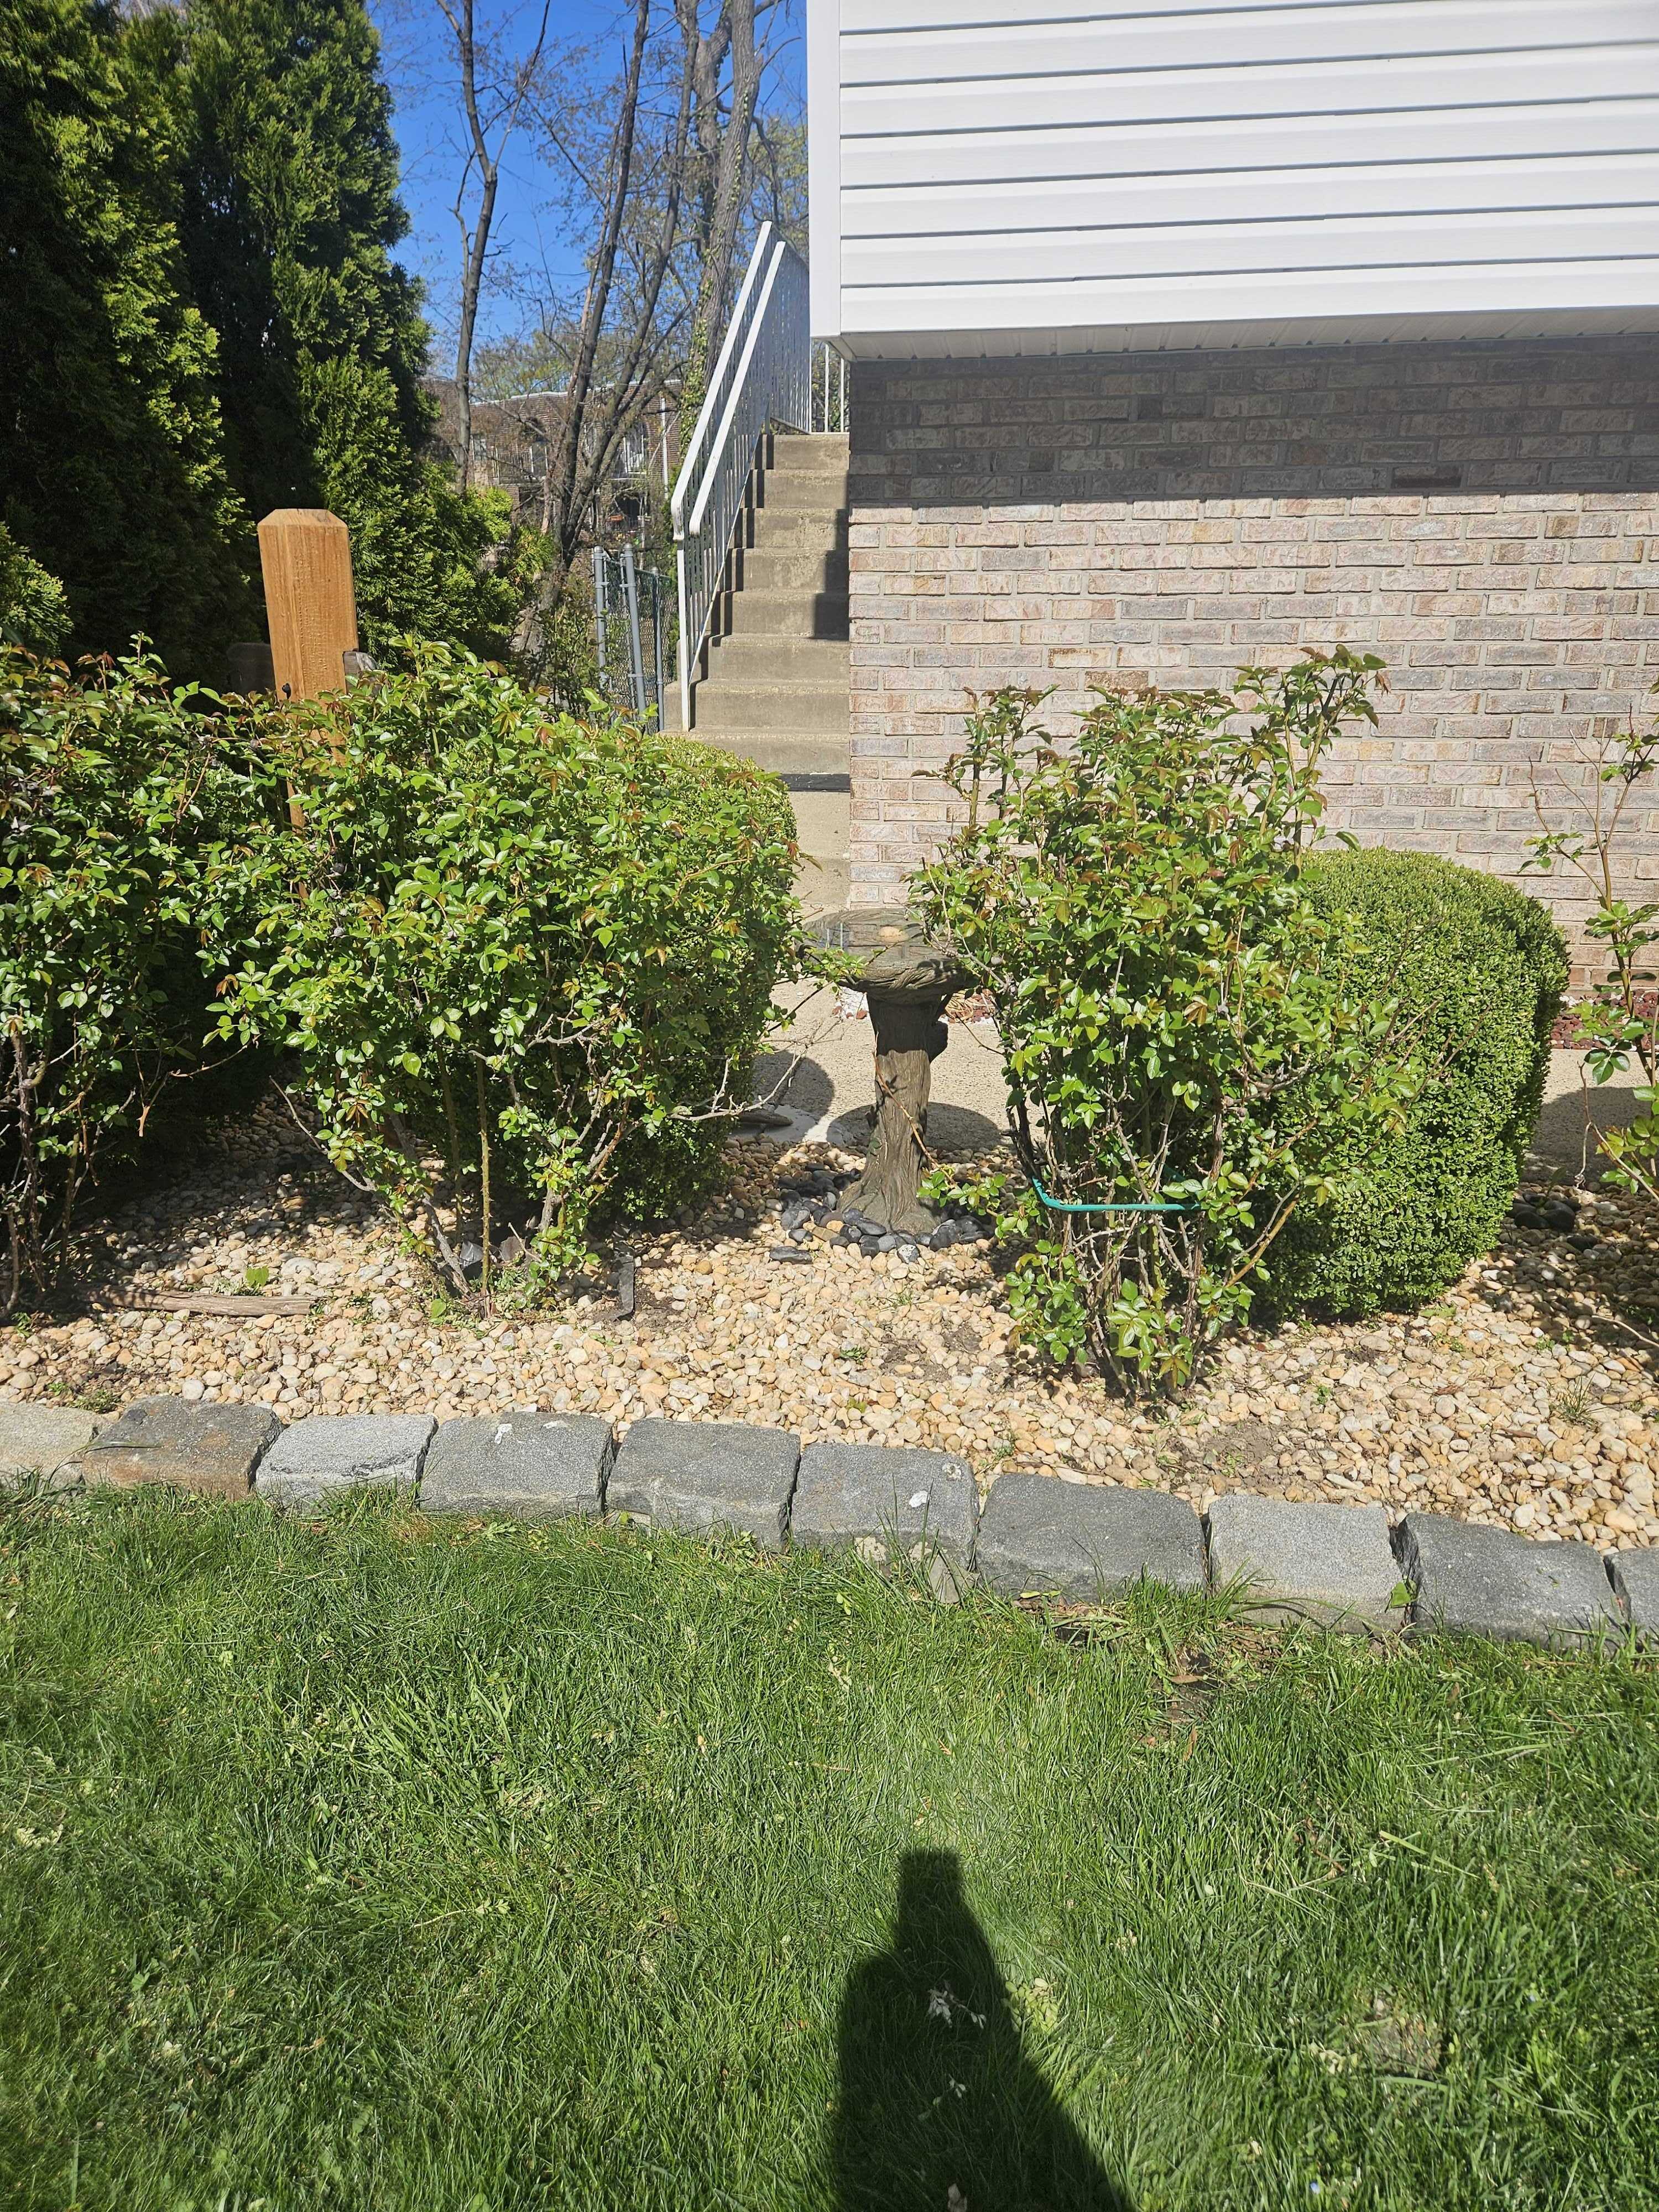
Belgian block border on the lawn side, river rock fill between the shrubs. What used to be mulch that washed out every rain is now rock that stays put every season.
10. Under the stairs
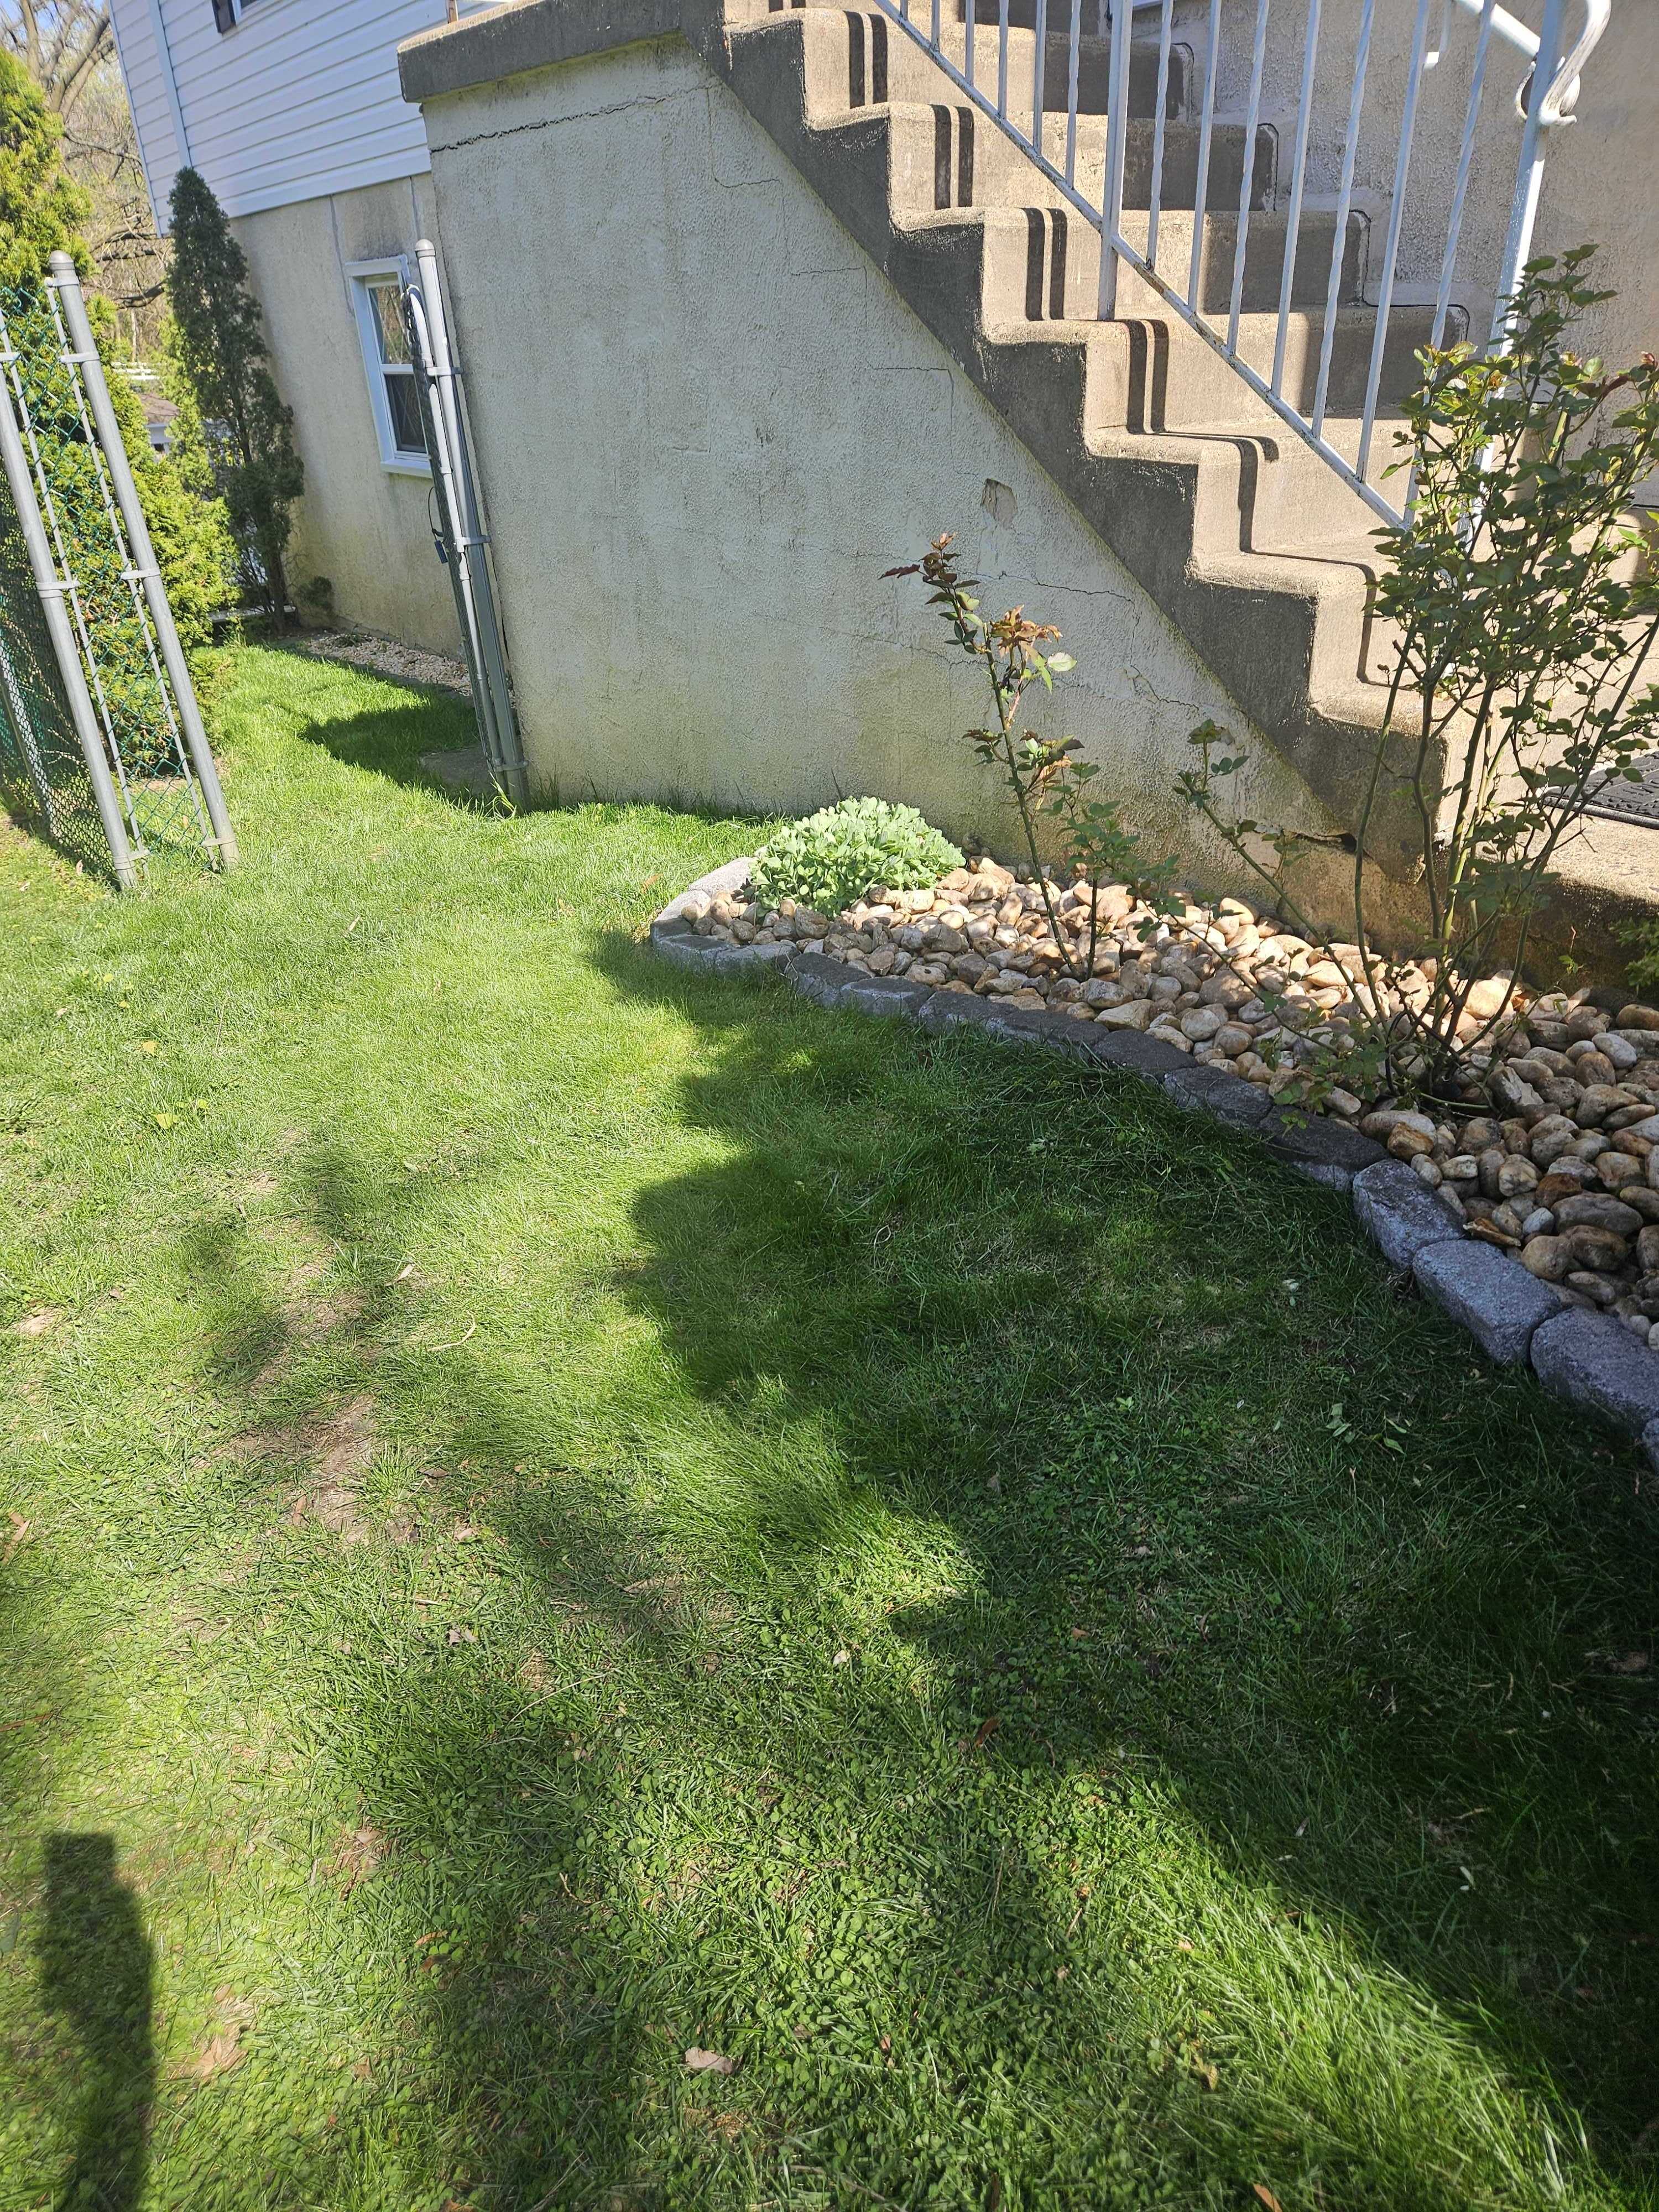
The area under the exterior stairs was always neglected — awkward shape, hard to plant. I curved a block border around it and filled with river rock. Now it looks like it was planned that way.
11. The mailbox base
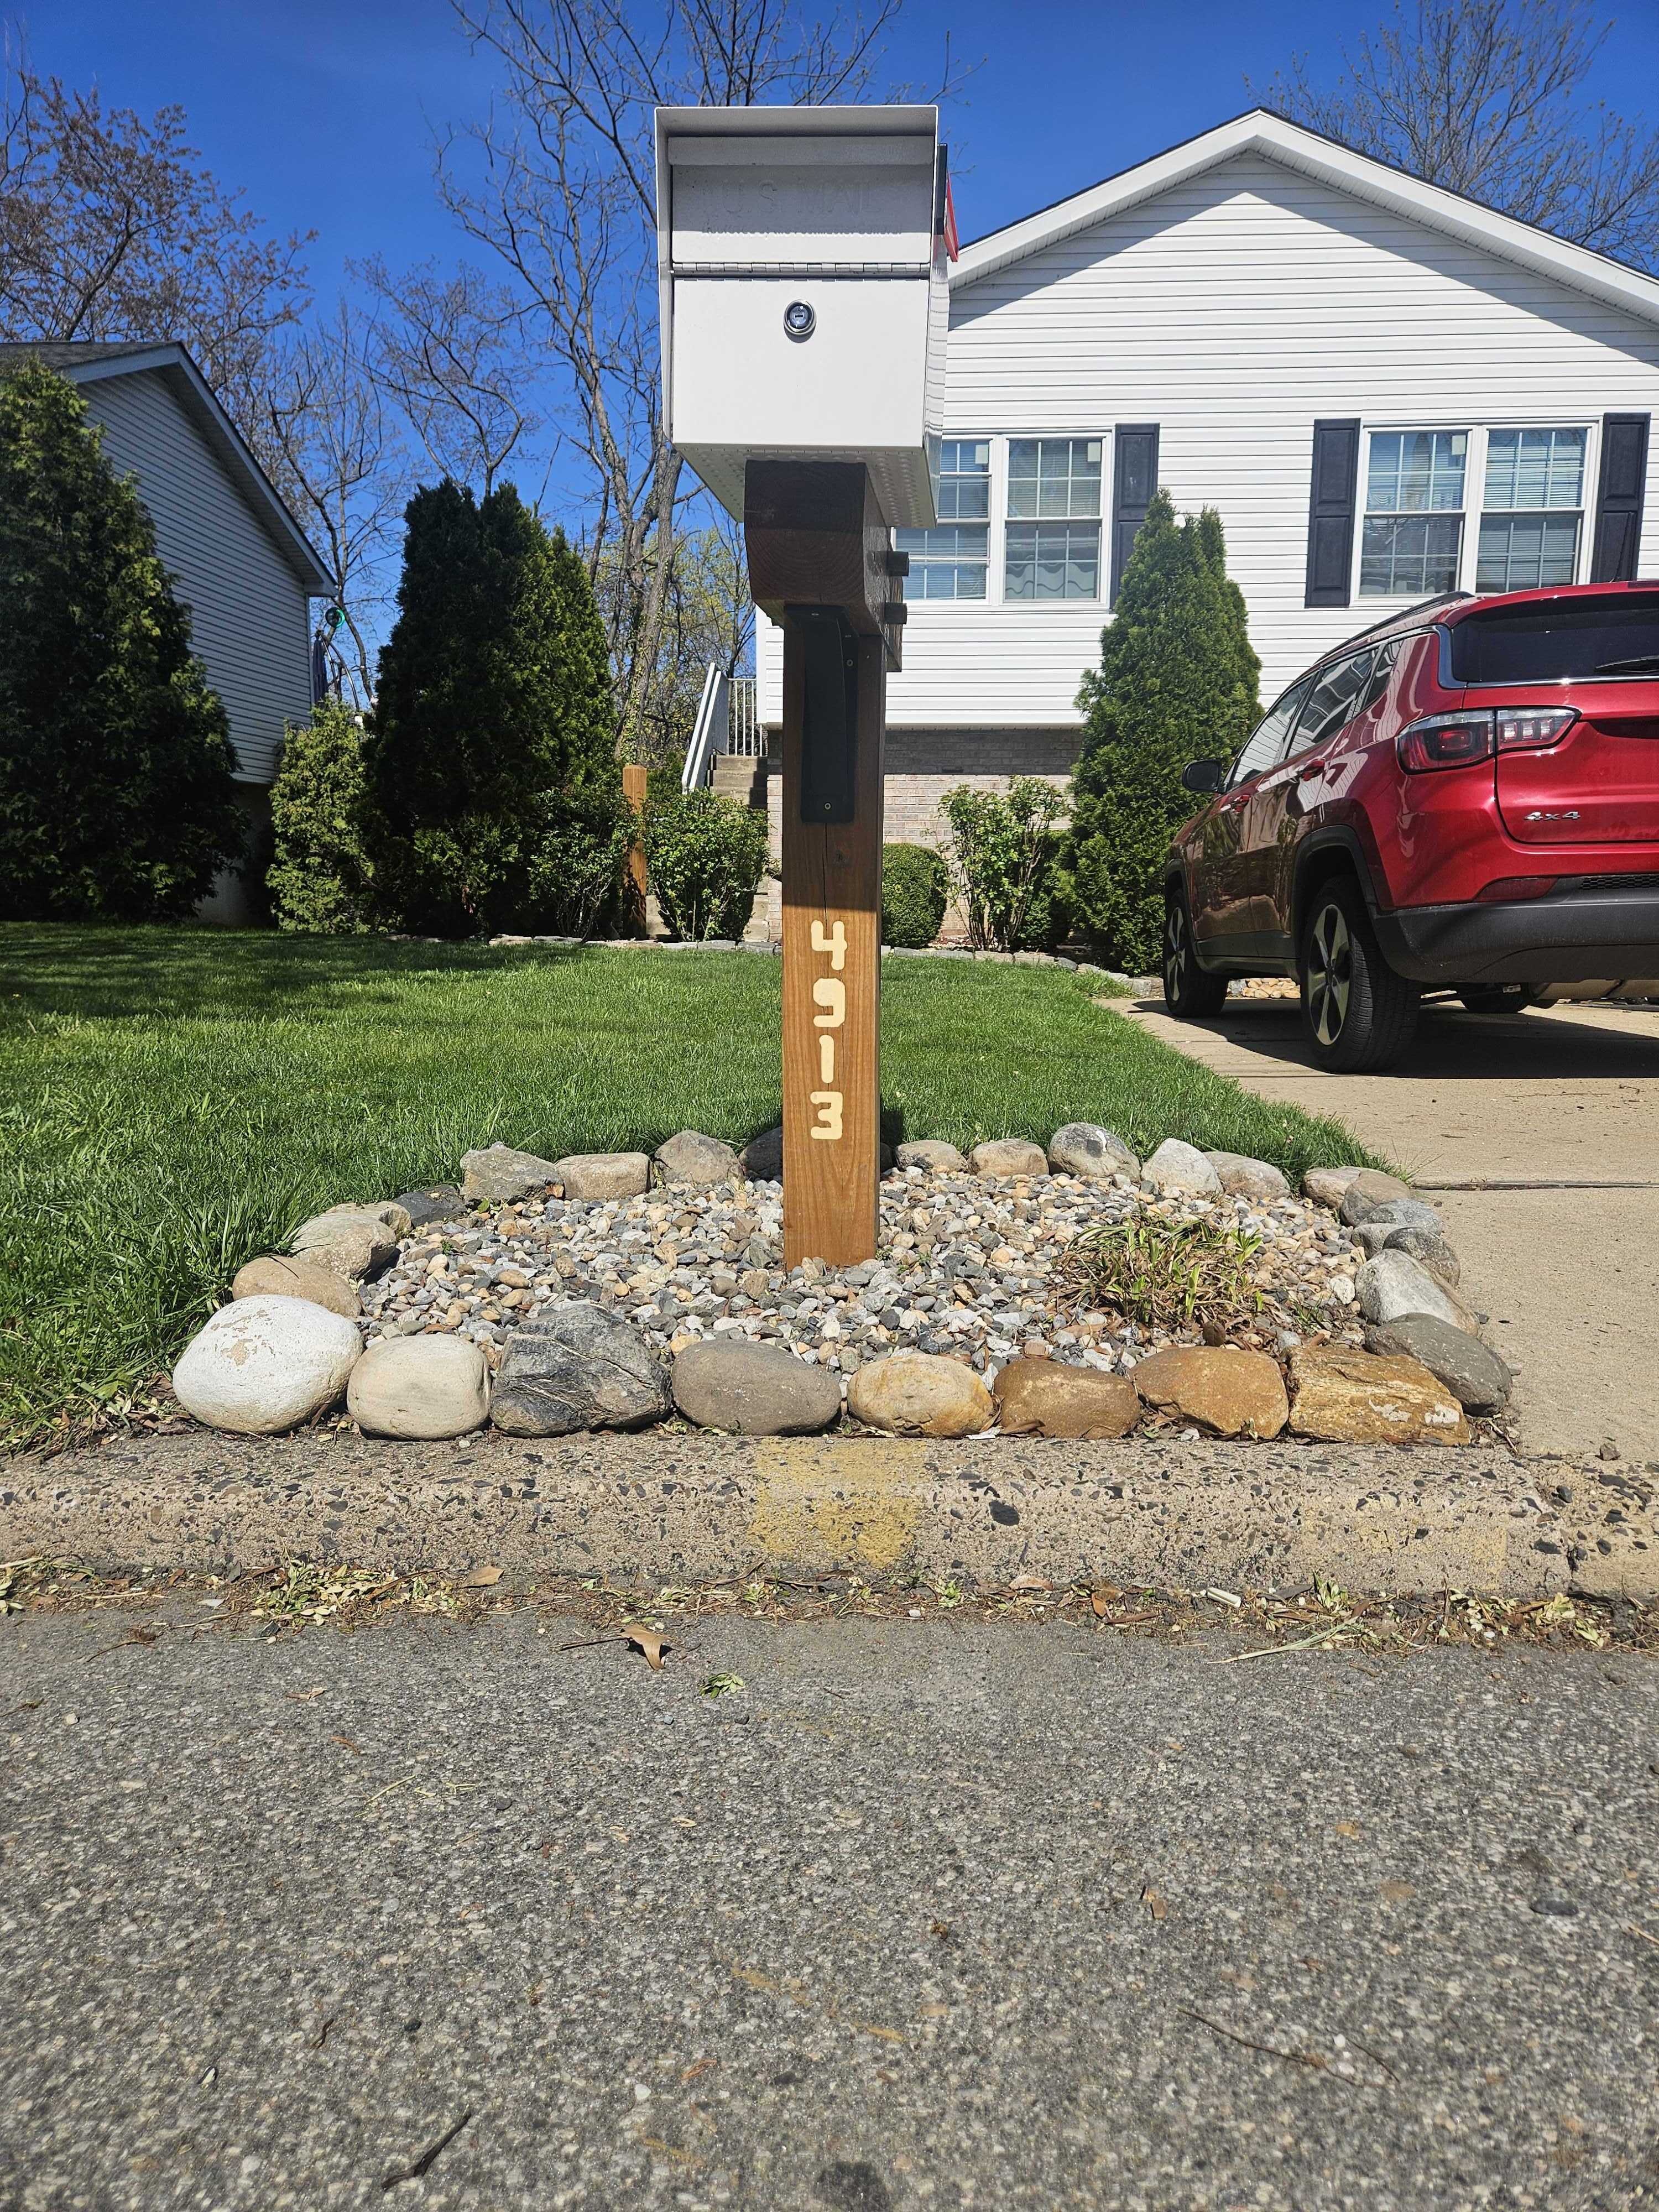
Large river rocks ring the base as a natural border, with smaller river rock fill inside. The custom timber post, the carved address numbers, and now a rock base that matches the rest of the yard.
12. From the street
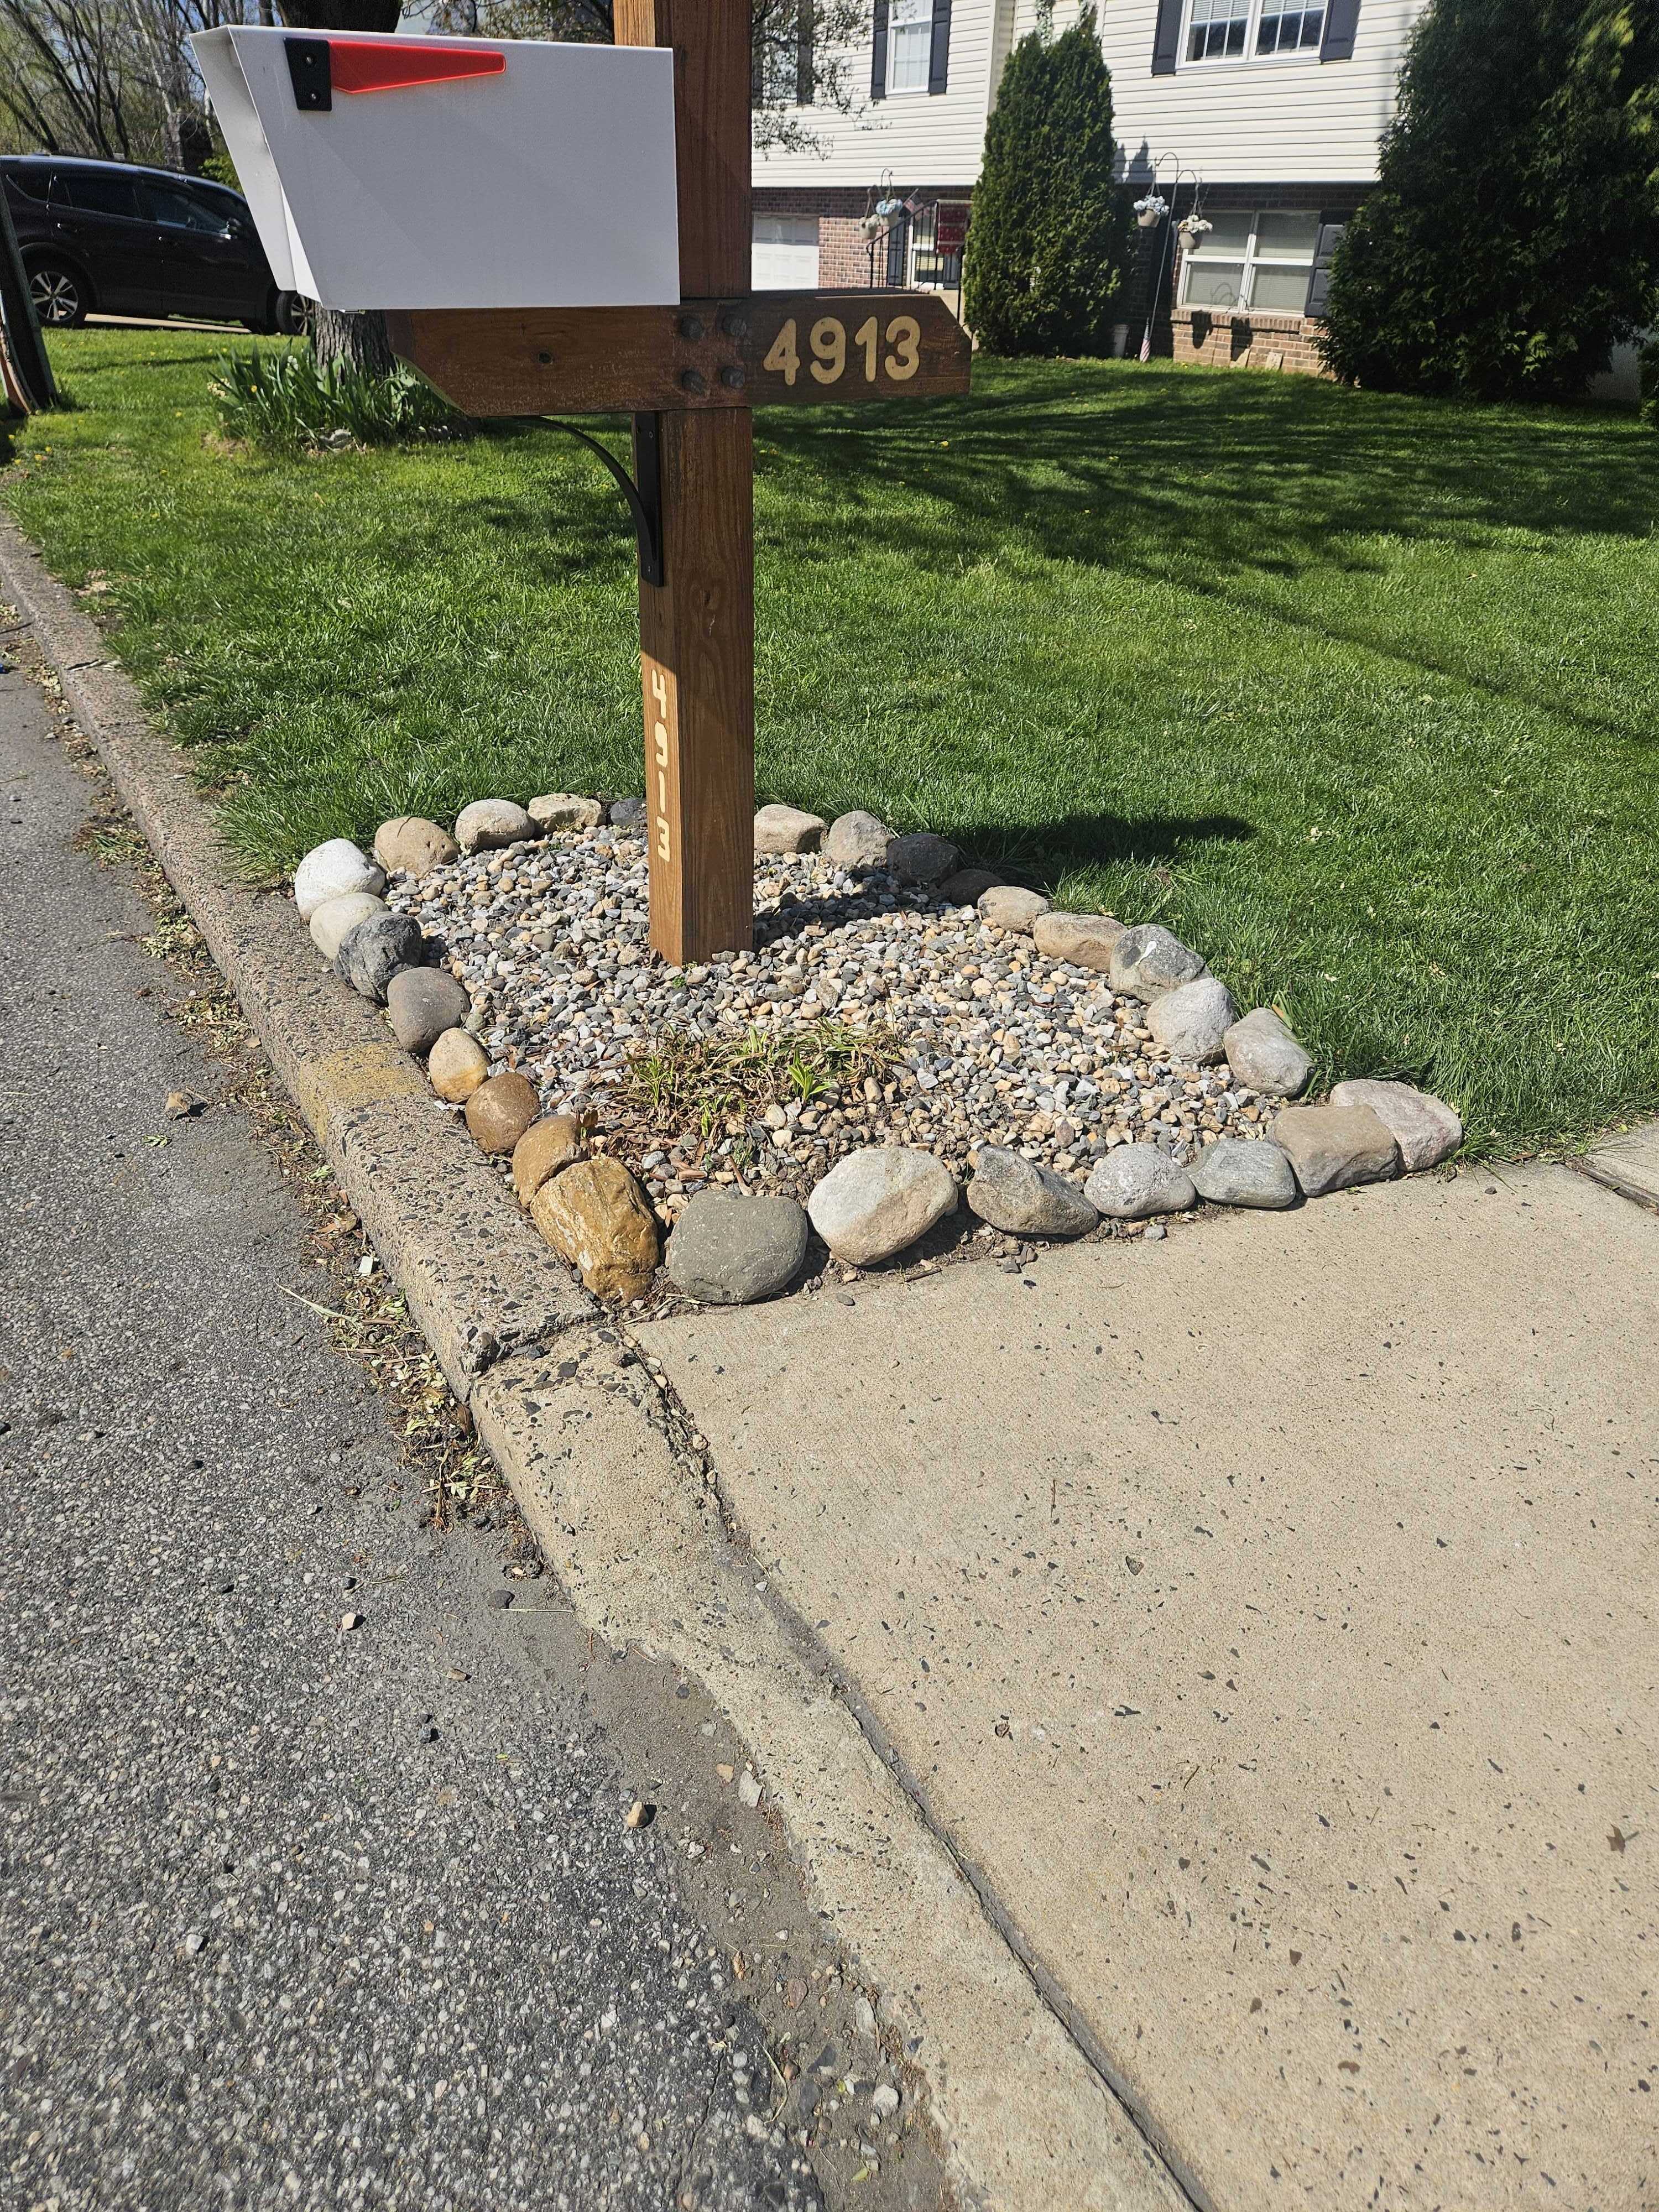
The custom mailbox post with the address carved in wood, sitting in a bed of river rocks that are the same stones running along every bed on the property. It all started with a Facebook post from Mike. Three weekends later, the rocks are here and they are staying.