This project started on the water.
I was kayaking at Lake George, NY, during a weekend camping trip. I saw a piece of wood floating on the river. Most people would have paddled right past it. I stopped. The shape and texture of it looked interesting. It looked like it still had a use.
I brought it back to camp. Then I brought it home. It sat in my garage for a while. I was not sure what to do with it. Eventually, I knew. It became the top piece of our home sign — the part that says HOME. The house number is on the post below it. Together they make a sign that has a real story behind it, not just something picked off a shelf.
That is what I like most about this project. The material came from somewhere real.
Step-by-Step
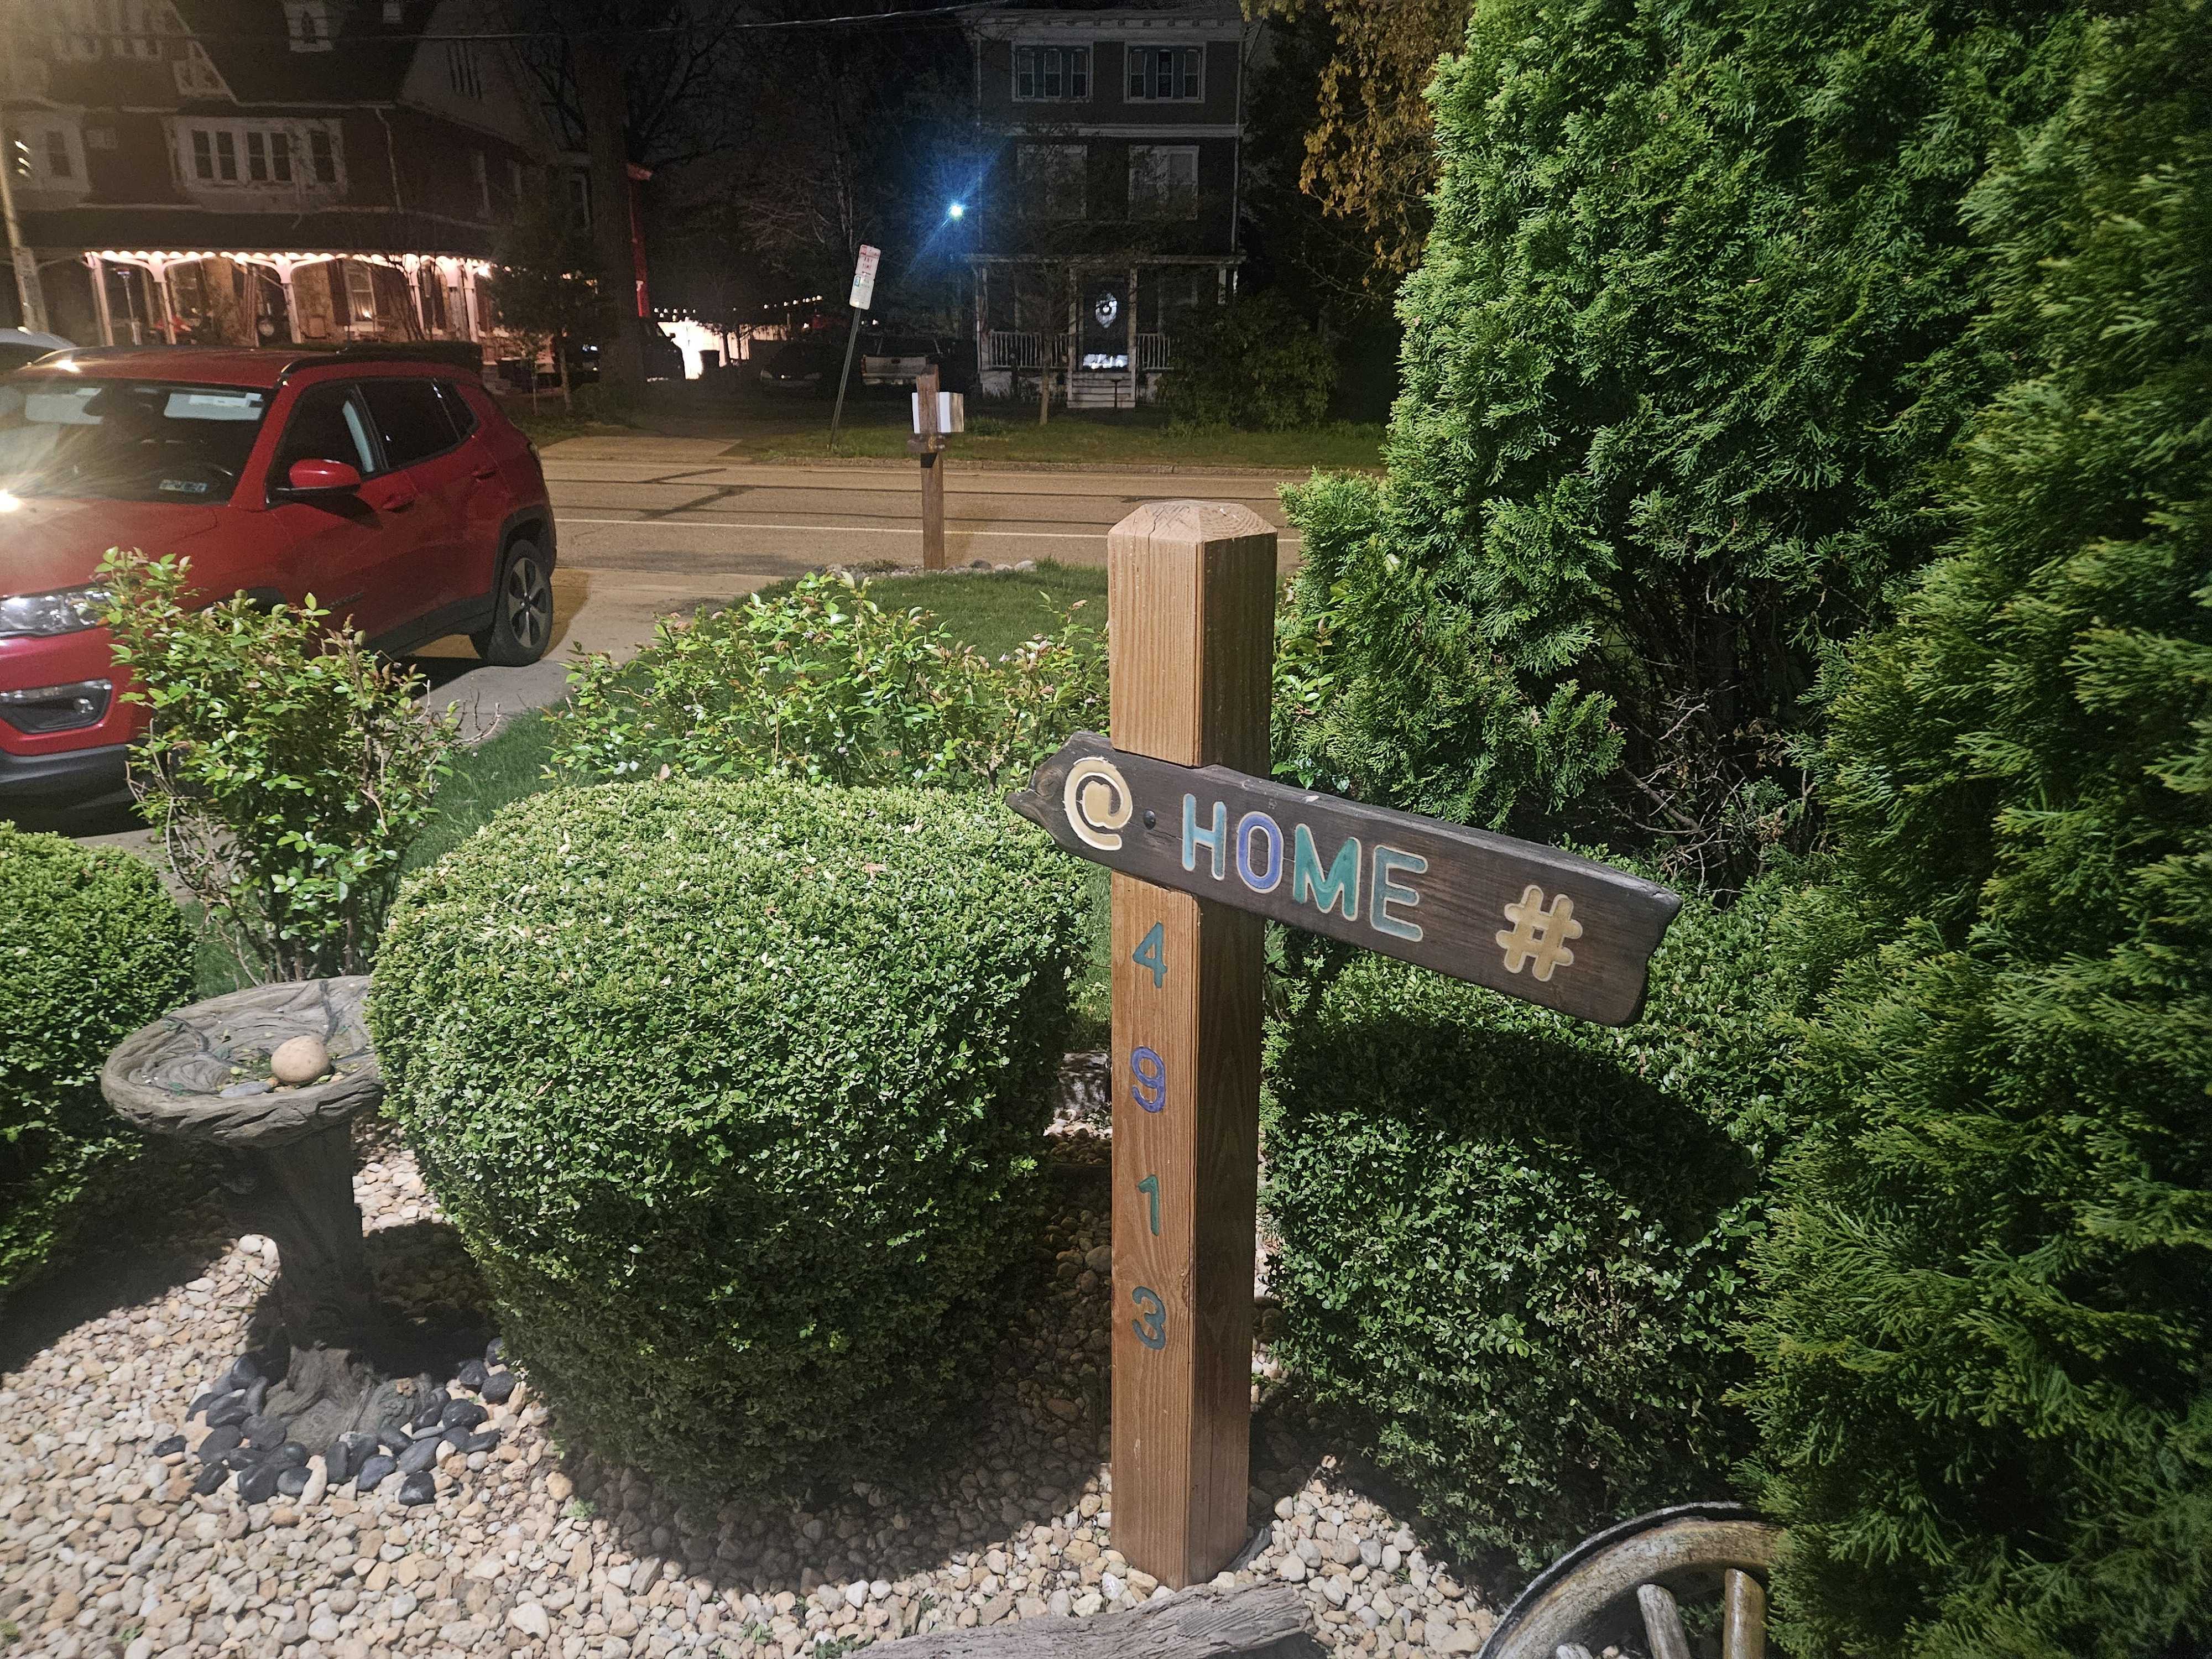
1. The finished sign
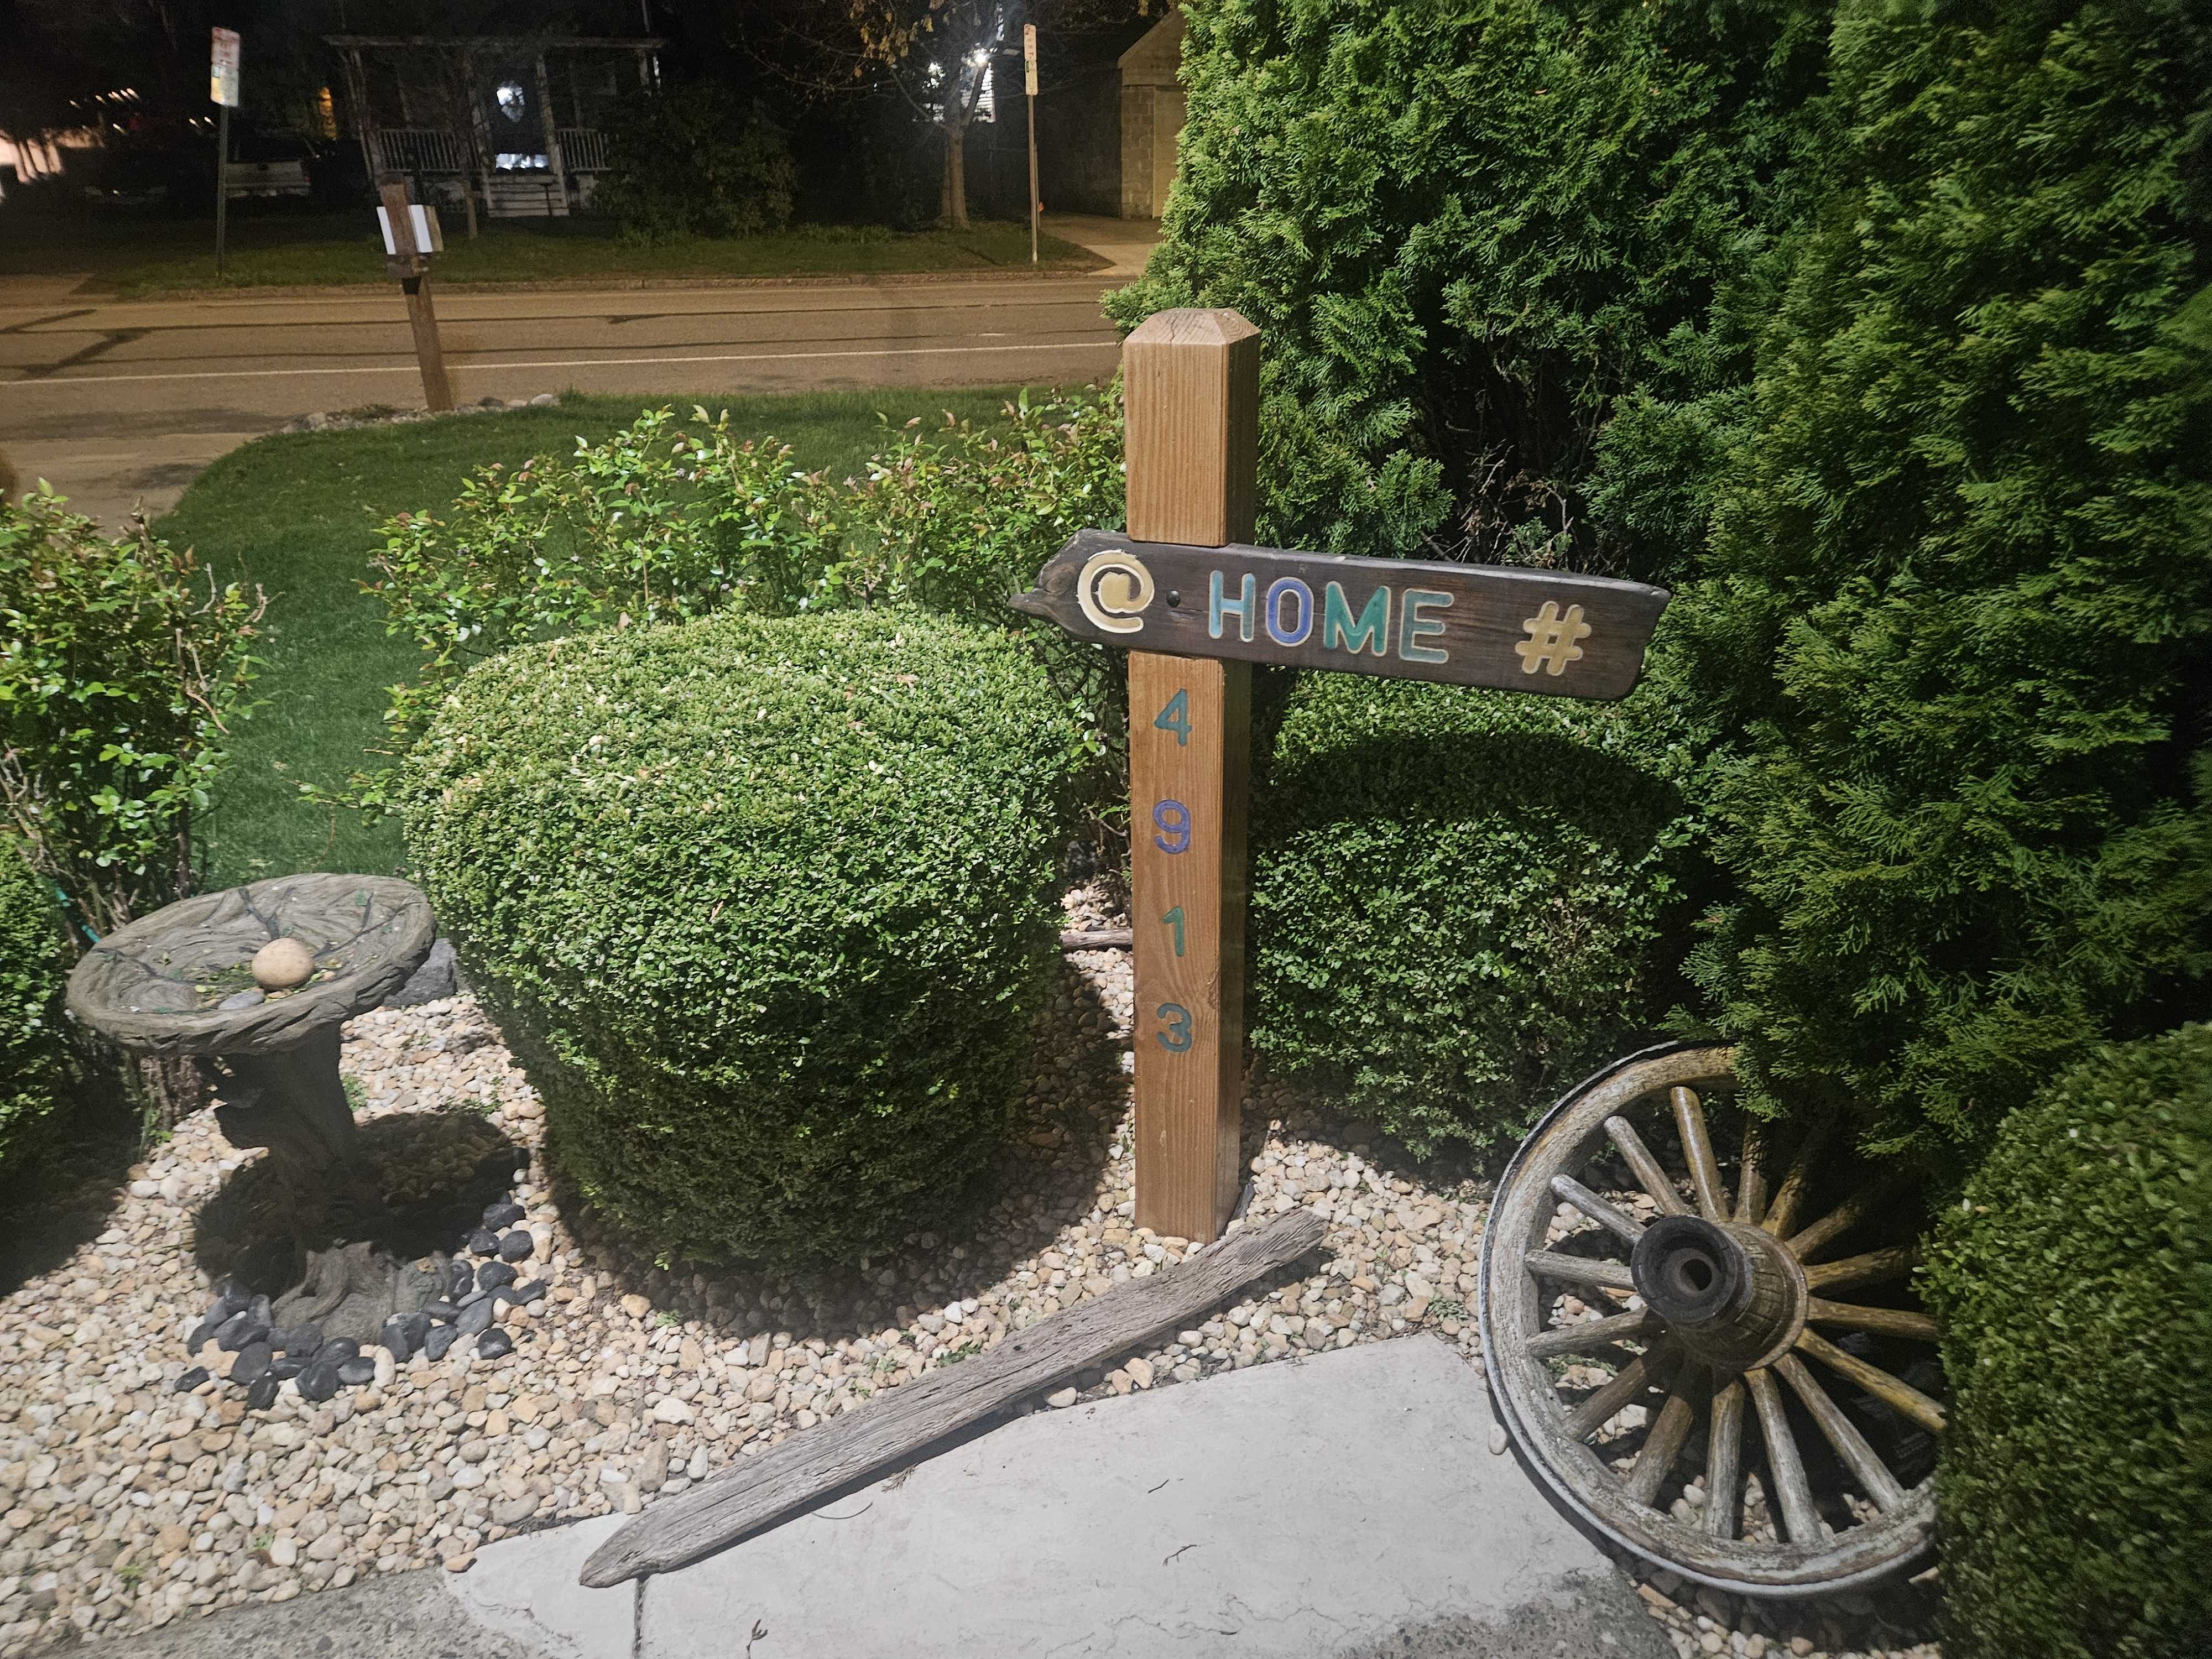
The top piece is the wood I found floating in Lake George. The post below shows the house number. Two pieces, one story.
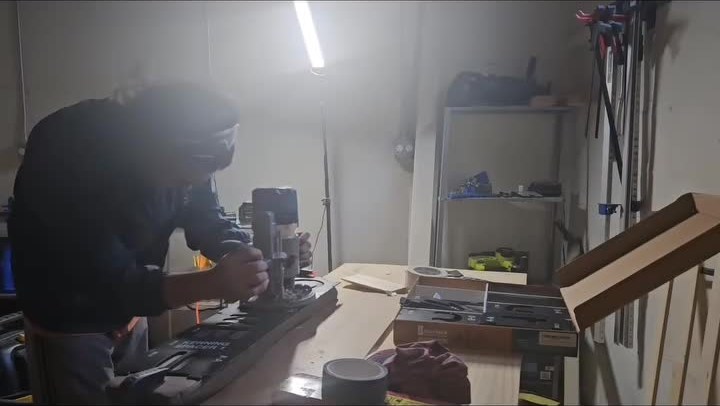
2. Back at the workbench
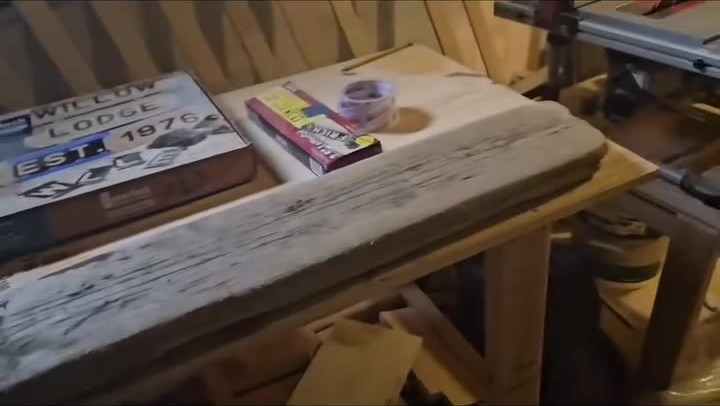
The horizontal piece on the left is the one I pulled from the water at Lake George. It sat in my garage for about a year before I figured out what to do with it. Here I am working out the layout and where the letters would go.
3. Shaping the post
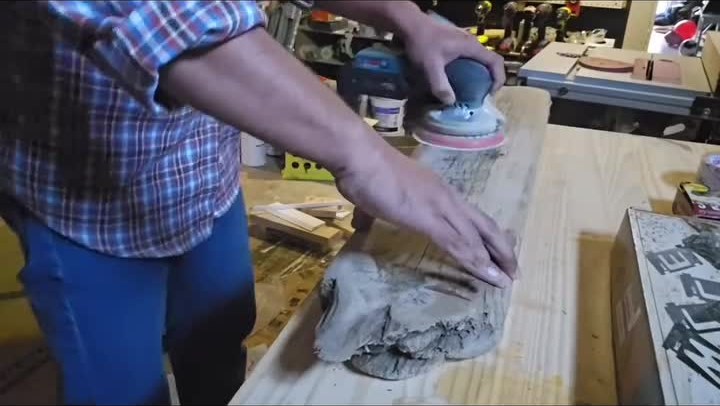
I shaped the post to match the size of the horizontal piece. I wanted both parts to look like they belong together. Getting that right took a few tries.
4. After shaping
Edges are clean and the surface is ready for the lettering. The found wood piece stayed mostly as-is. Its rough texture was part of what made it interesting.
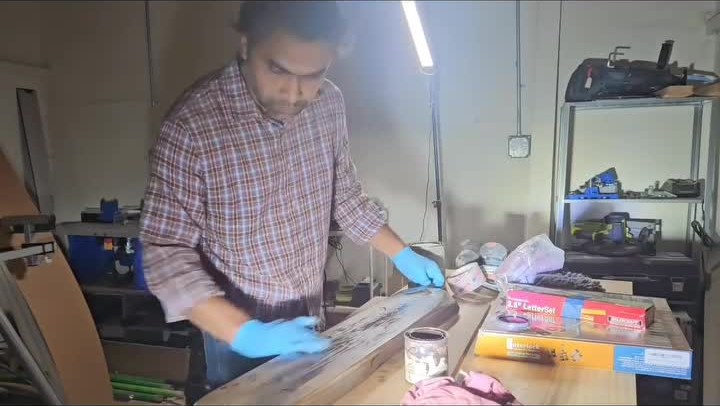
5. The lettering
HOME on the top piece, the house number on the post. Spacing matters — too tight looks crowded, too wide looks wrong. I tested it a few times before committing.
6. Taking it outside
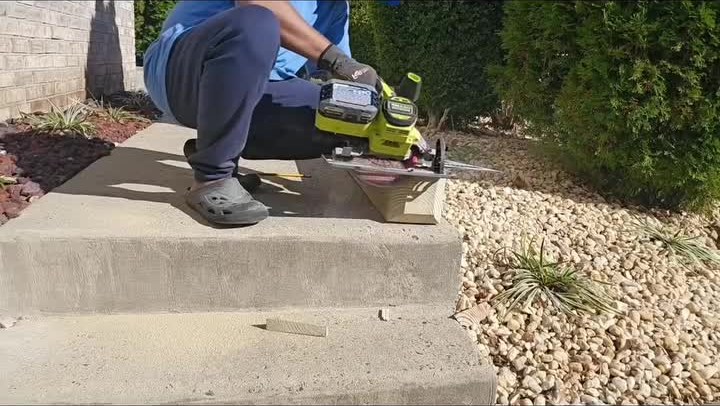
The work inside was done. Time to take it outside and see how it looks in its real place. Something that looks good on the workbench does not always look good on the wall.
7. Mounting it
A sign that sits slightly crooked stays that way forever. I used a level and adjusted until it looked right.
8. Done
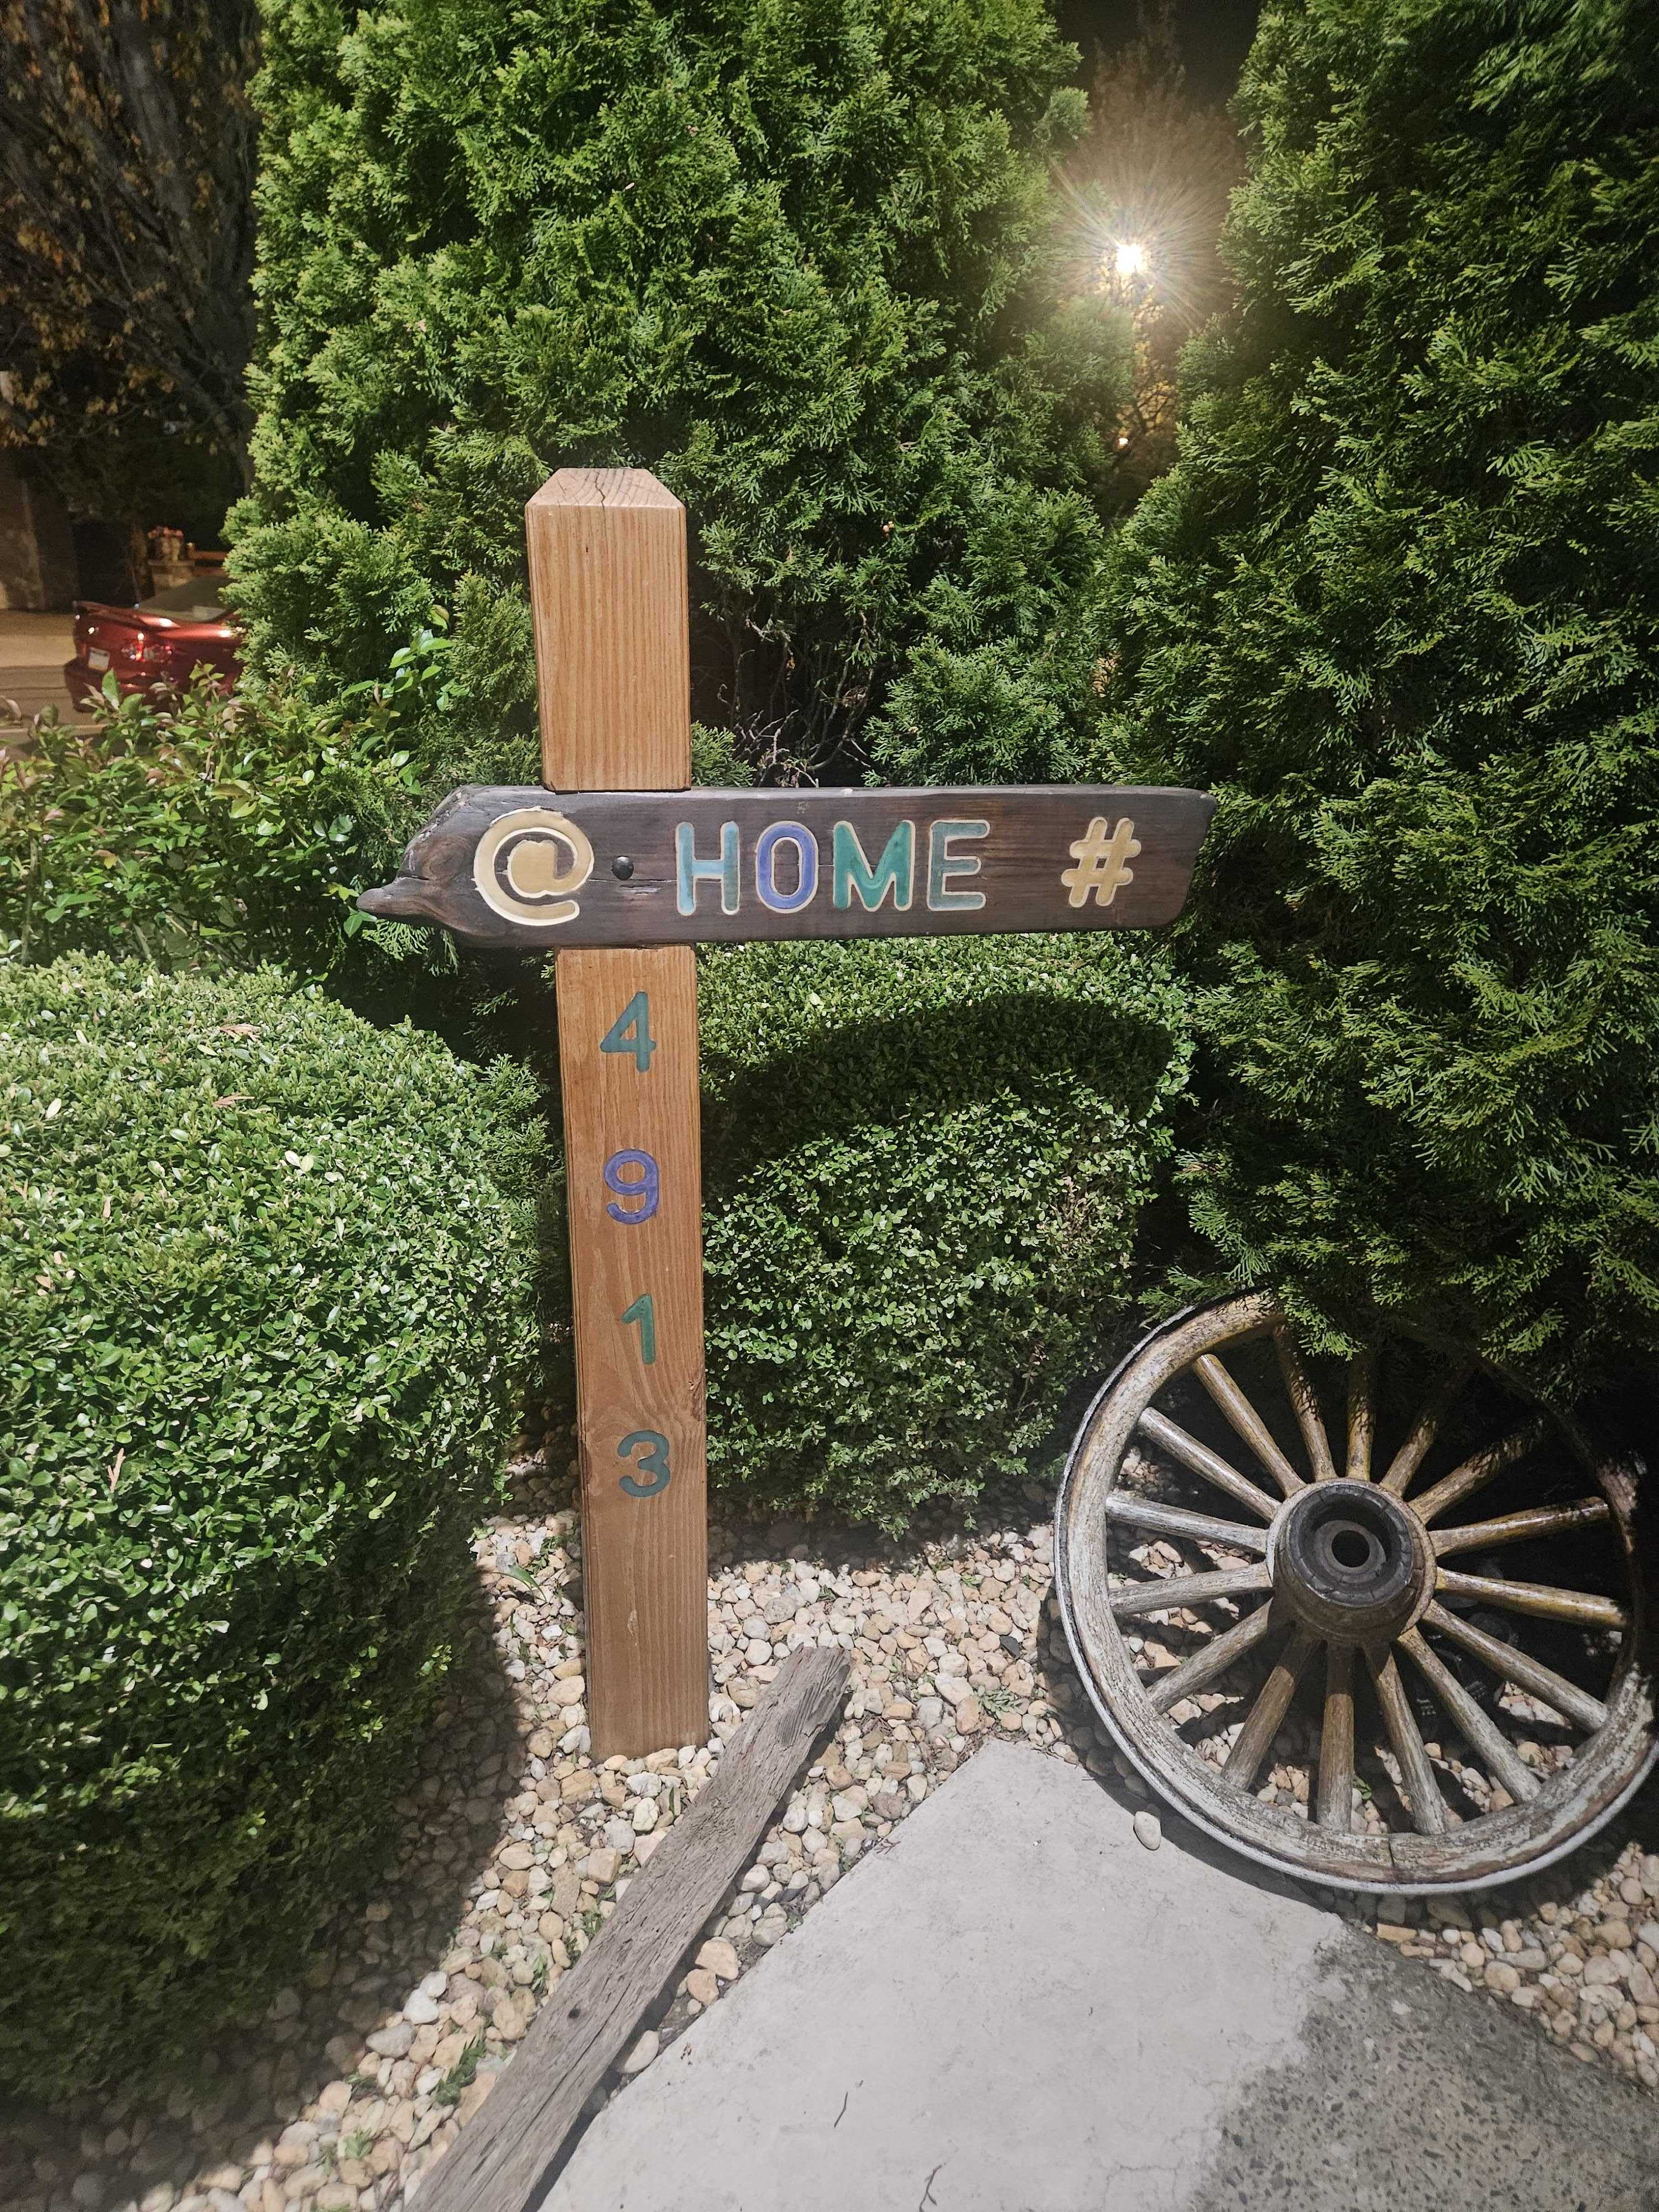
Every time I pull into the driveway I see that piece of wood from Lake George at the top. It reminds me that some of the best materials are the ones other people float right past.