
This one started with a peaceful walk, not a plan.
My wife and I were walking on a quiet summer afternoon at a Delaware River access spot inside the Bucks County park system. It is a hidden gem, tucked at the end of a small road, and not many people know about it. While walking near the water, I saw a wood stump, half sunken in the river. Something about the shape and the texture pulled me in. I picked it up to look closer.
That is when small flying bugs started coming out of it. A lot of them. My wife said leave it, this thing is somebody’s home, not ours. Honestly, the bugs were saying the exact same thing in their own way. But I could not put it down. I saw something in that piece of wood that was worth bringing home, bugs and all.
So I took it home. I dried it out in the summer sun for a while, then sprayed it well with Cutter backyard bug spray to make sure nothing was still living inside it. Once it was clean and dry, I used a Forstner drill bit to clear out all the loose, hanging wood on the surface and bring out a cleaner, more solid shape underneath. I did not take photos of finding it at the riverbank or of that drilling step — the story in pictures picks up once the stump made it to my deck.
The plan was simple after that: turn this stump into a base for an old-style hand water well pump, bought just for this, and give it a real spot in my front garden.
Step-by-Step
1. Staging the stump on the deck
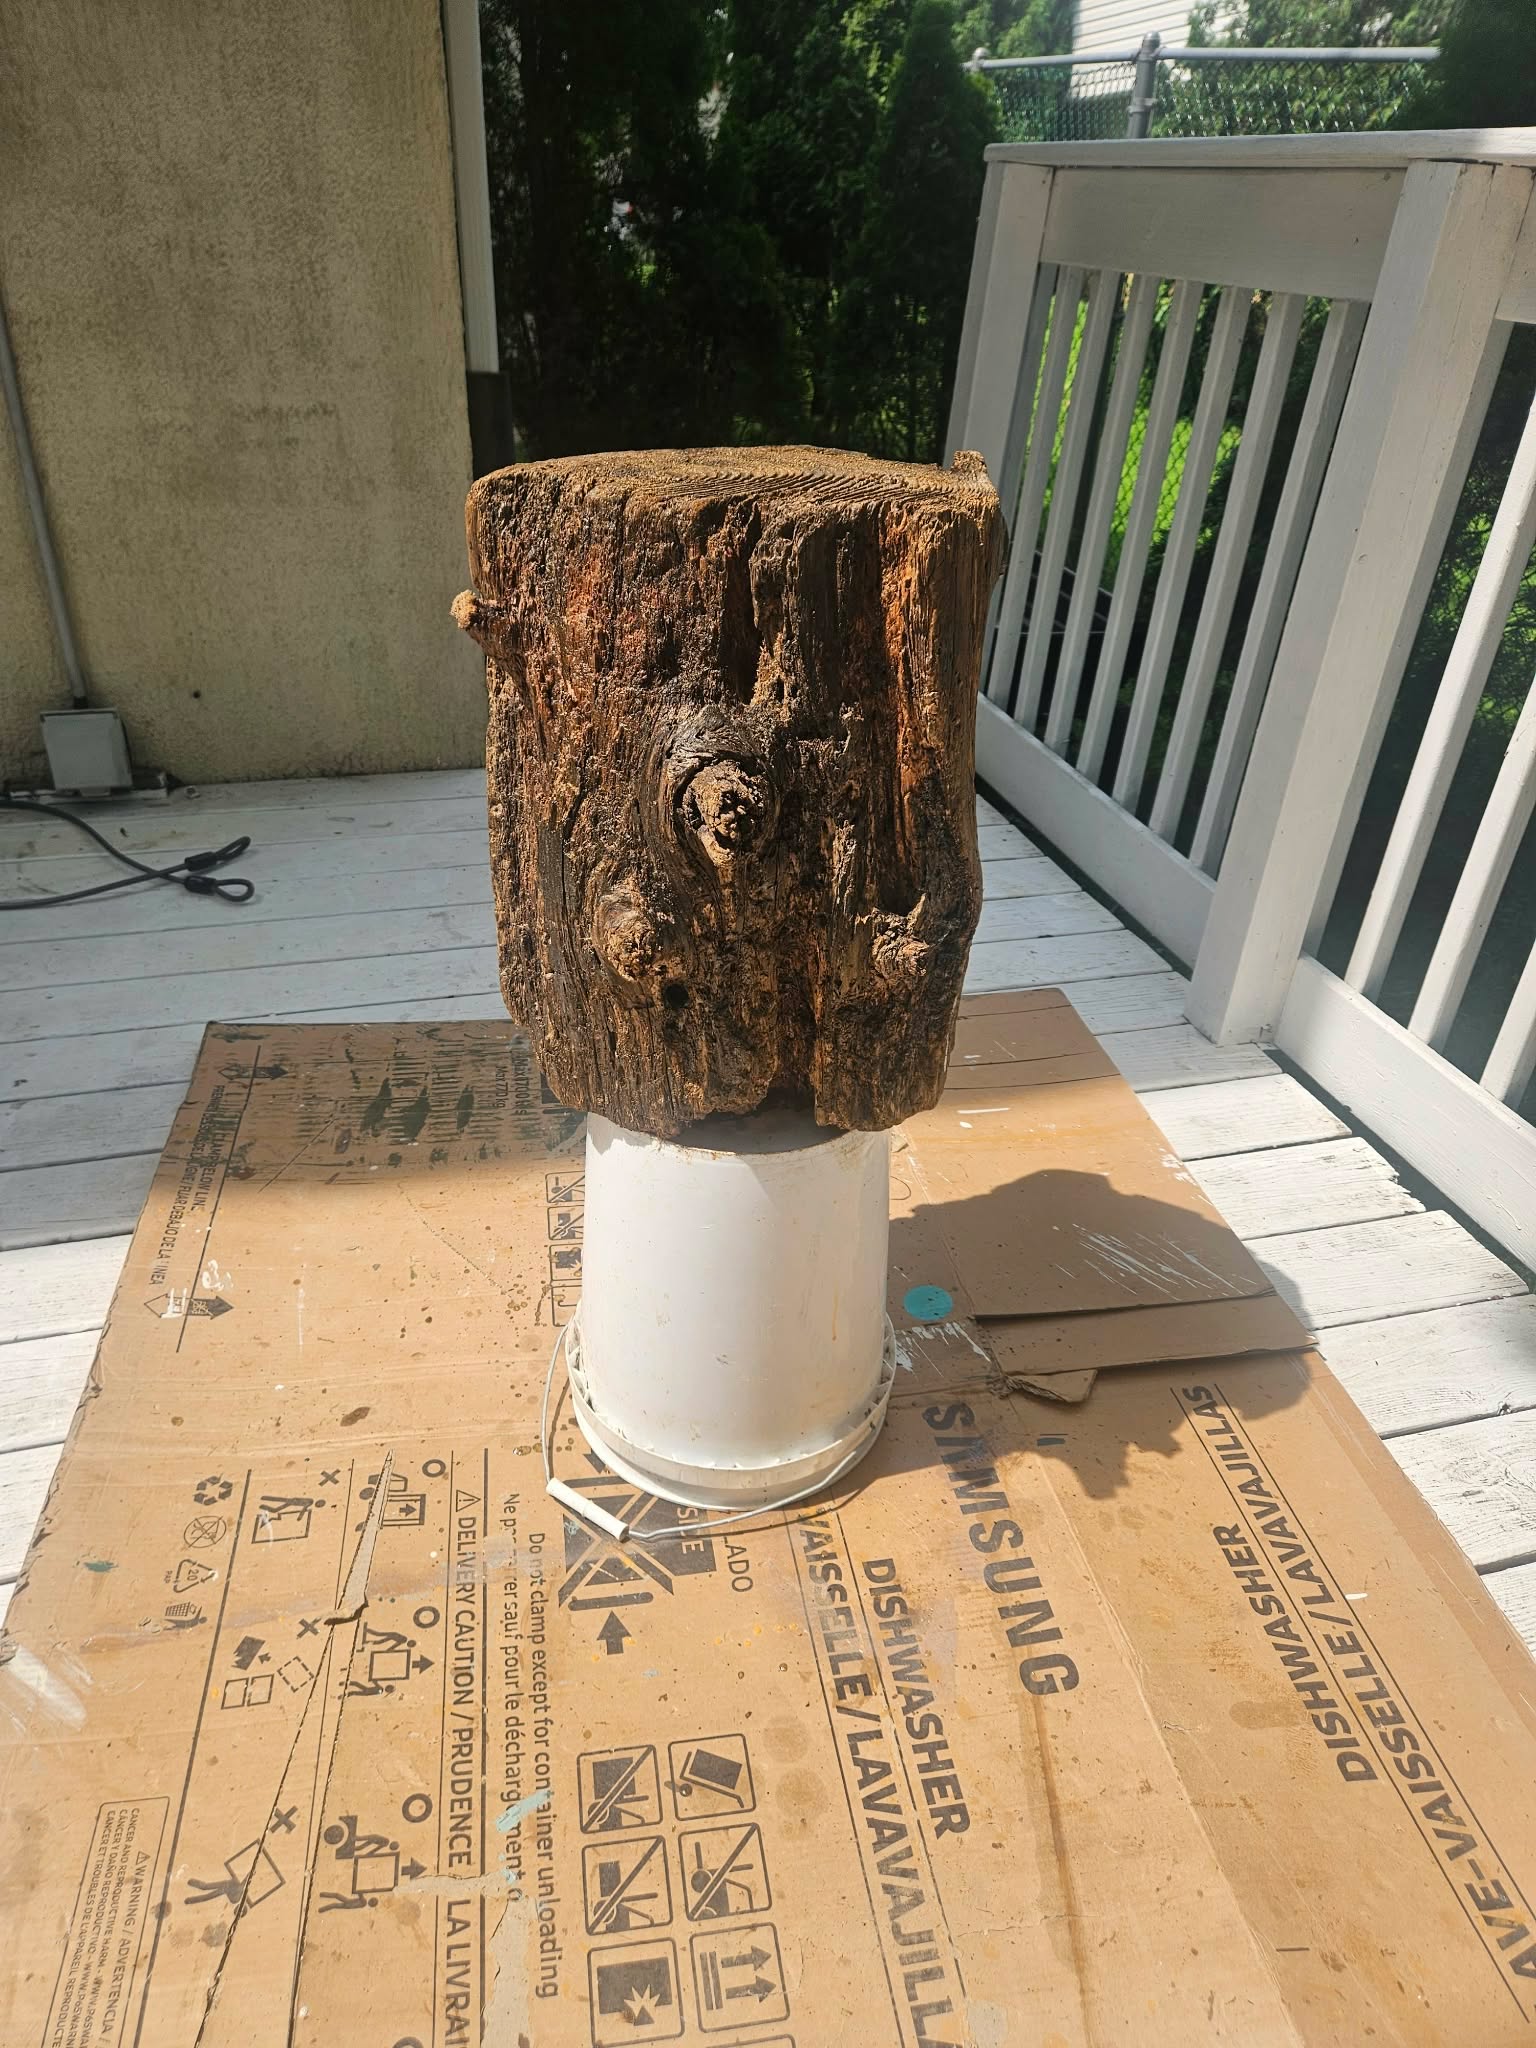
After drying it out and clearing the loose wood with the Forstner bit, I set the stump up on a white bucket on the deck to work on it standing up. You can still see the rough, weathered bark from its years in the river.
2. Turning it to check every side
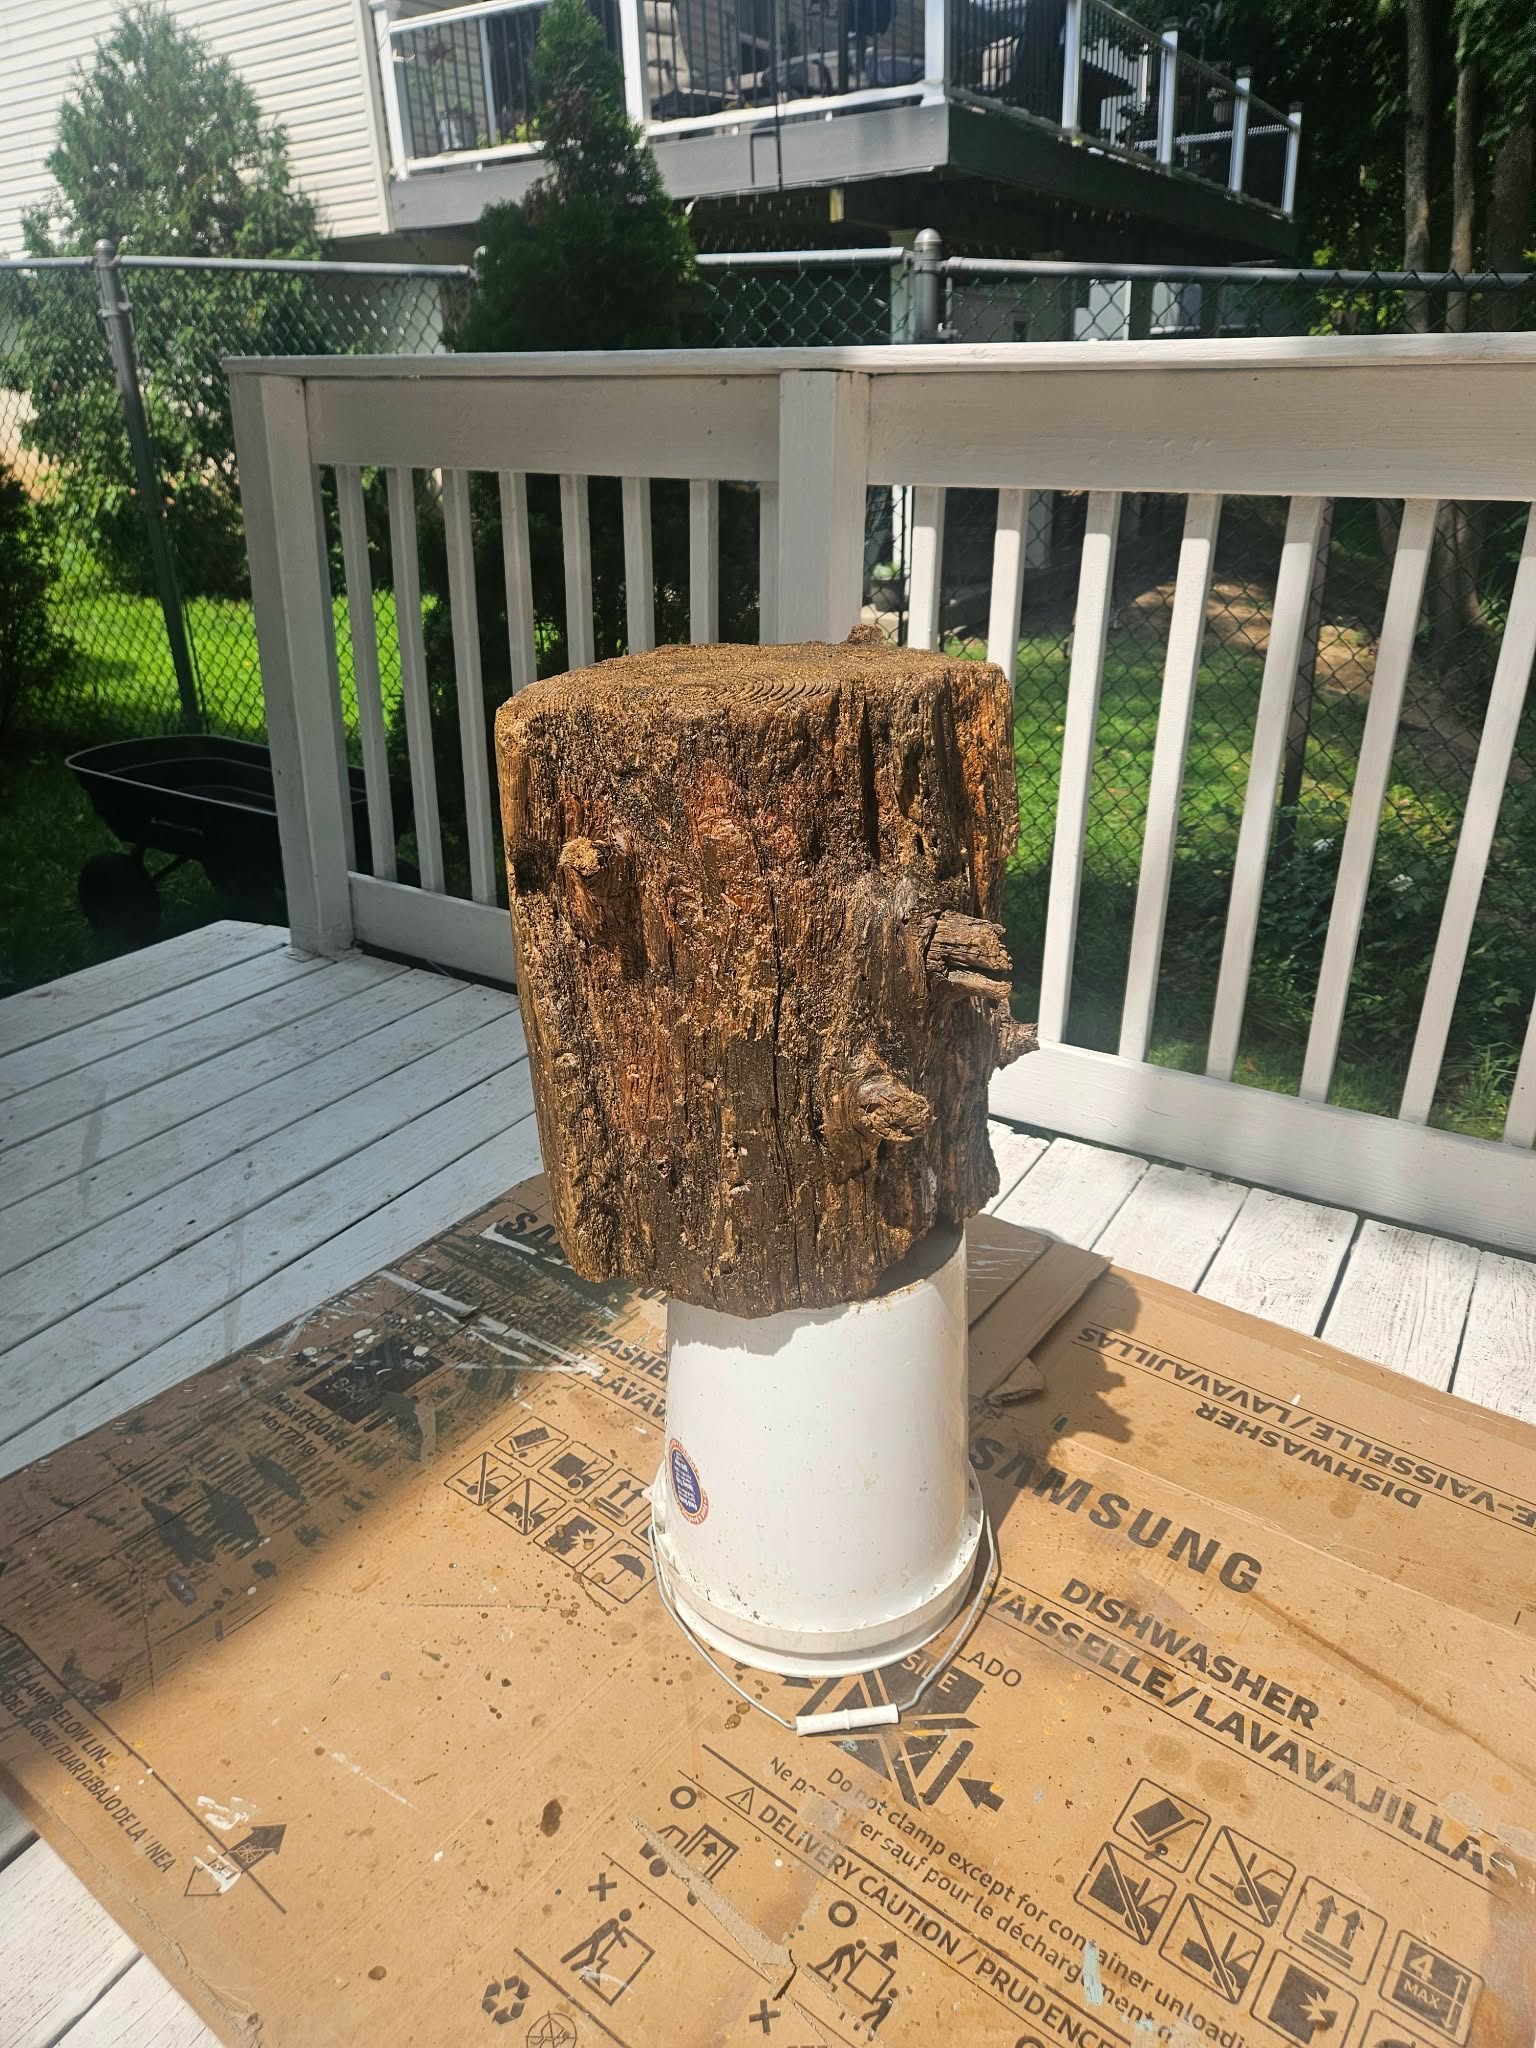
I turned the stump around a few times on the bucket to look at it from every angle. Wood that comes out of a river does not have a neat, even shape, so I wanted to pick the best side to face forward before deciding on the epoxy finish.
3. The rough top, before the epoxy
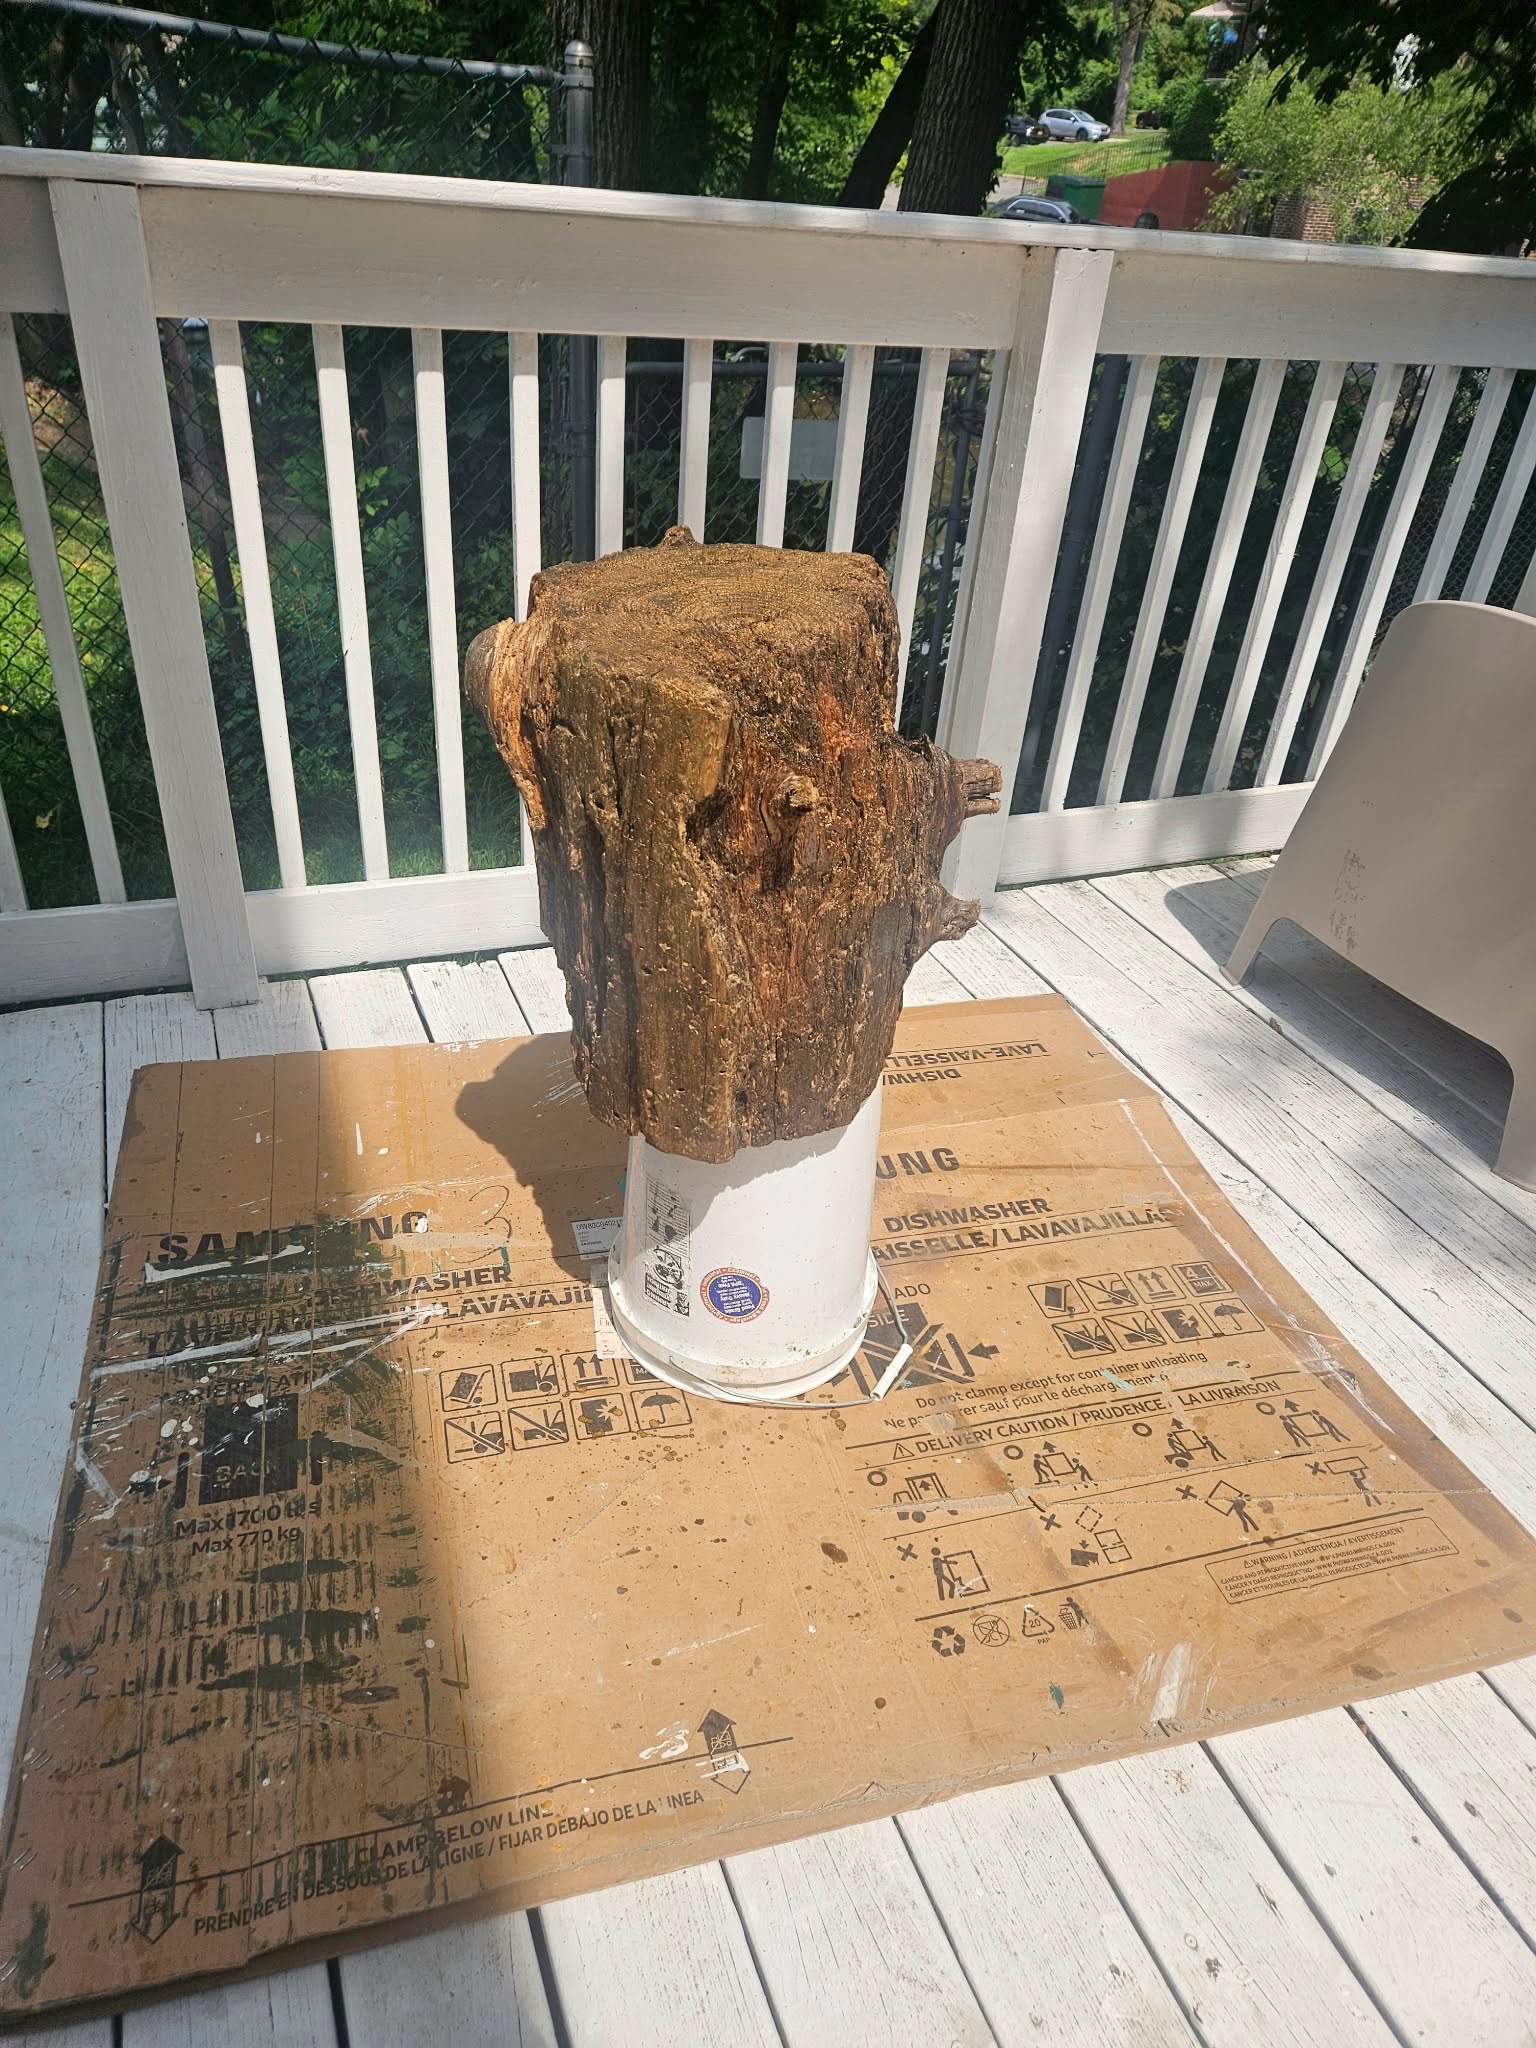
Looking straight down at the top, you can see the grain and the knots that made me pick this stump up in the first place. After this I coated it with epoxy to harden the wood and bring out a shine that would hold up outside.
4. Digging out a spot in the garden
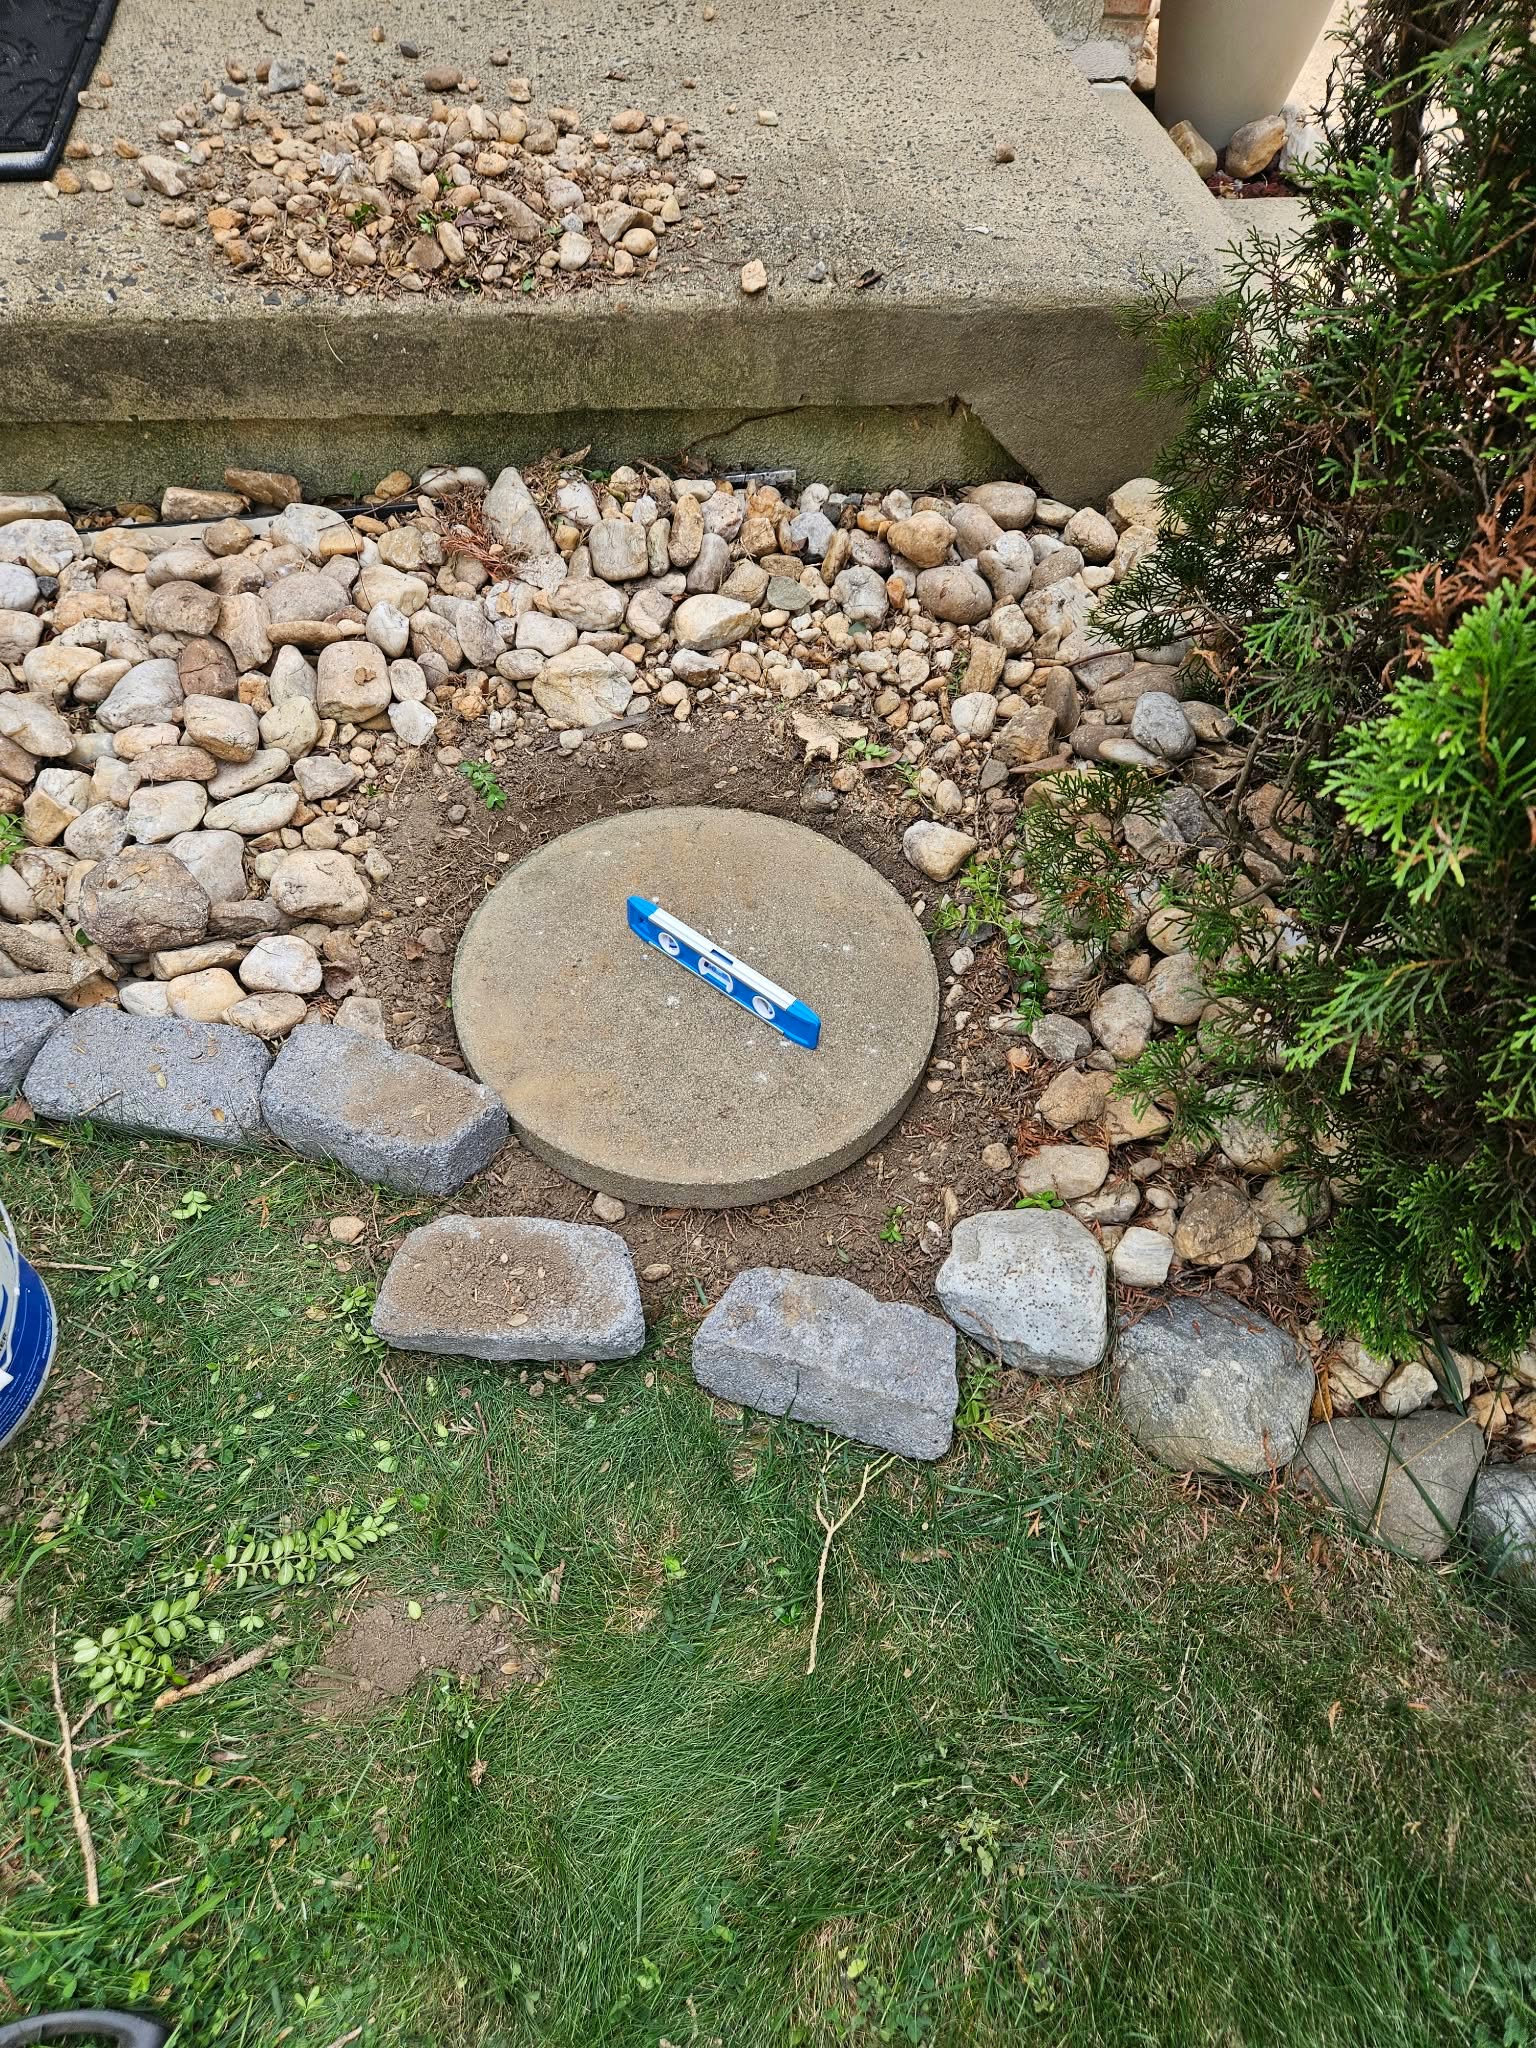
Back in the front garden, I dug out a spot in the rock bed and set a concrete stepping stone into the ground as the base. The stump needed something solid and flat underneath it, not just dirt.
5. Making sure the base is level
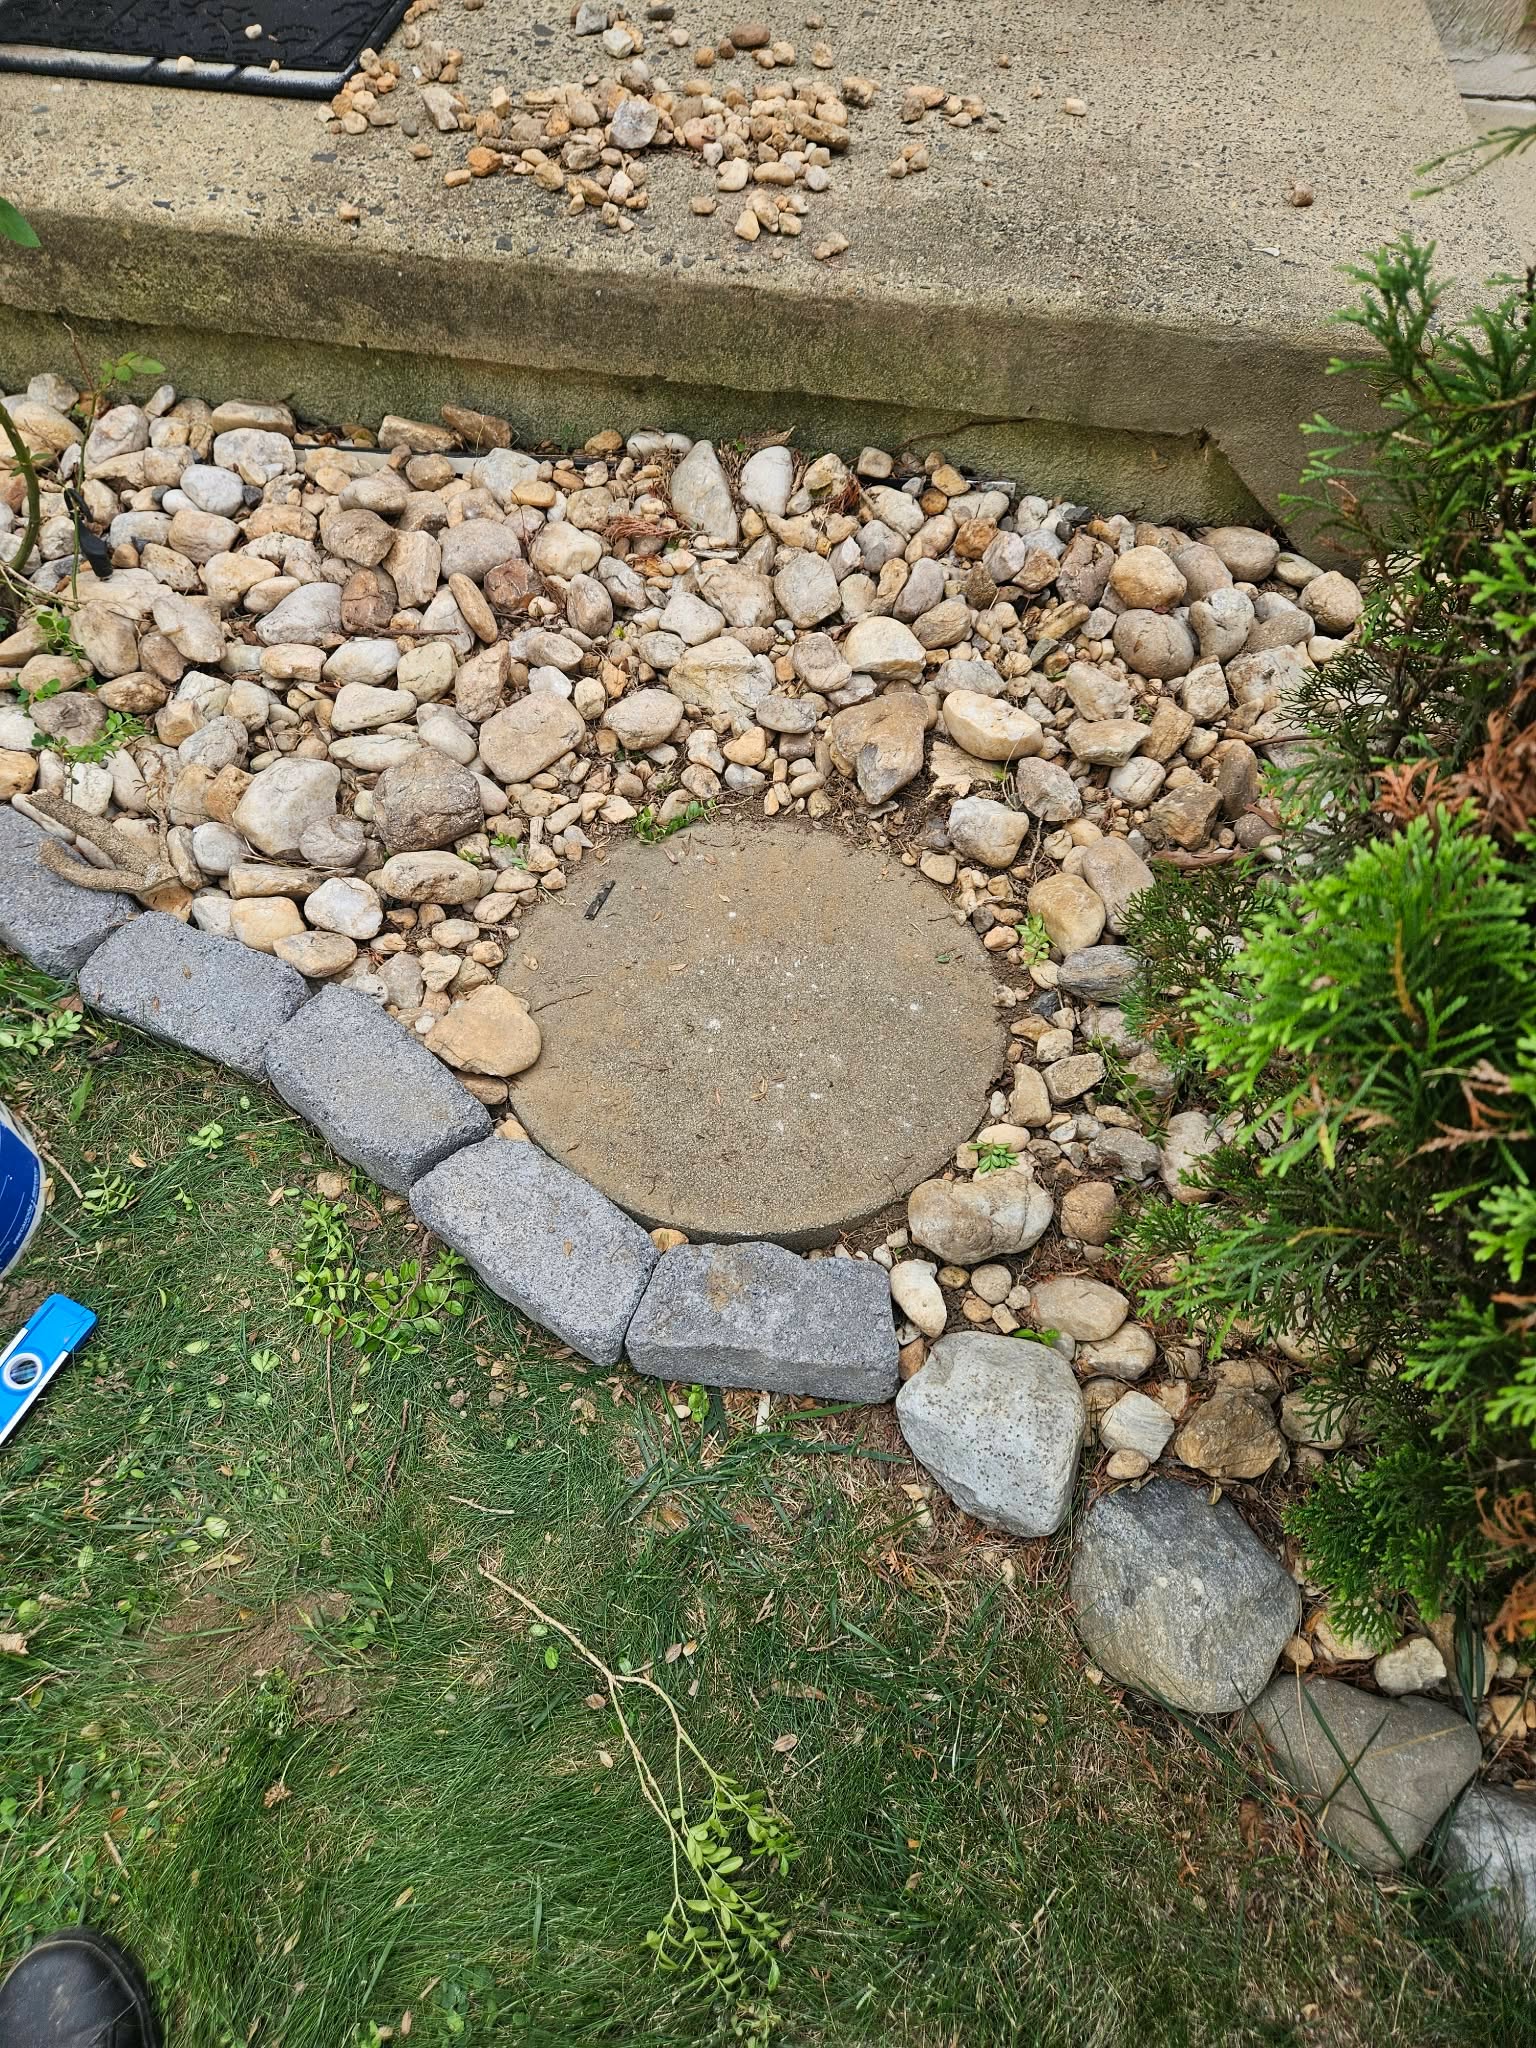
I put a small level right on the concrete base and checked it before going any further. If the base sits crooked, everything you stack on top of it sits crooked too. Better to fix it here than after the stump and pump are on.
6. Setting the stump onto the base
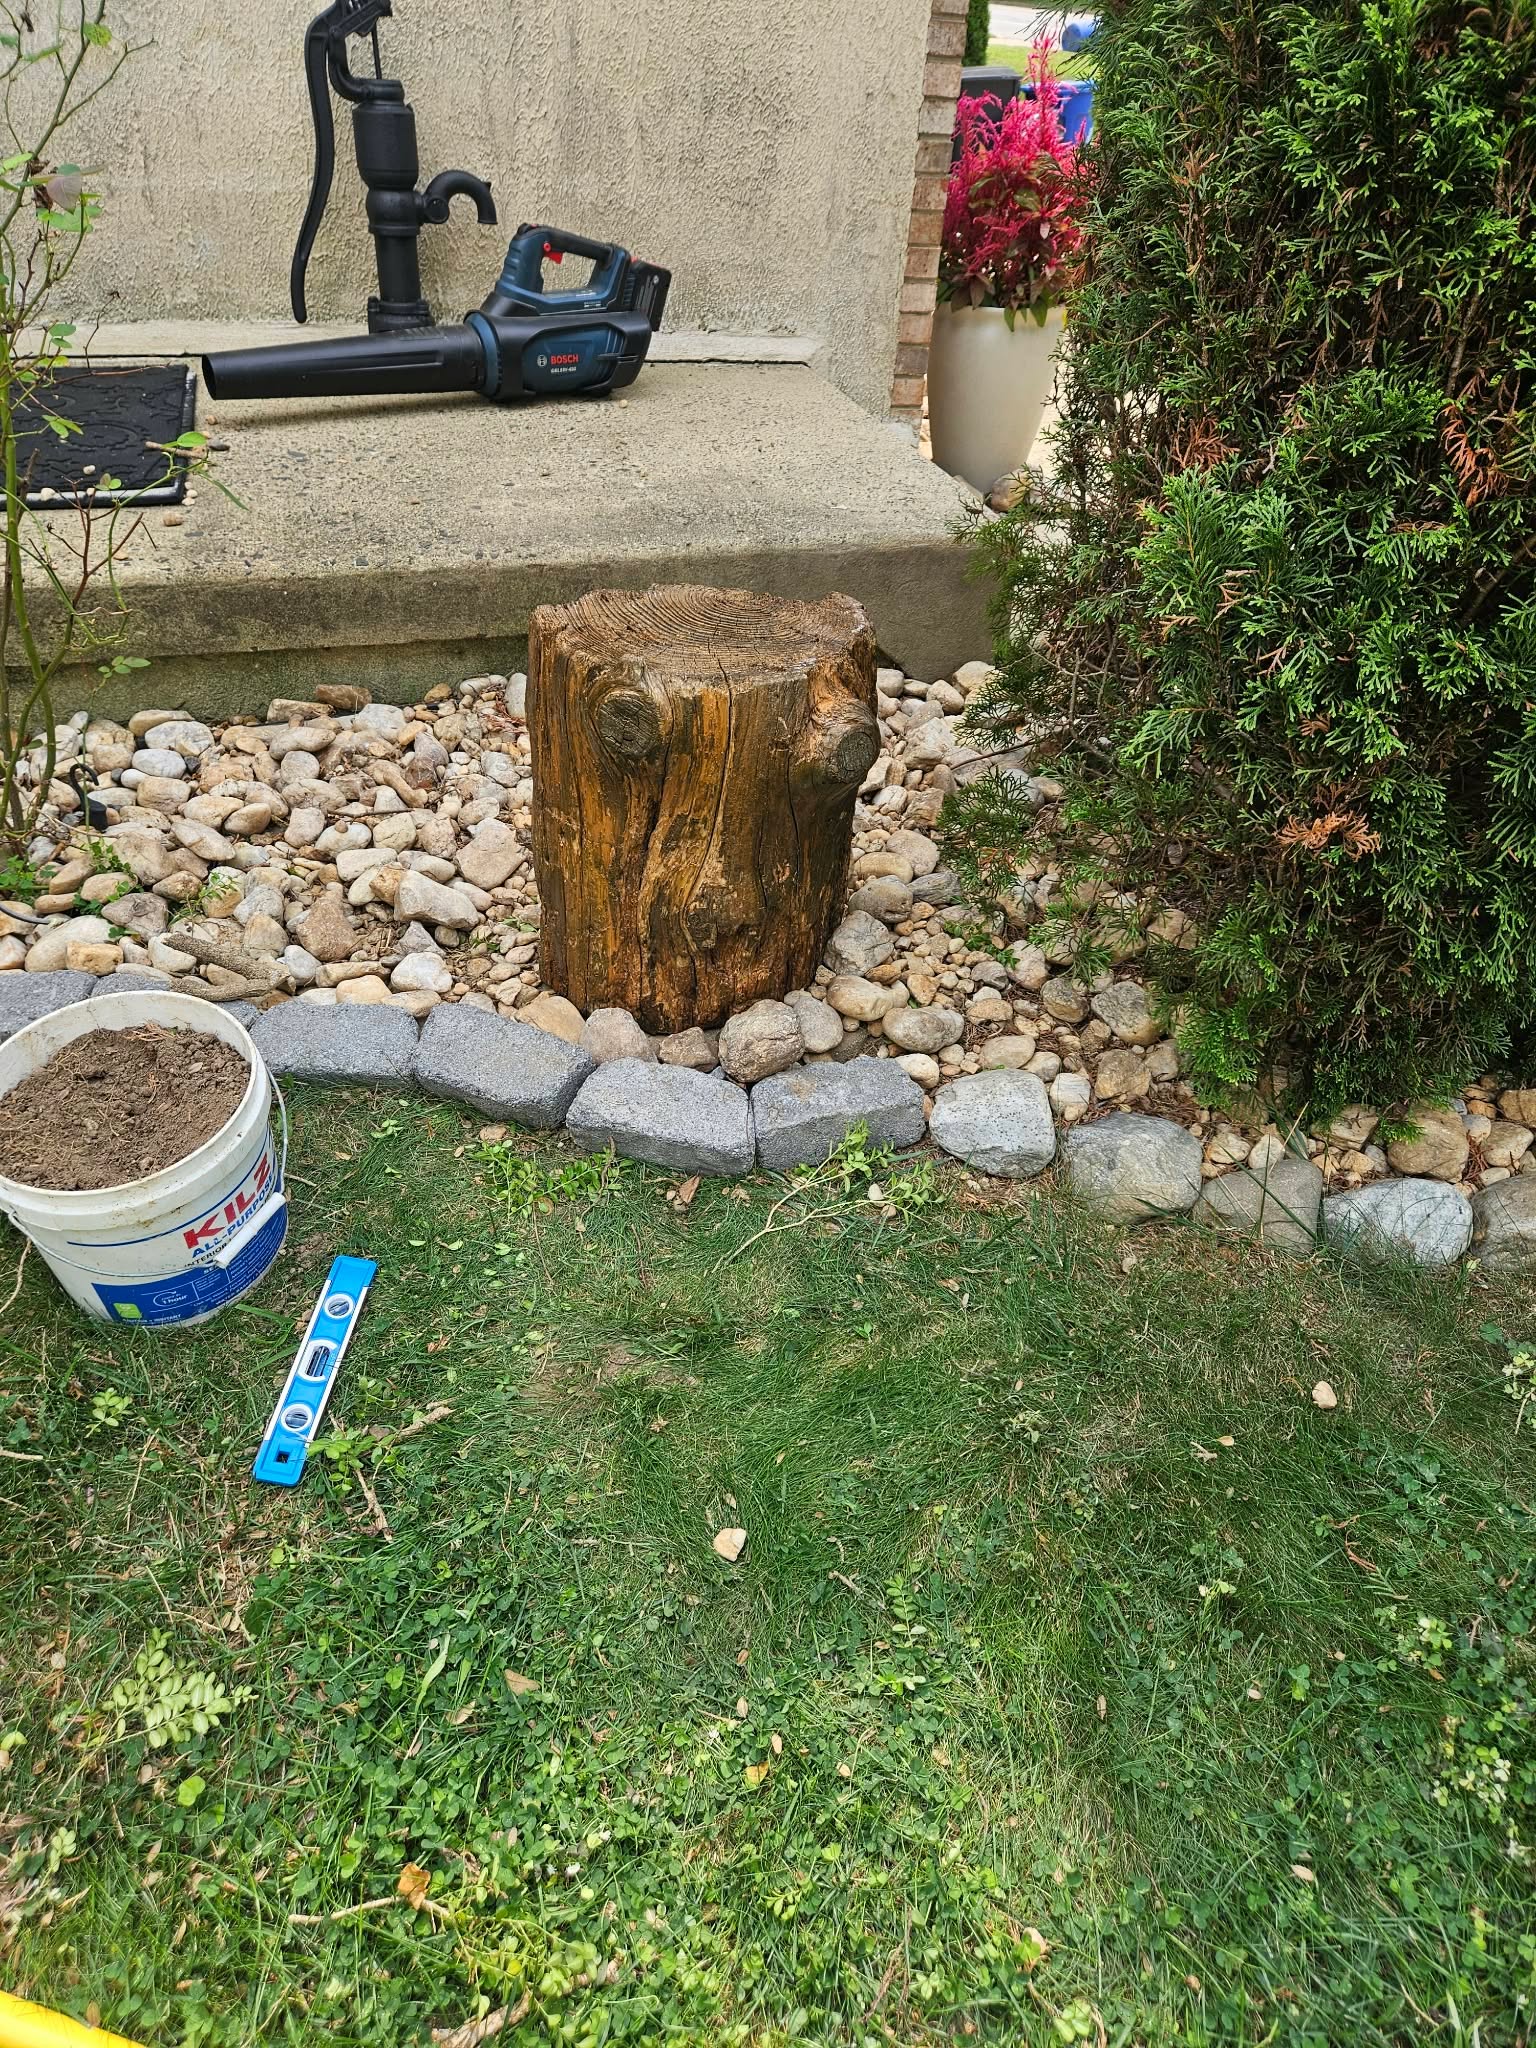
With the base level, I set the finished stump right on top of it. Even without anything else added yet, it already looked like it belonged in the garden, not like something dragged out of a river.
7. A closer look before the pump goes on
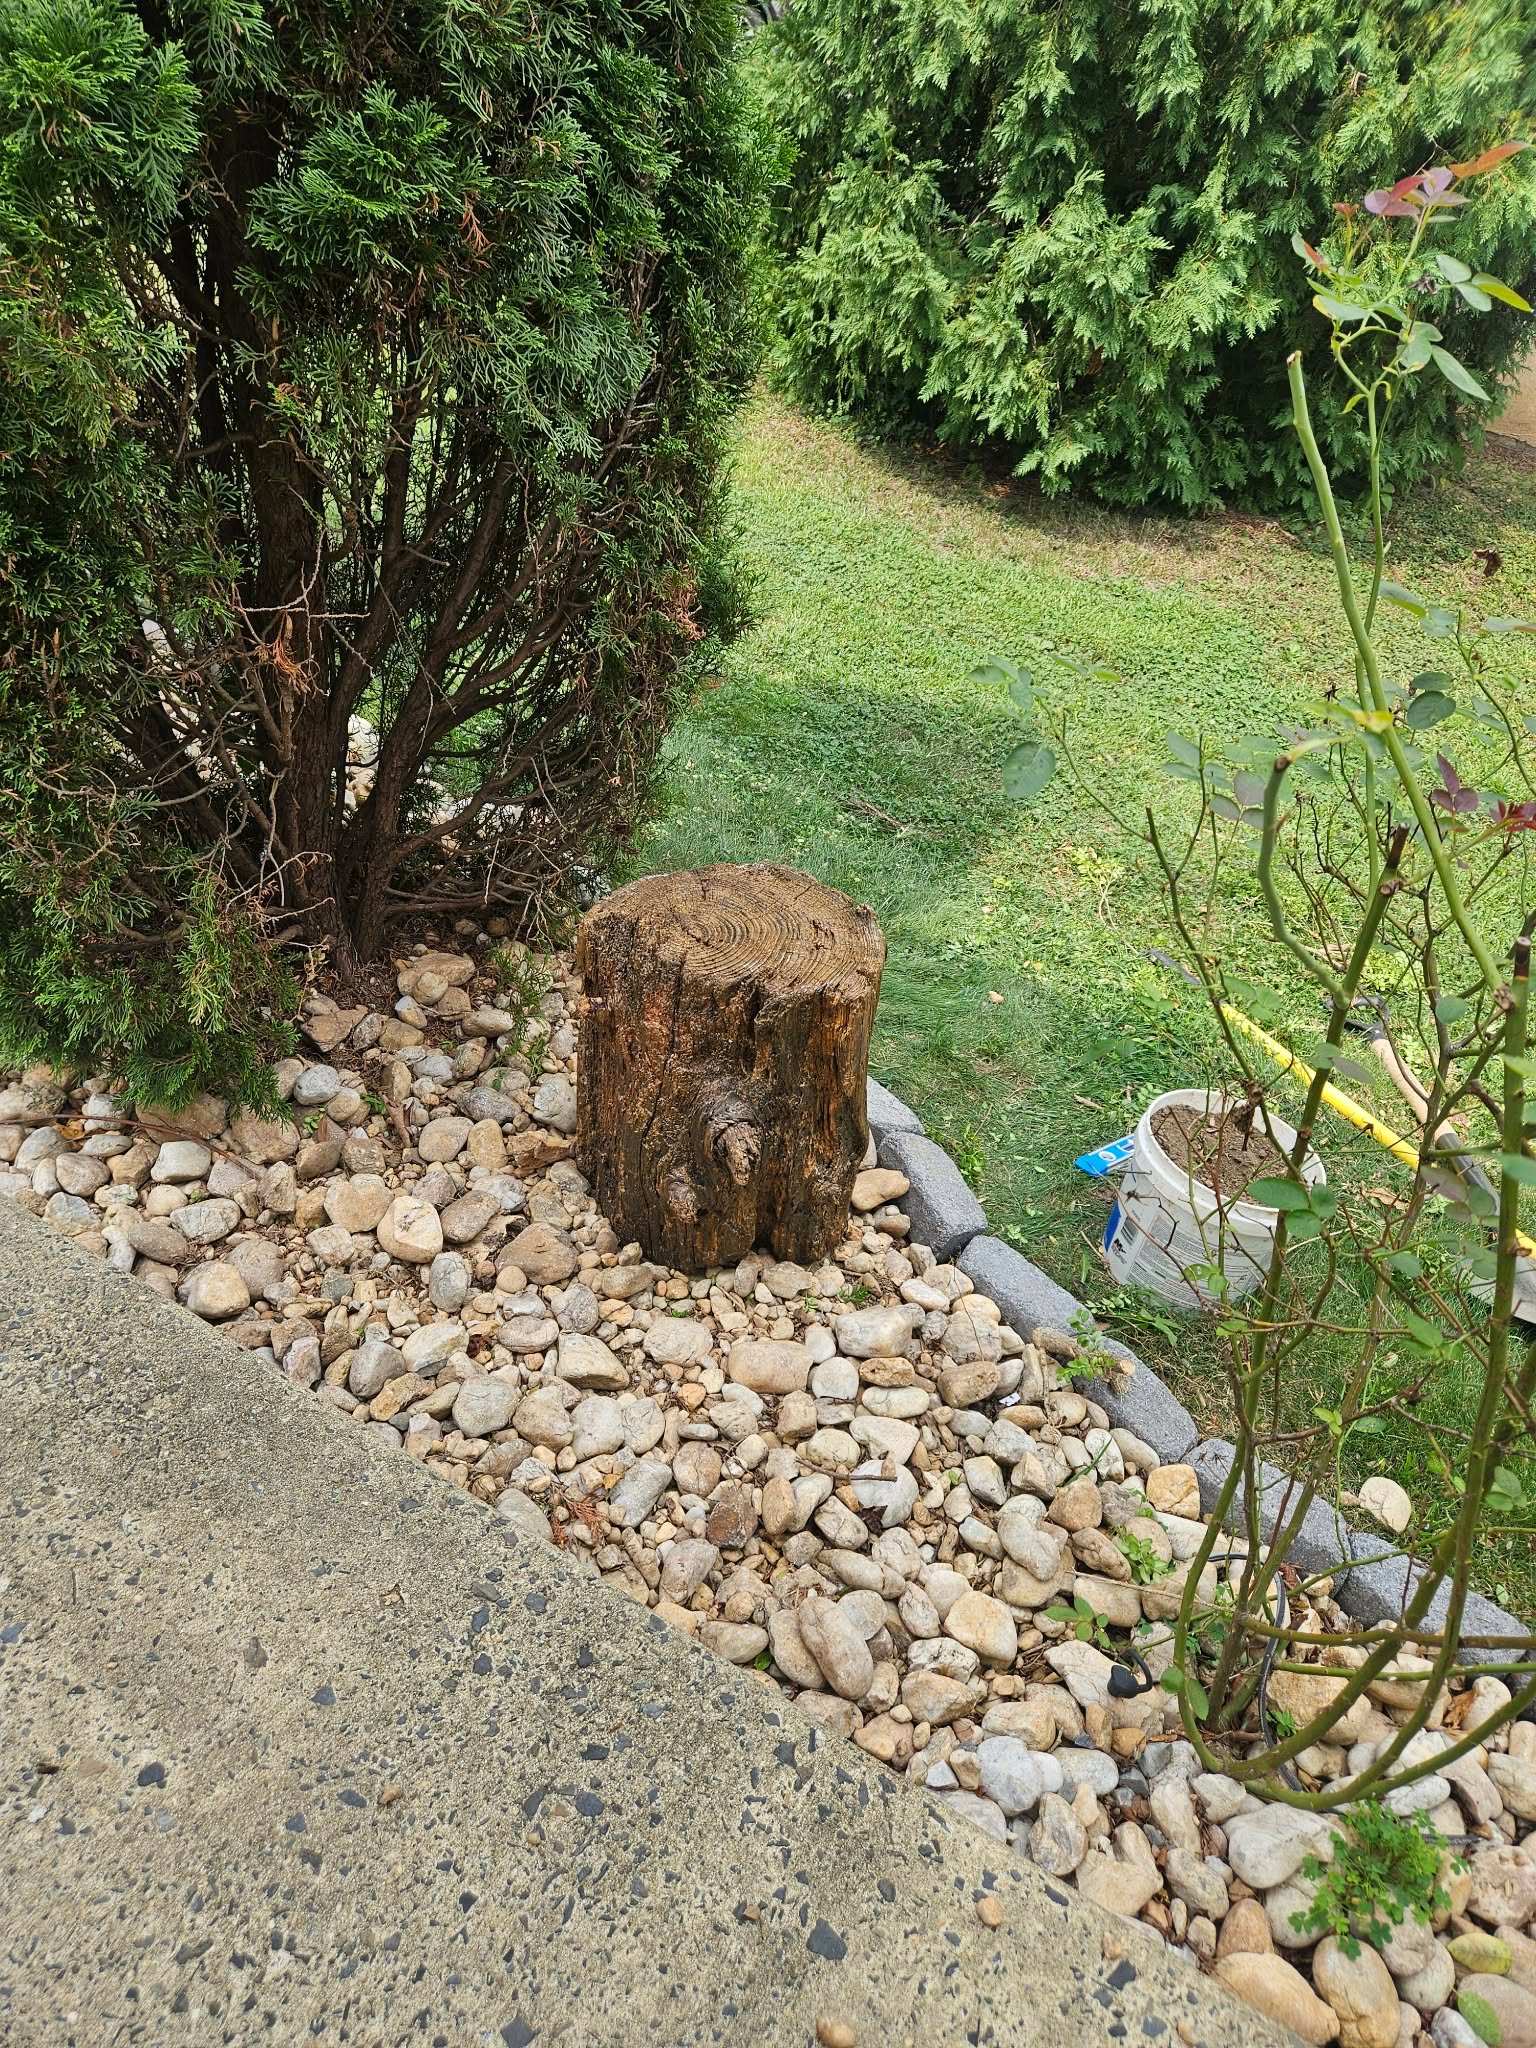
Sitting there next to the bushes, the stump already had its own character. This is the part where I was glad I did not listen to my wife, or the bugs, back at the river.
8. The well pump takes its place
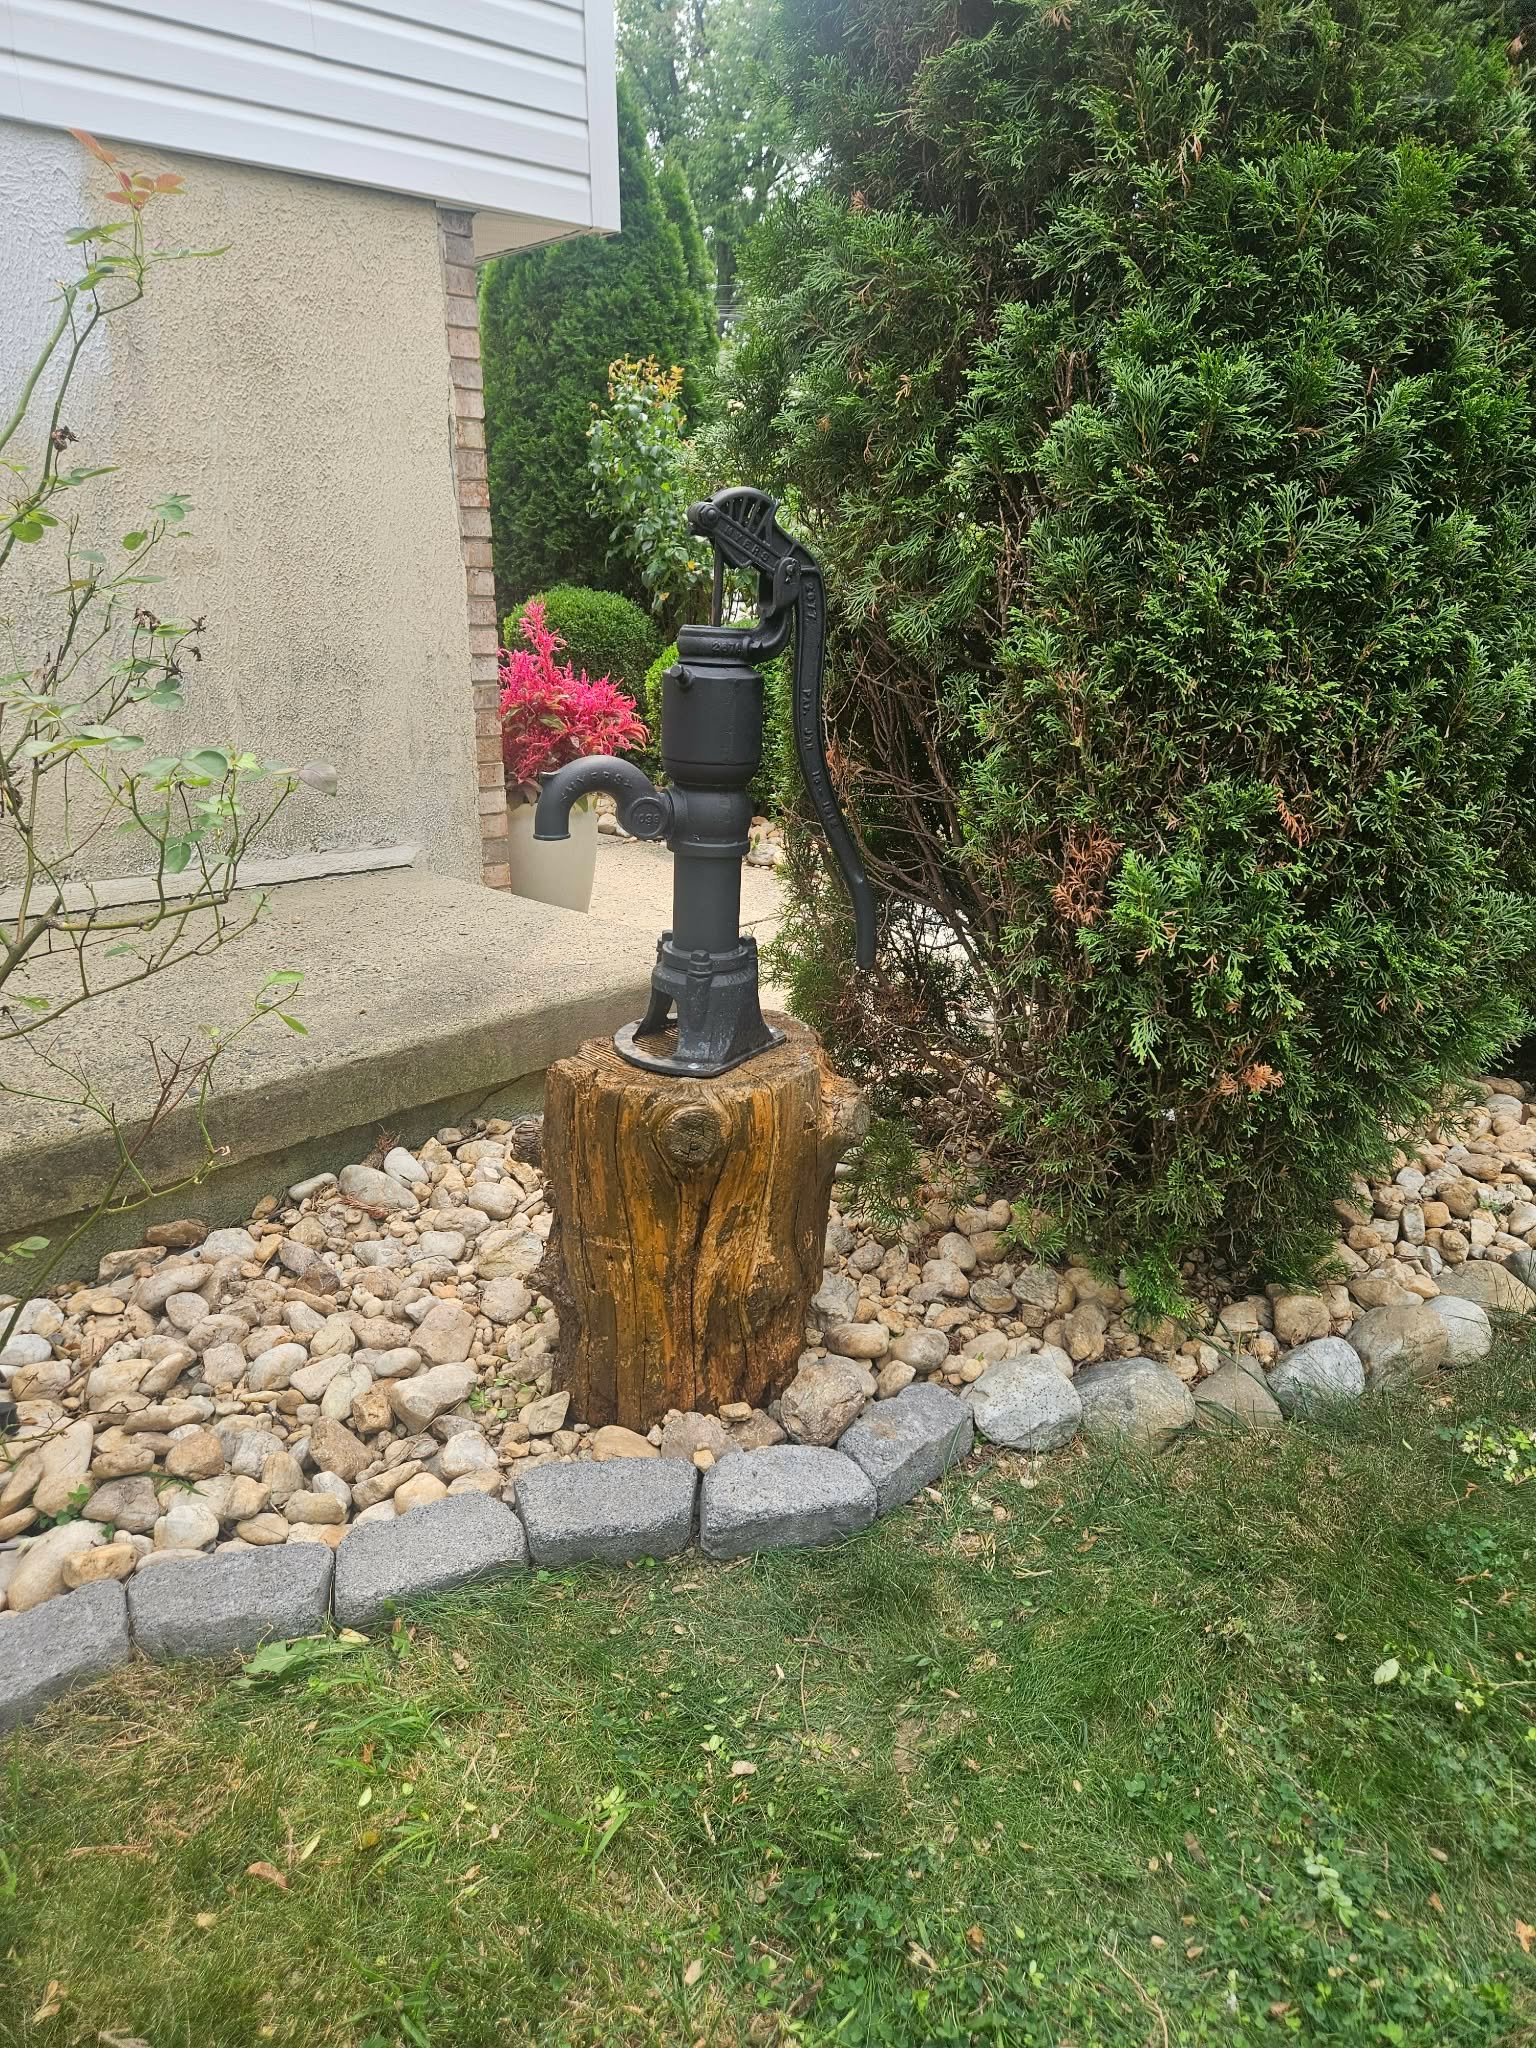
I bought an old-style Myers hand well pump just for this and bolted it down on top of the stump. This was the whole point of bringing that piece of wood home — to give this pump a stand with real character instead of a plain wood post.
9. The finished corner of the garden
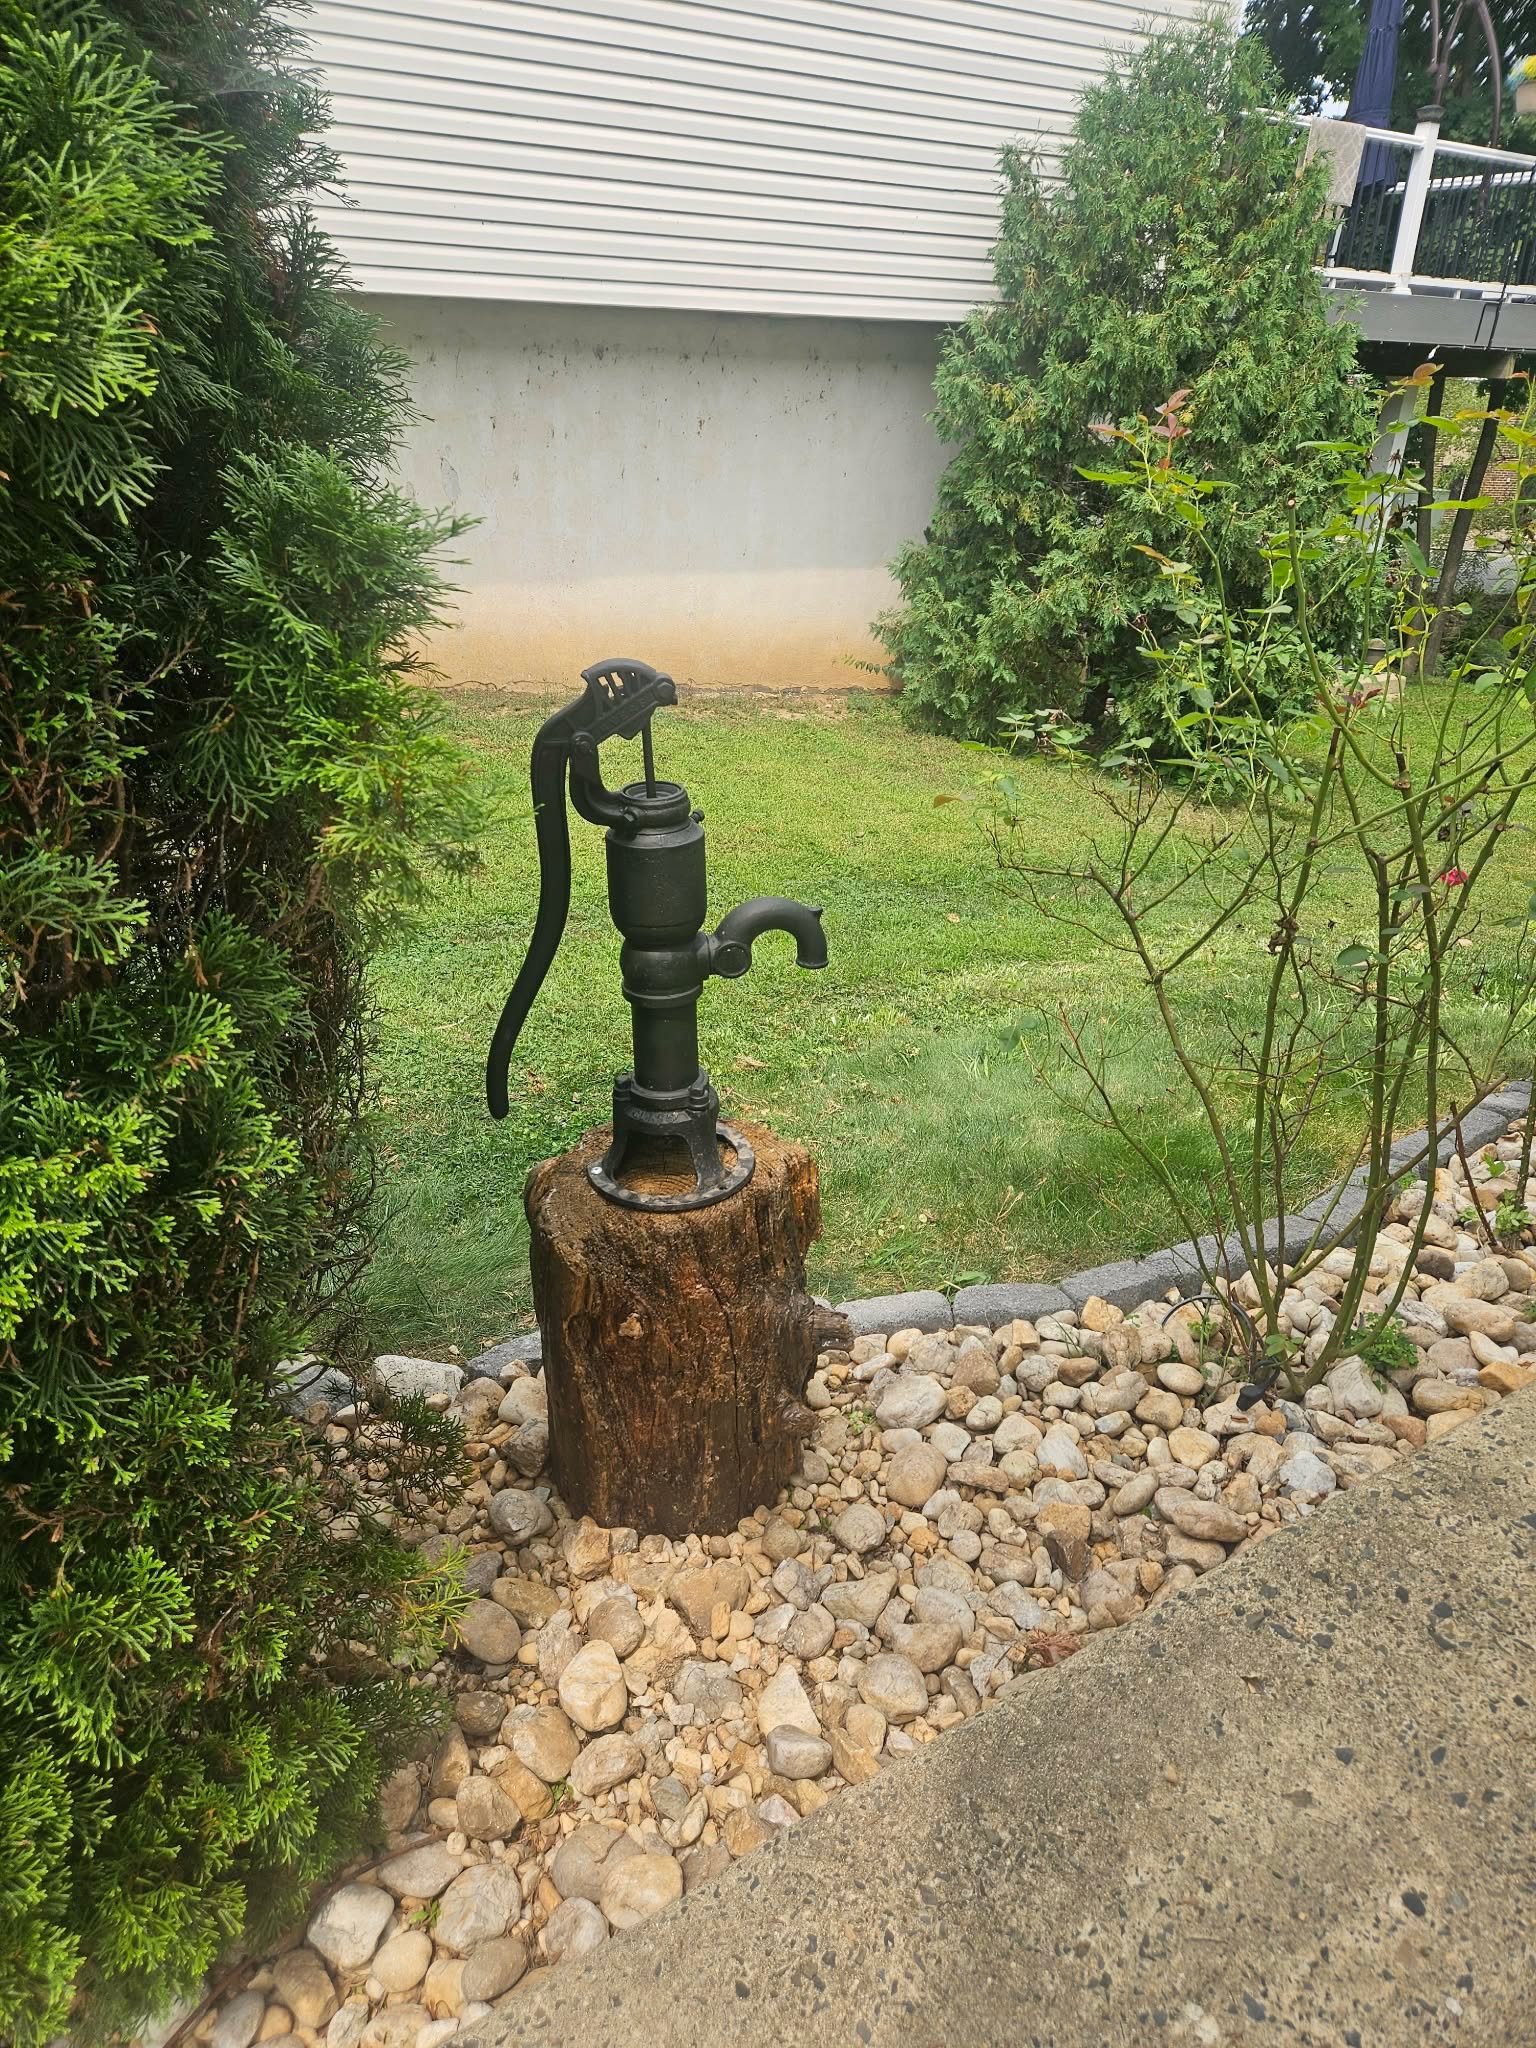
Now it sits by the house between the bushes, with the deck in the background where I did most of the prep work. A stump that started half sunken in the Delaware River, and almost got left behind, now holds up a well pump and adds real character to my garden.