
I wanted a bench for my front yard garden for a long time.
Every summer I think about it, and every summer it stays a thought only. Something else always comes first — work, family, small chores around the house. Then one day I look outside and it is fall already. This year I told myself no. Summer was almost gone and I did not want to push this to another year. So I picked one weekend and decided this is it, I am building the bench now, not later.
I found a bench plan online and printed it out. I am not a trained carpenter, so having the plan on the table next to me the whole time gave me confidence. Then I went to Lowe’s, picked good pressure-treated lumber, loaded the cart, and drove home ready to start.
Step-by-Step
1. The lumber run
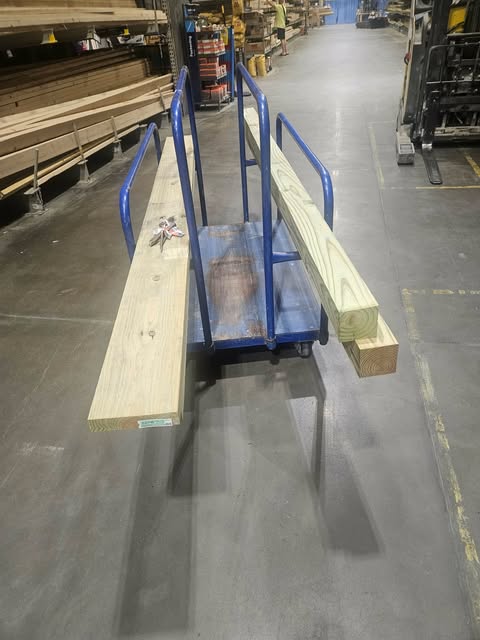
Every project starts here for me — walking the aisle, checking each board for straightness, picking the ones without too much twist or crack. I loaded the cart with the long boards I needed and headed to checkout, a little excited that this year the bench was actually going to happen.
2. Screws and hardware
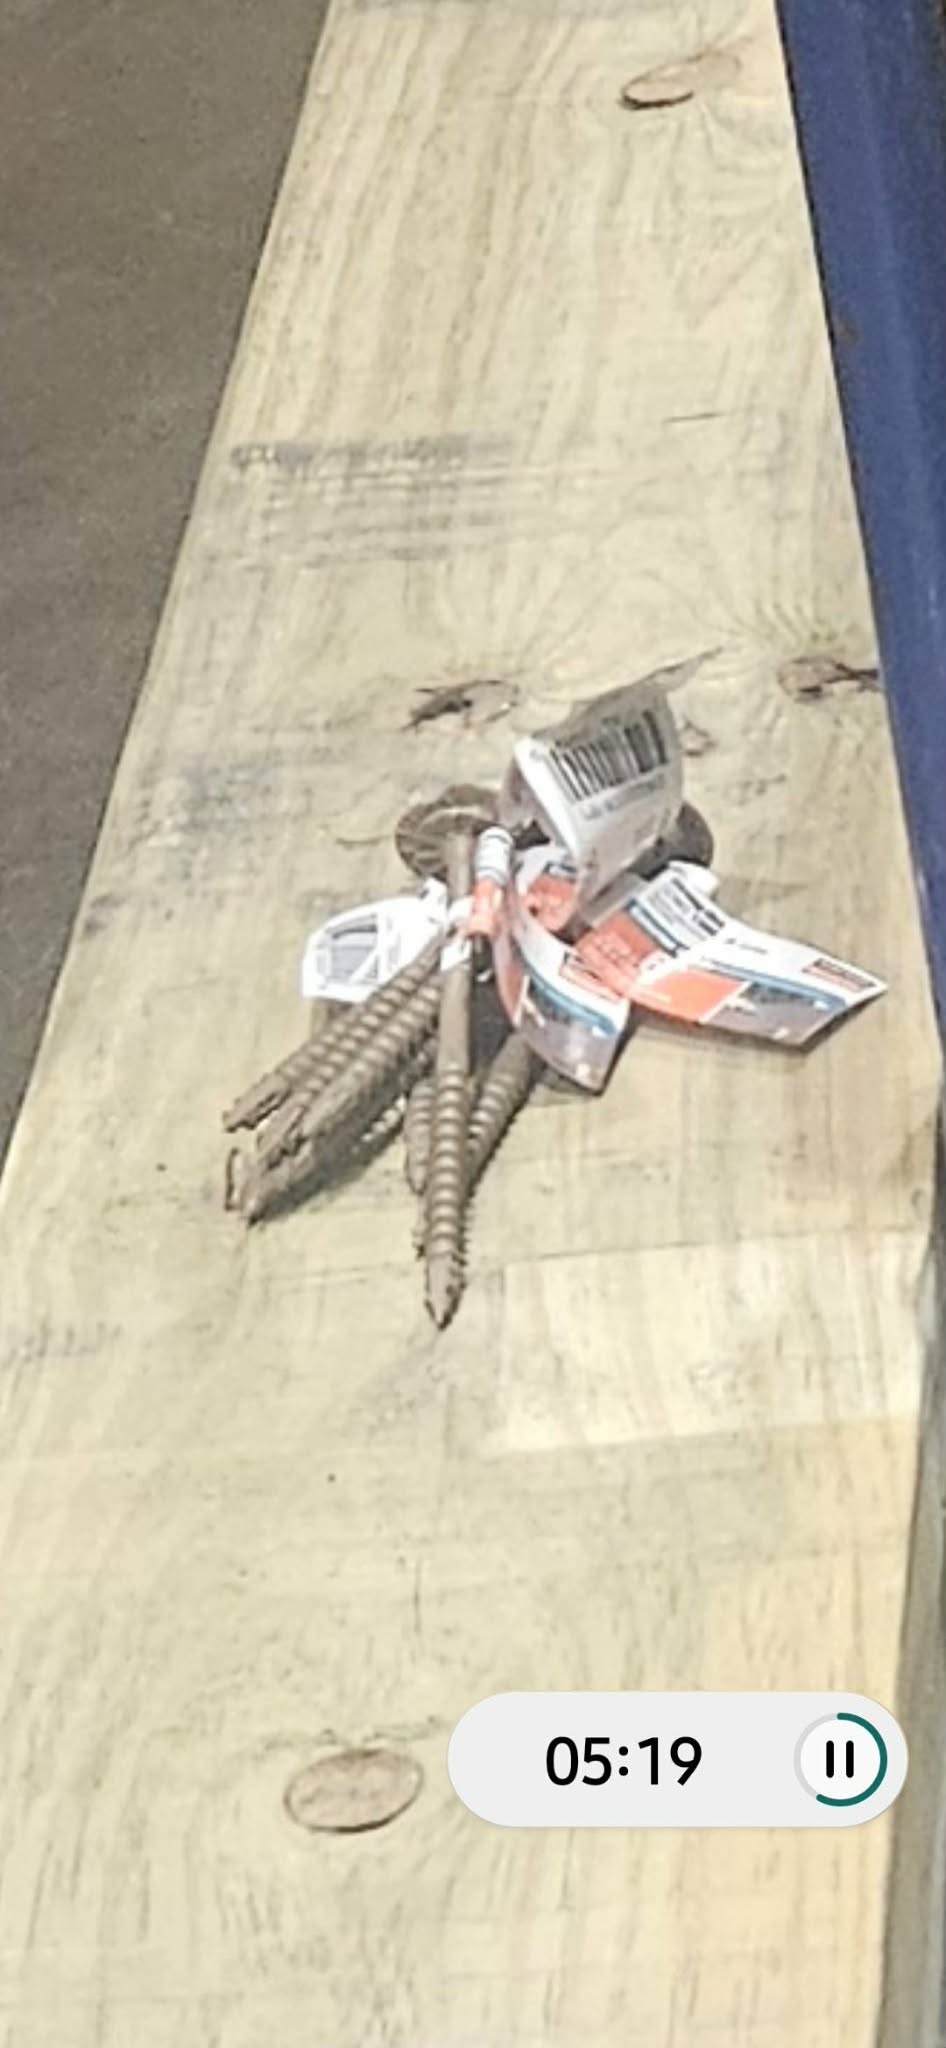
Before any cutting, I laid out the screws I bought for this build. Small step, but I always keep the receipts and tags together until the project is finished, just in case something is short or wrong size. Better to check now than in the middle of assembly.
3. Cutting to length
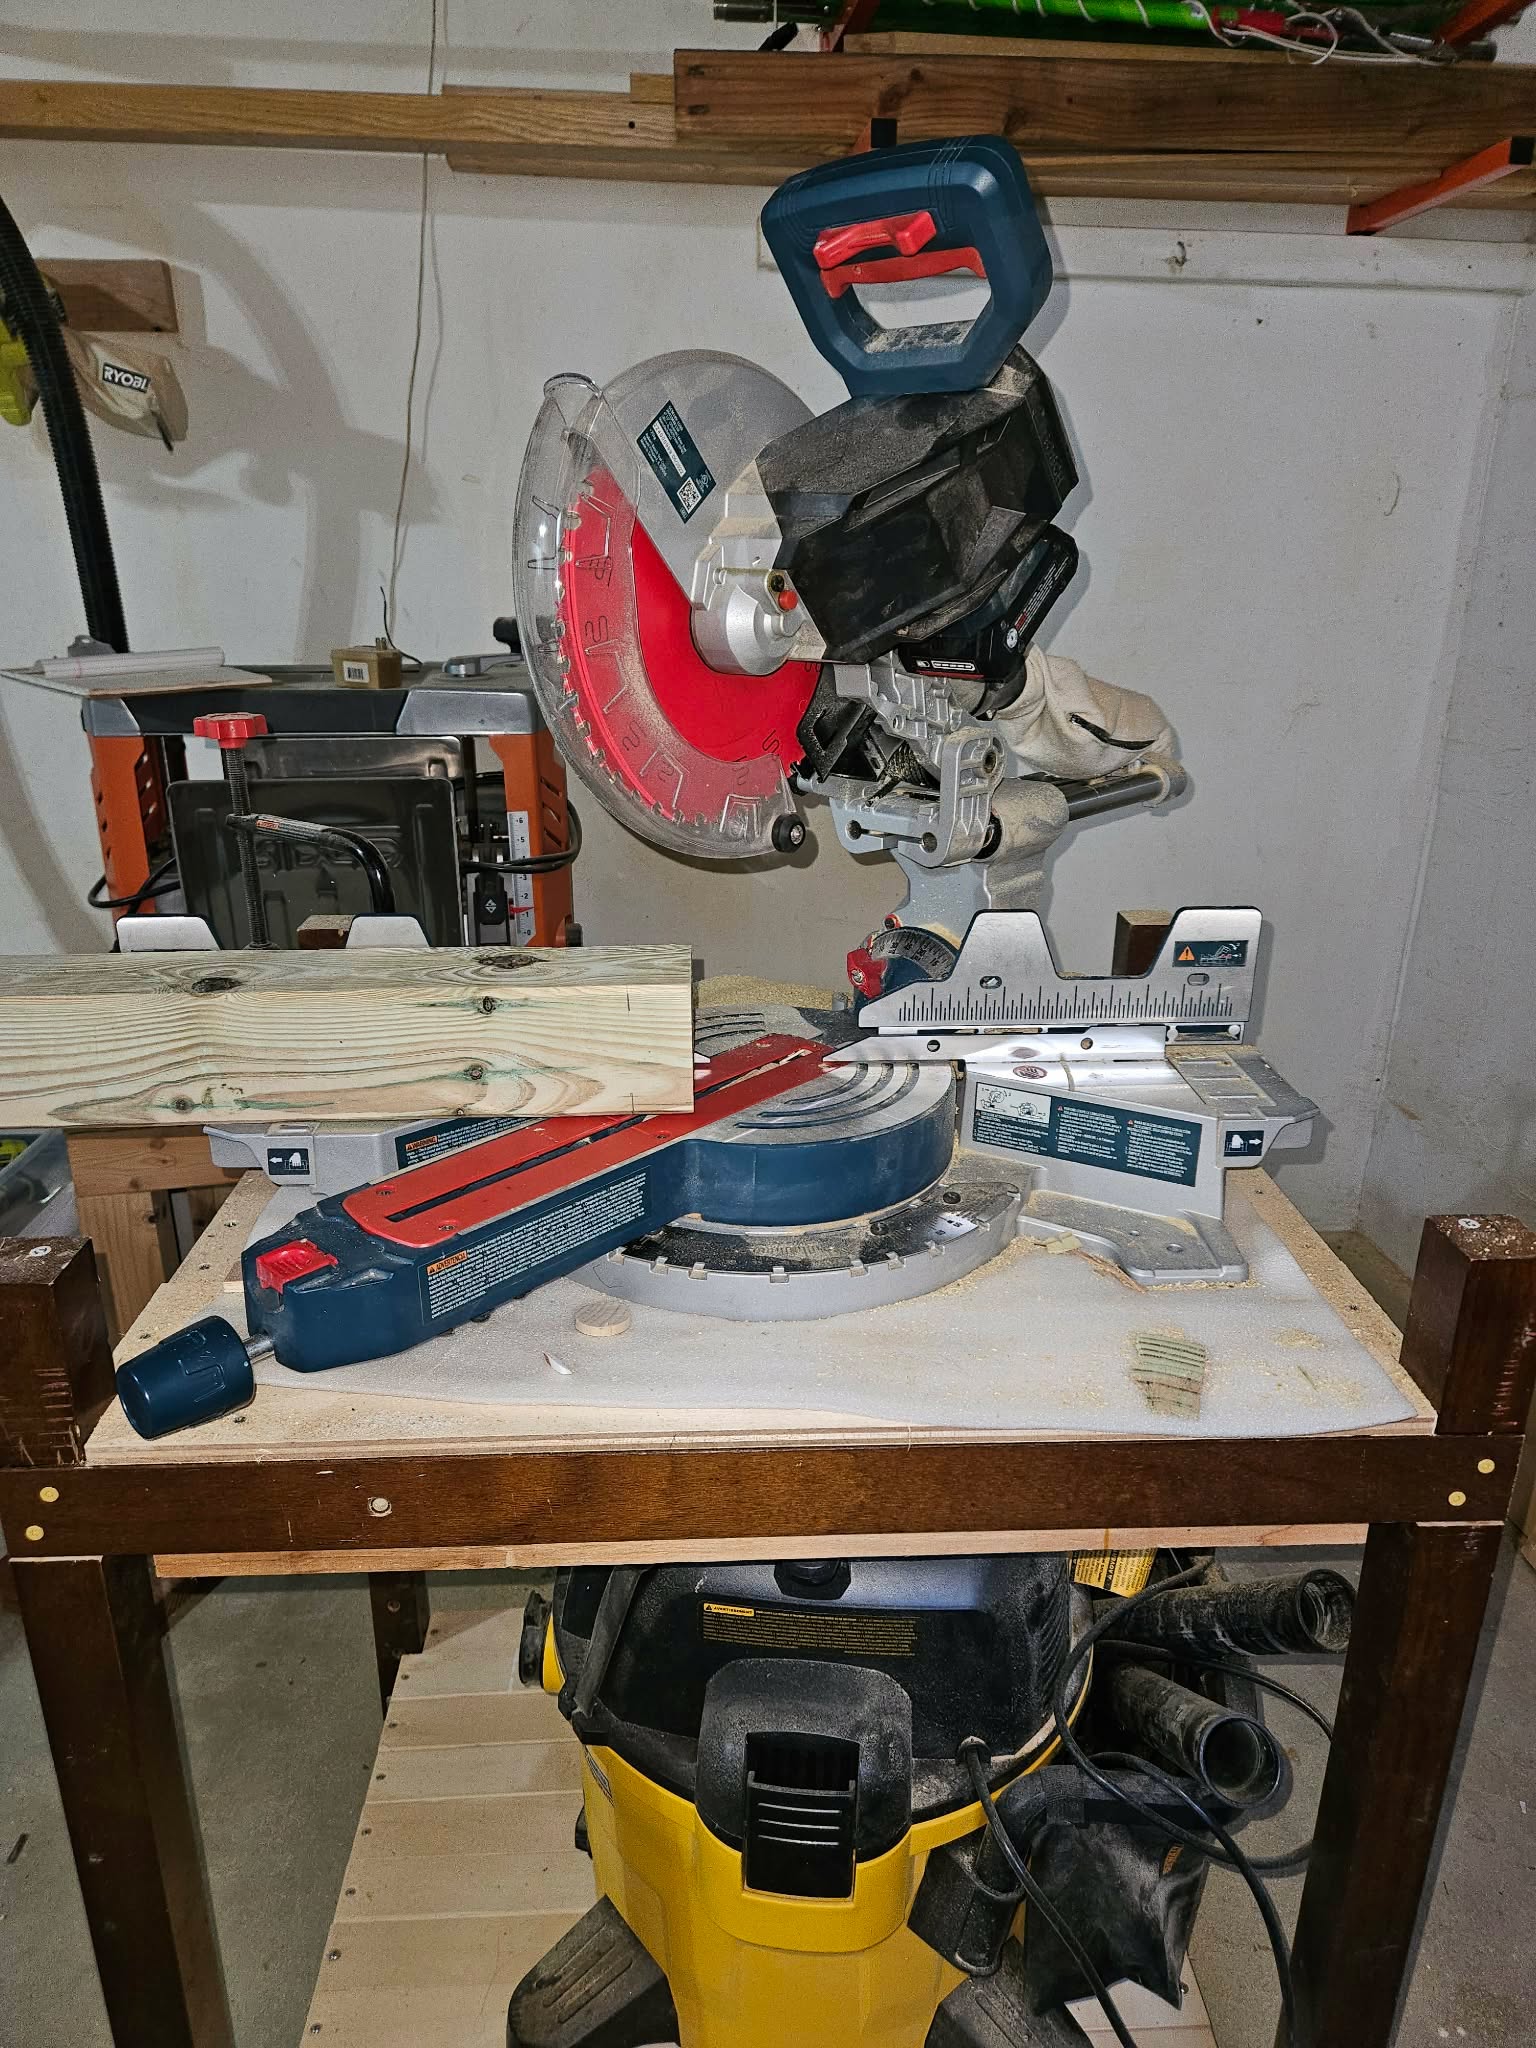
Back in the garage, I set up the miter saw and started cutting the boards to the lengths from the plan. I measured twice on every piece. Lumber is not cheap, and once you cut it short there is no getting that length back.
4. Staging everything on the deck
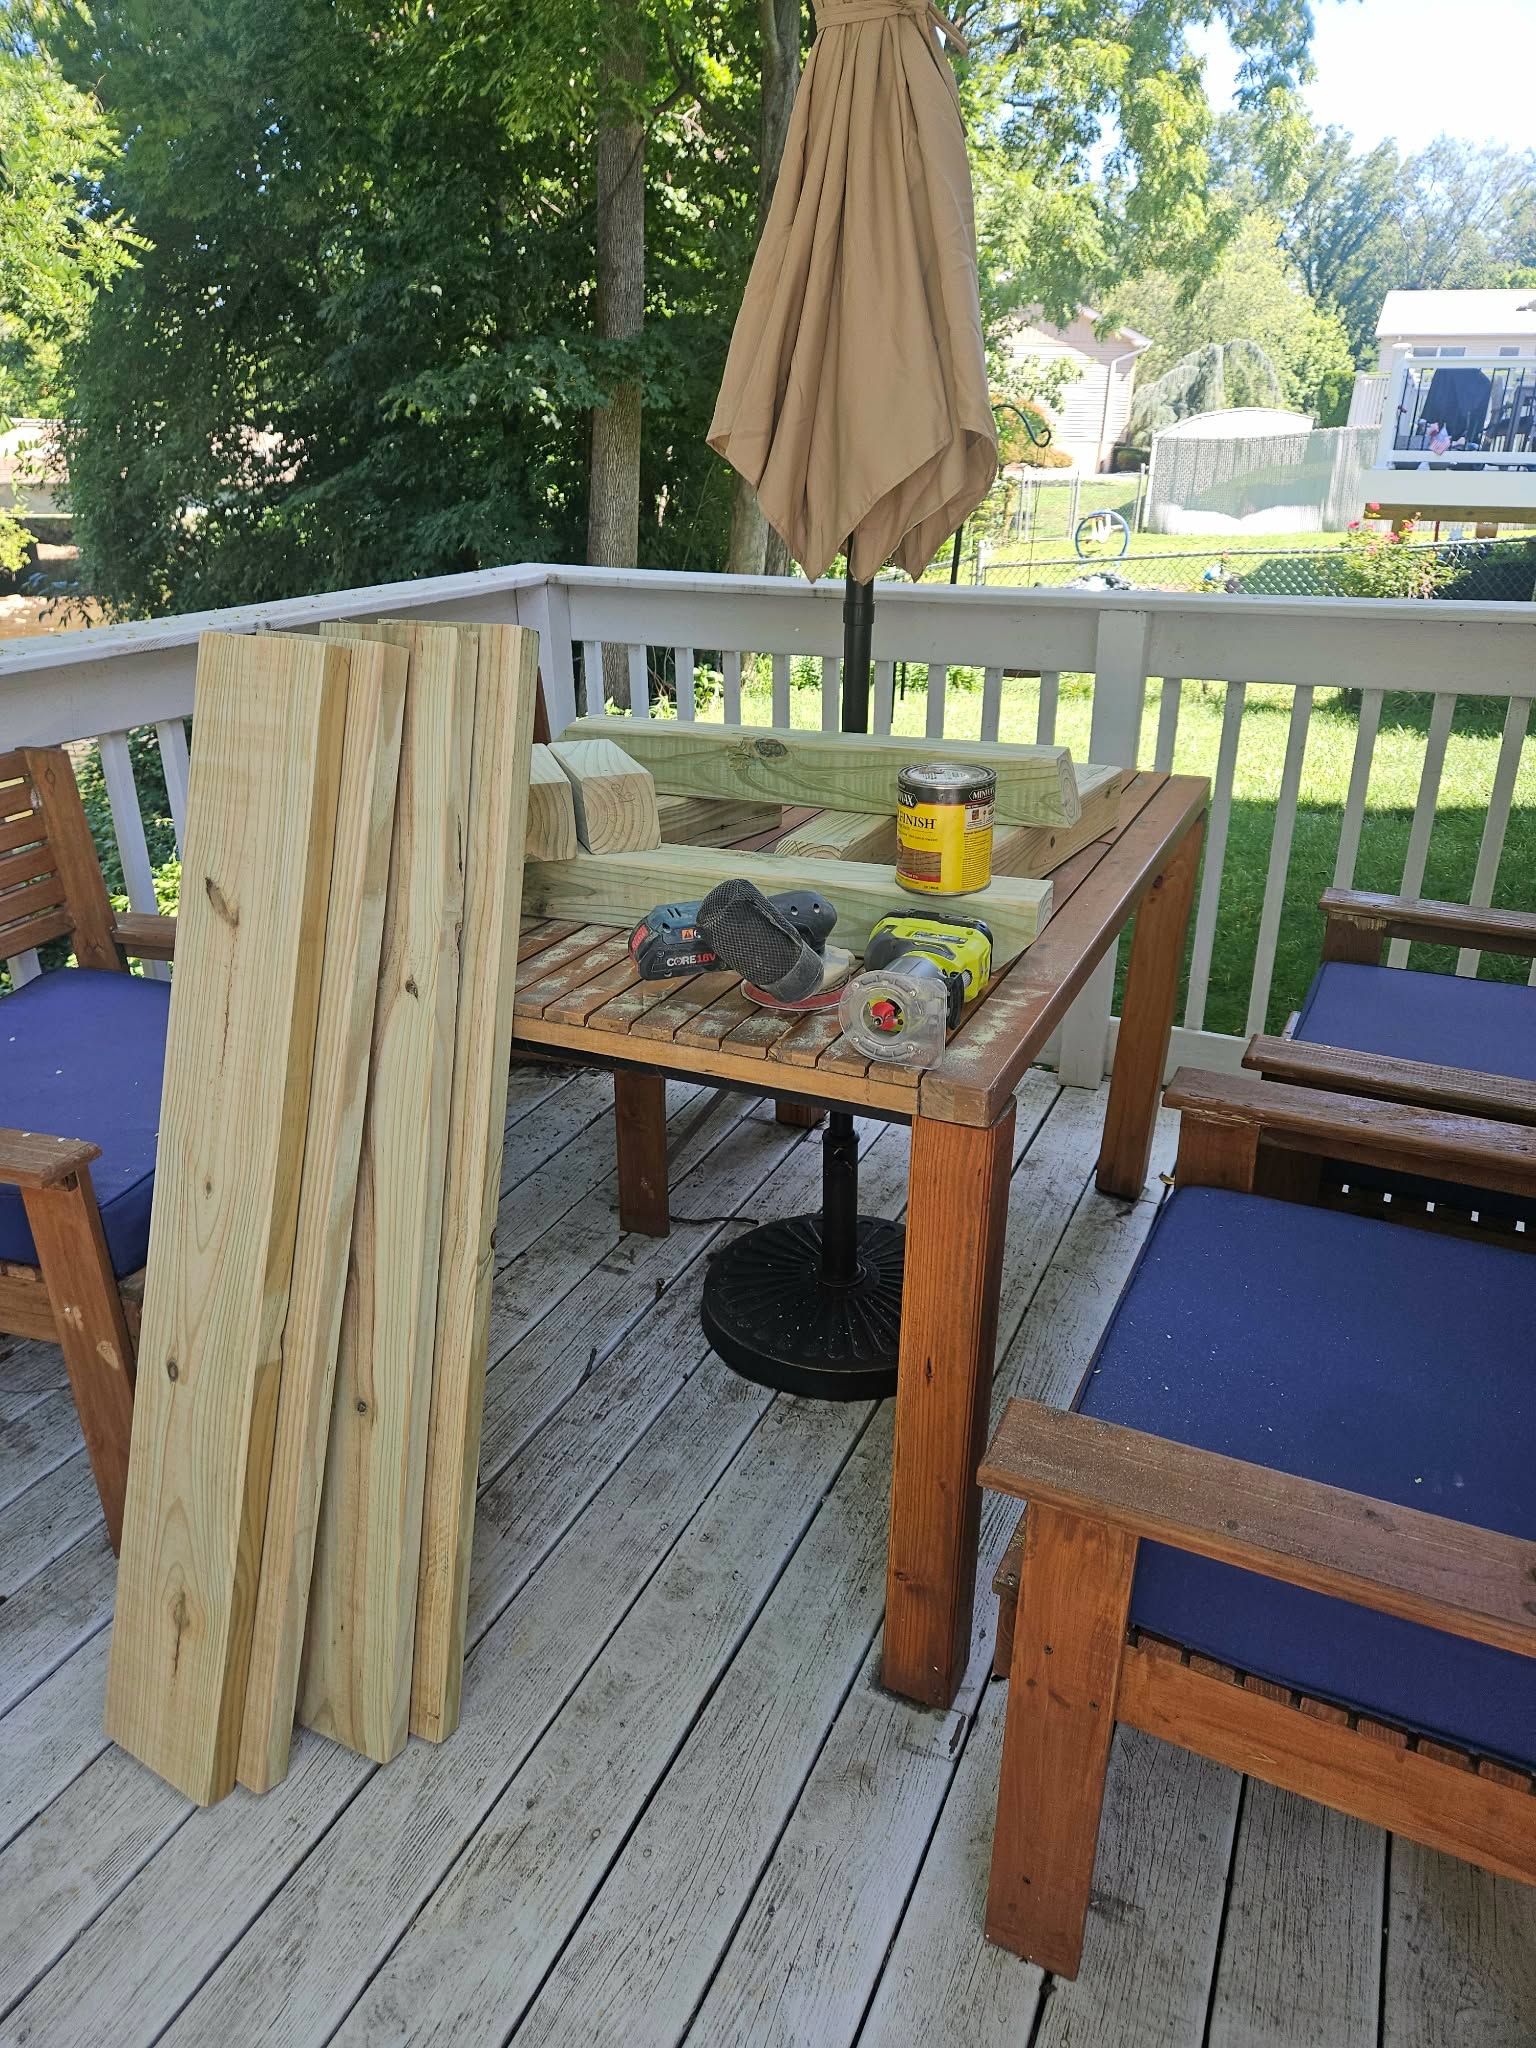
I moved all the cut pieces out to the deck, along with the stain can and the sanders, and laid everything out so I could see what I had before going further. Having the pieces in front of you like this helps a lot — you catch mistakes before they become part of the bench.
5. Sanding every board
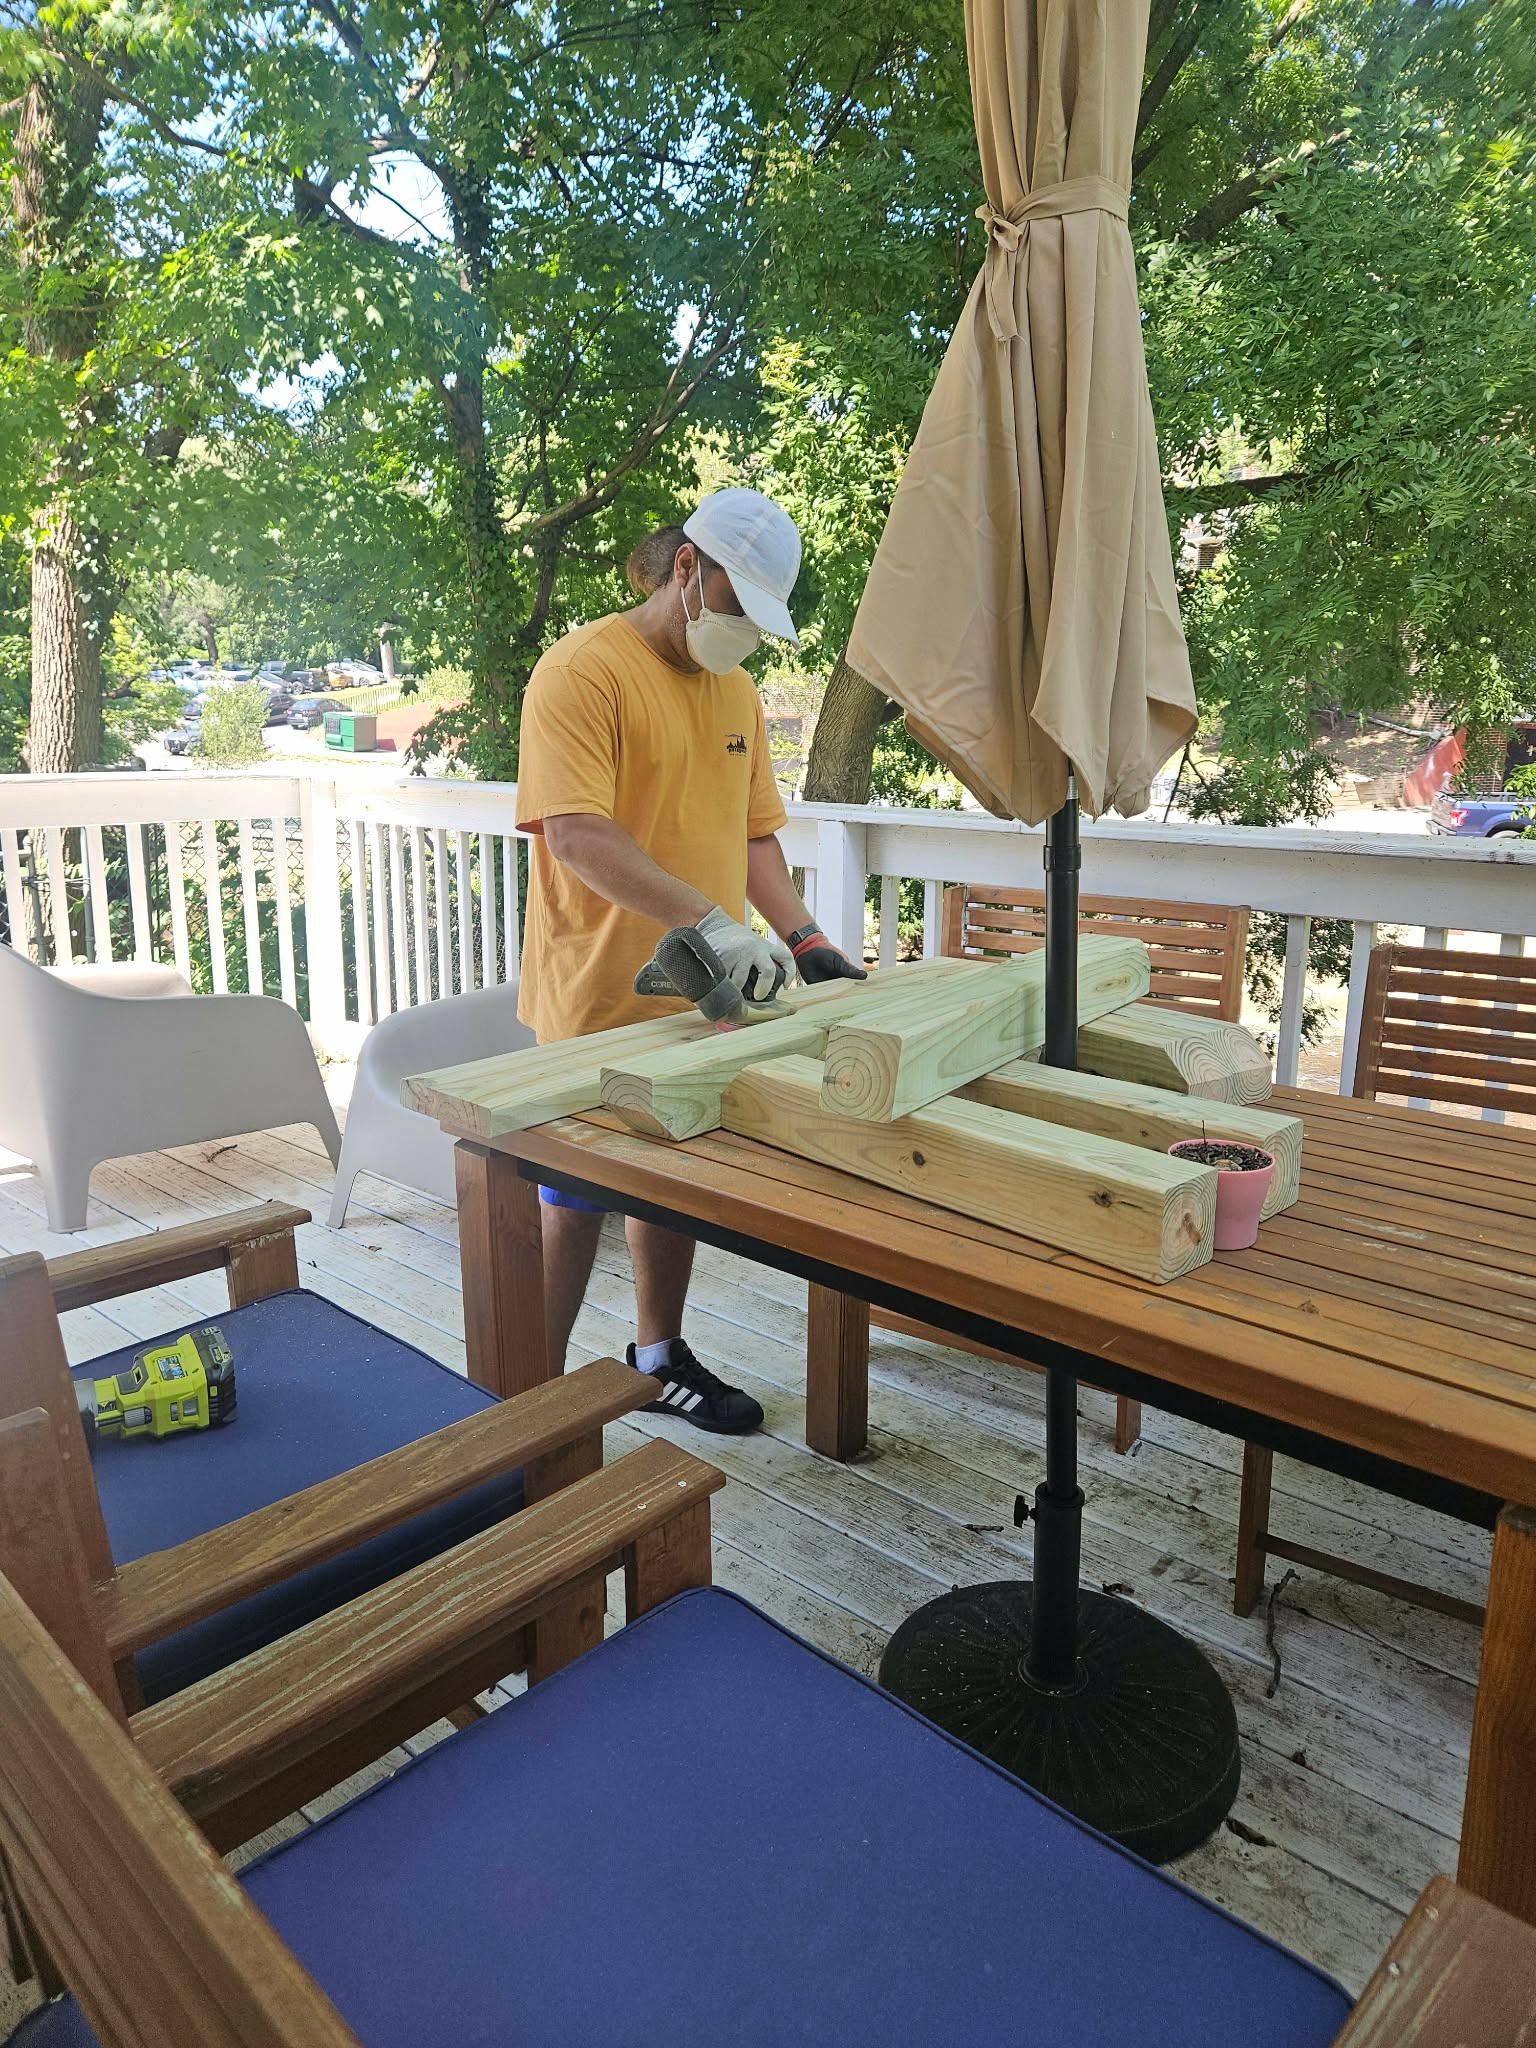
Pressure-treated wood is rough out of the store, so I sanded every piece before assembly. This is the slow, boring part of the build, and also the part nobody notices later — but you feel it every time you sit down, so I did not skip it.
6. Routing the edges smooth
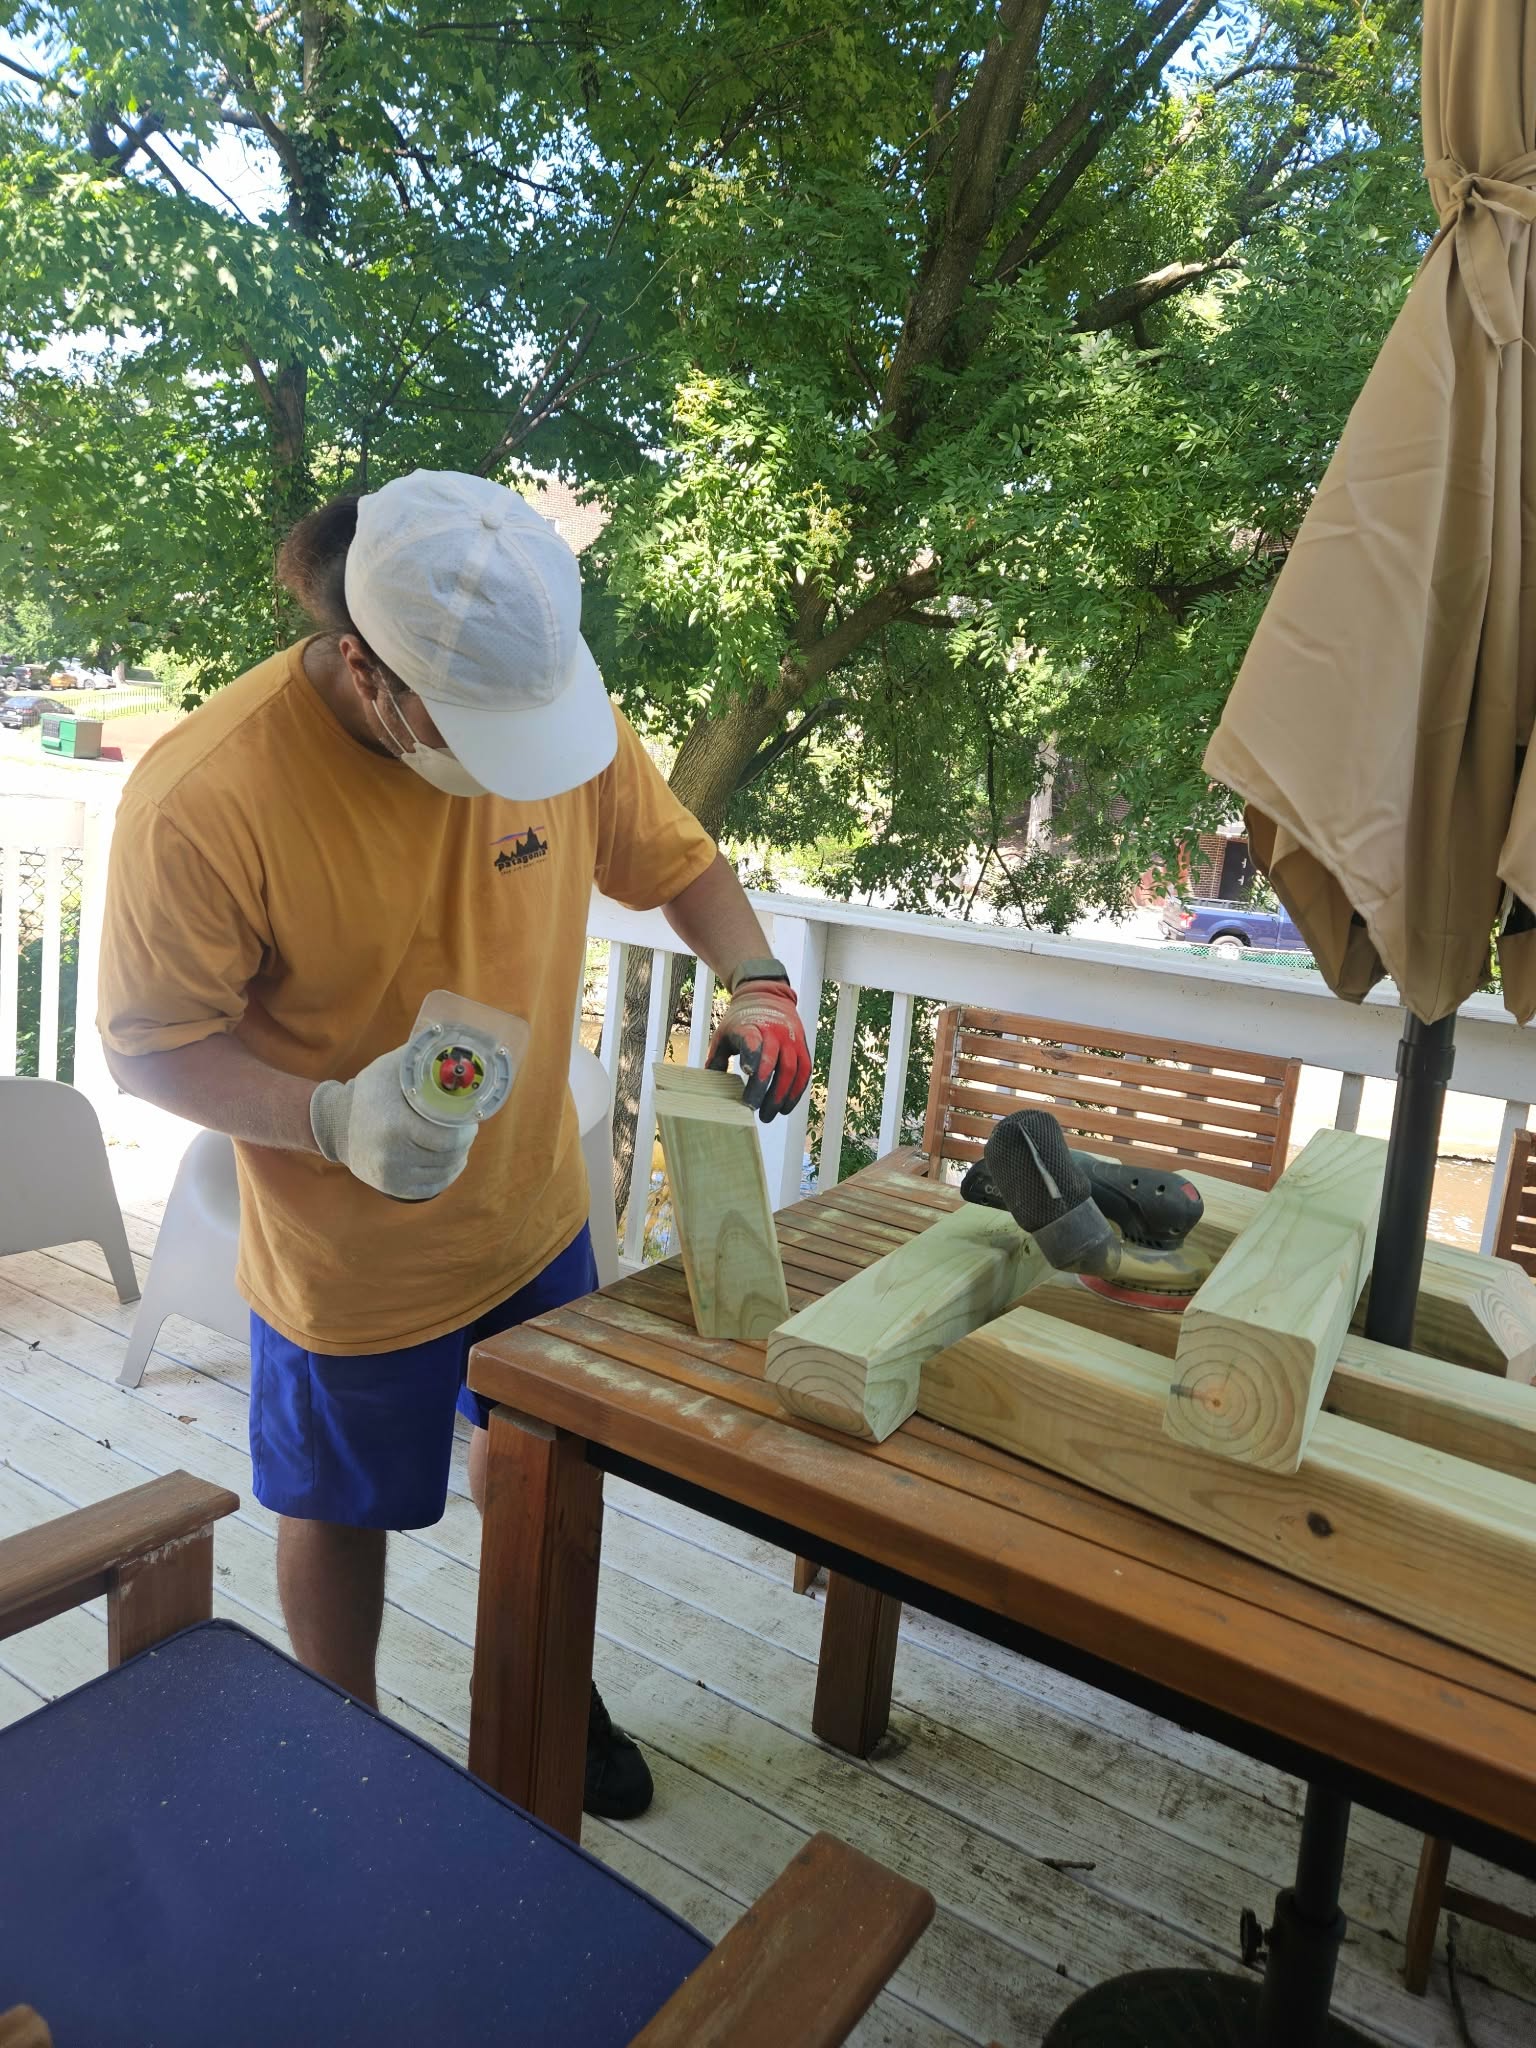
Straight from the saw, every edge is sharp and square. I ran the router along each one to round them off. It is a small detail, but a bench with soft edges feels finished, and nobody gets a splinter sitting down on a sharp corner.
7. Following the plan, drilling pocket holes
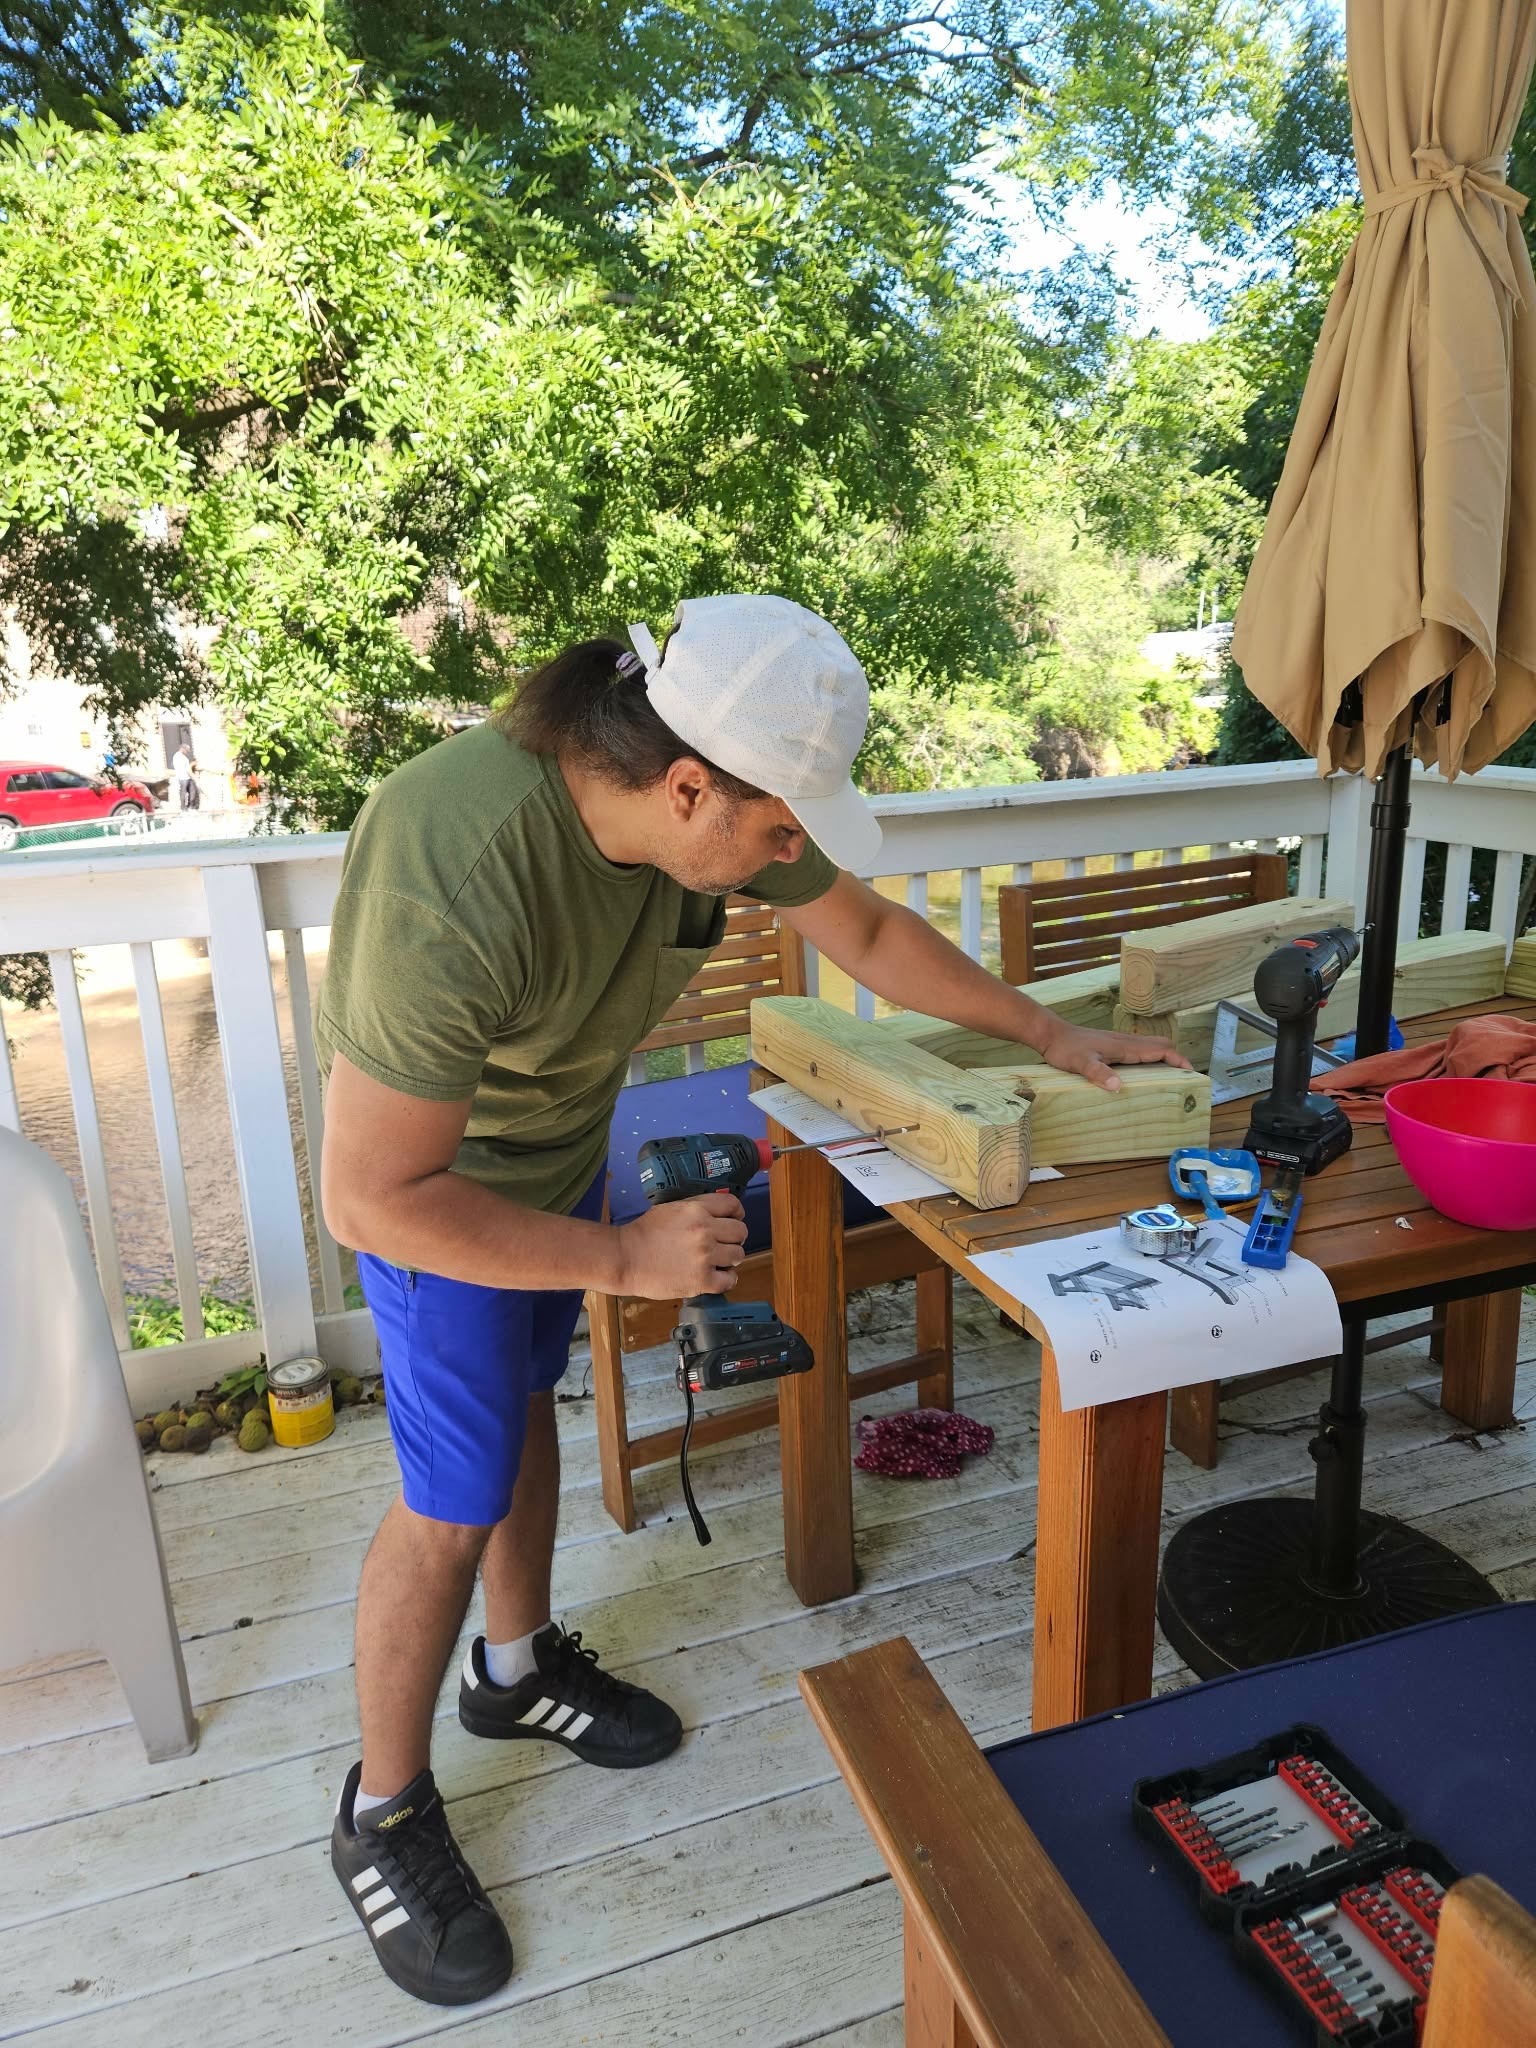
With the plan sheet open on the table, I drilled pocket holes into the pieces that needed to join at an angle. I kept checking back to the plan after almost every hole. This is the part where the printed plan really earned its place — without it I would have guessed wrong more than once.
8. The first leg comes together
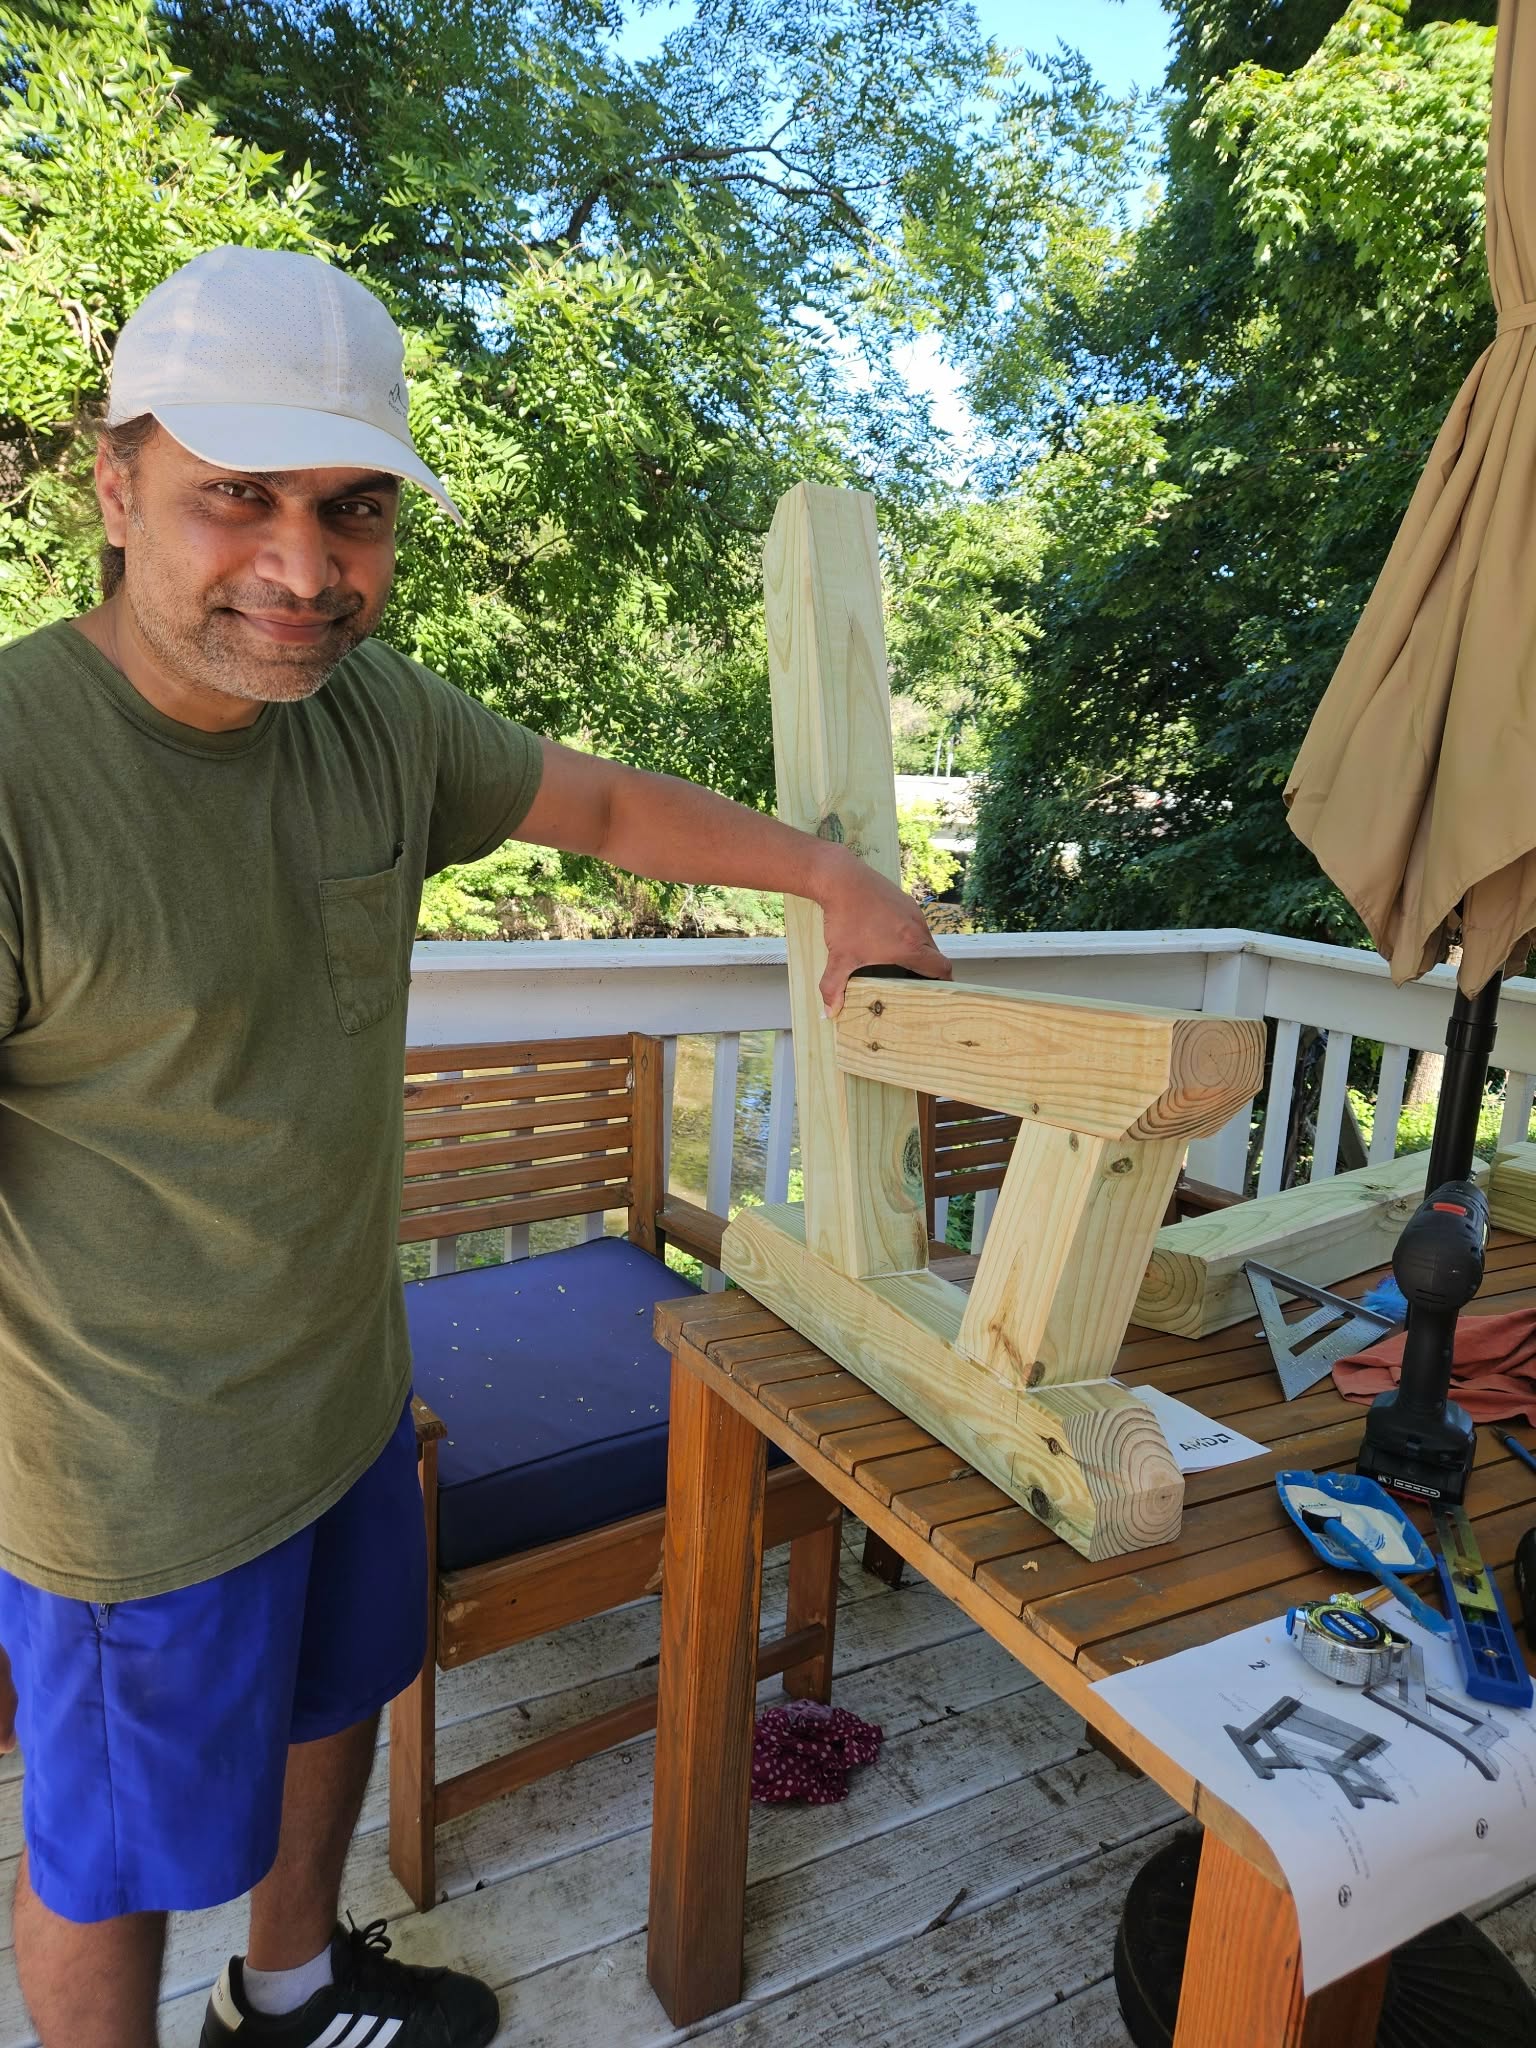
The first time a few loose boards turn into an actual leg and side support, something changes. Before this it is just cut wood on a table. After this, you can see the bench standing in your mind. That first piece coming together gave me the push to keep going.
9. The full frame, unfinished
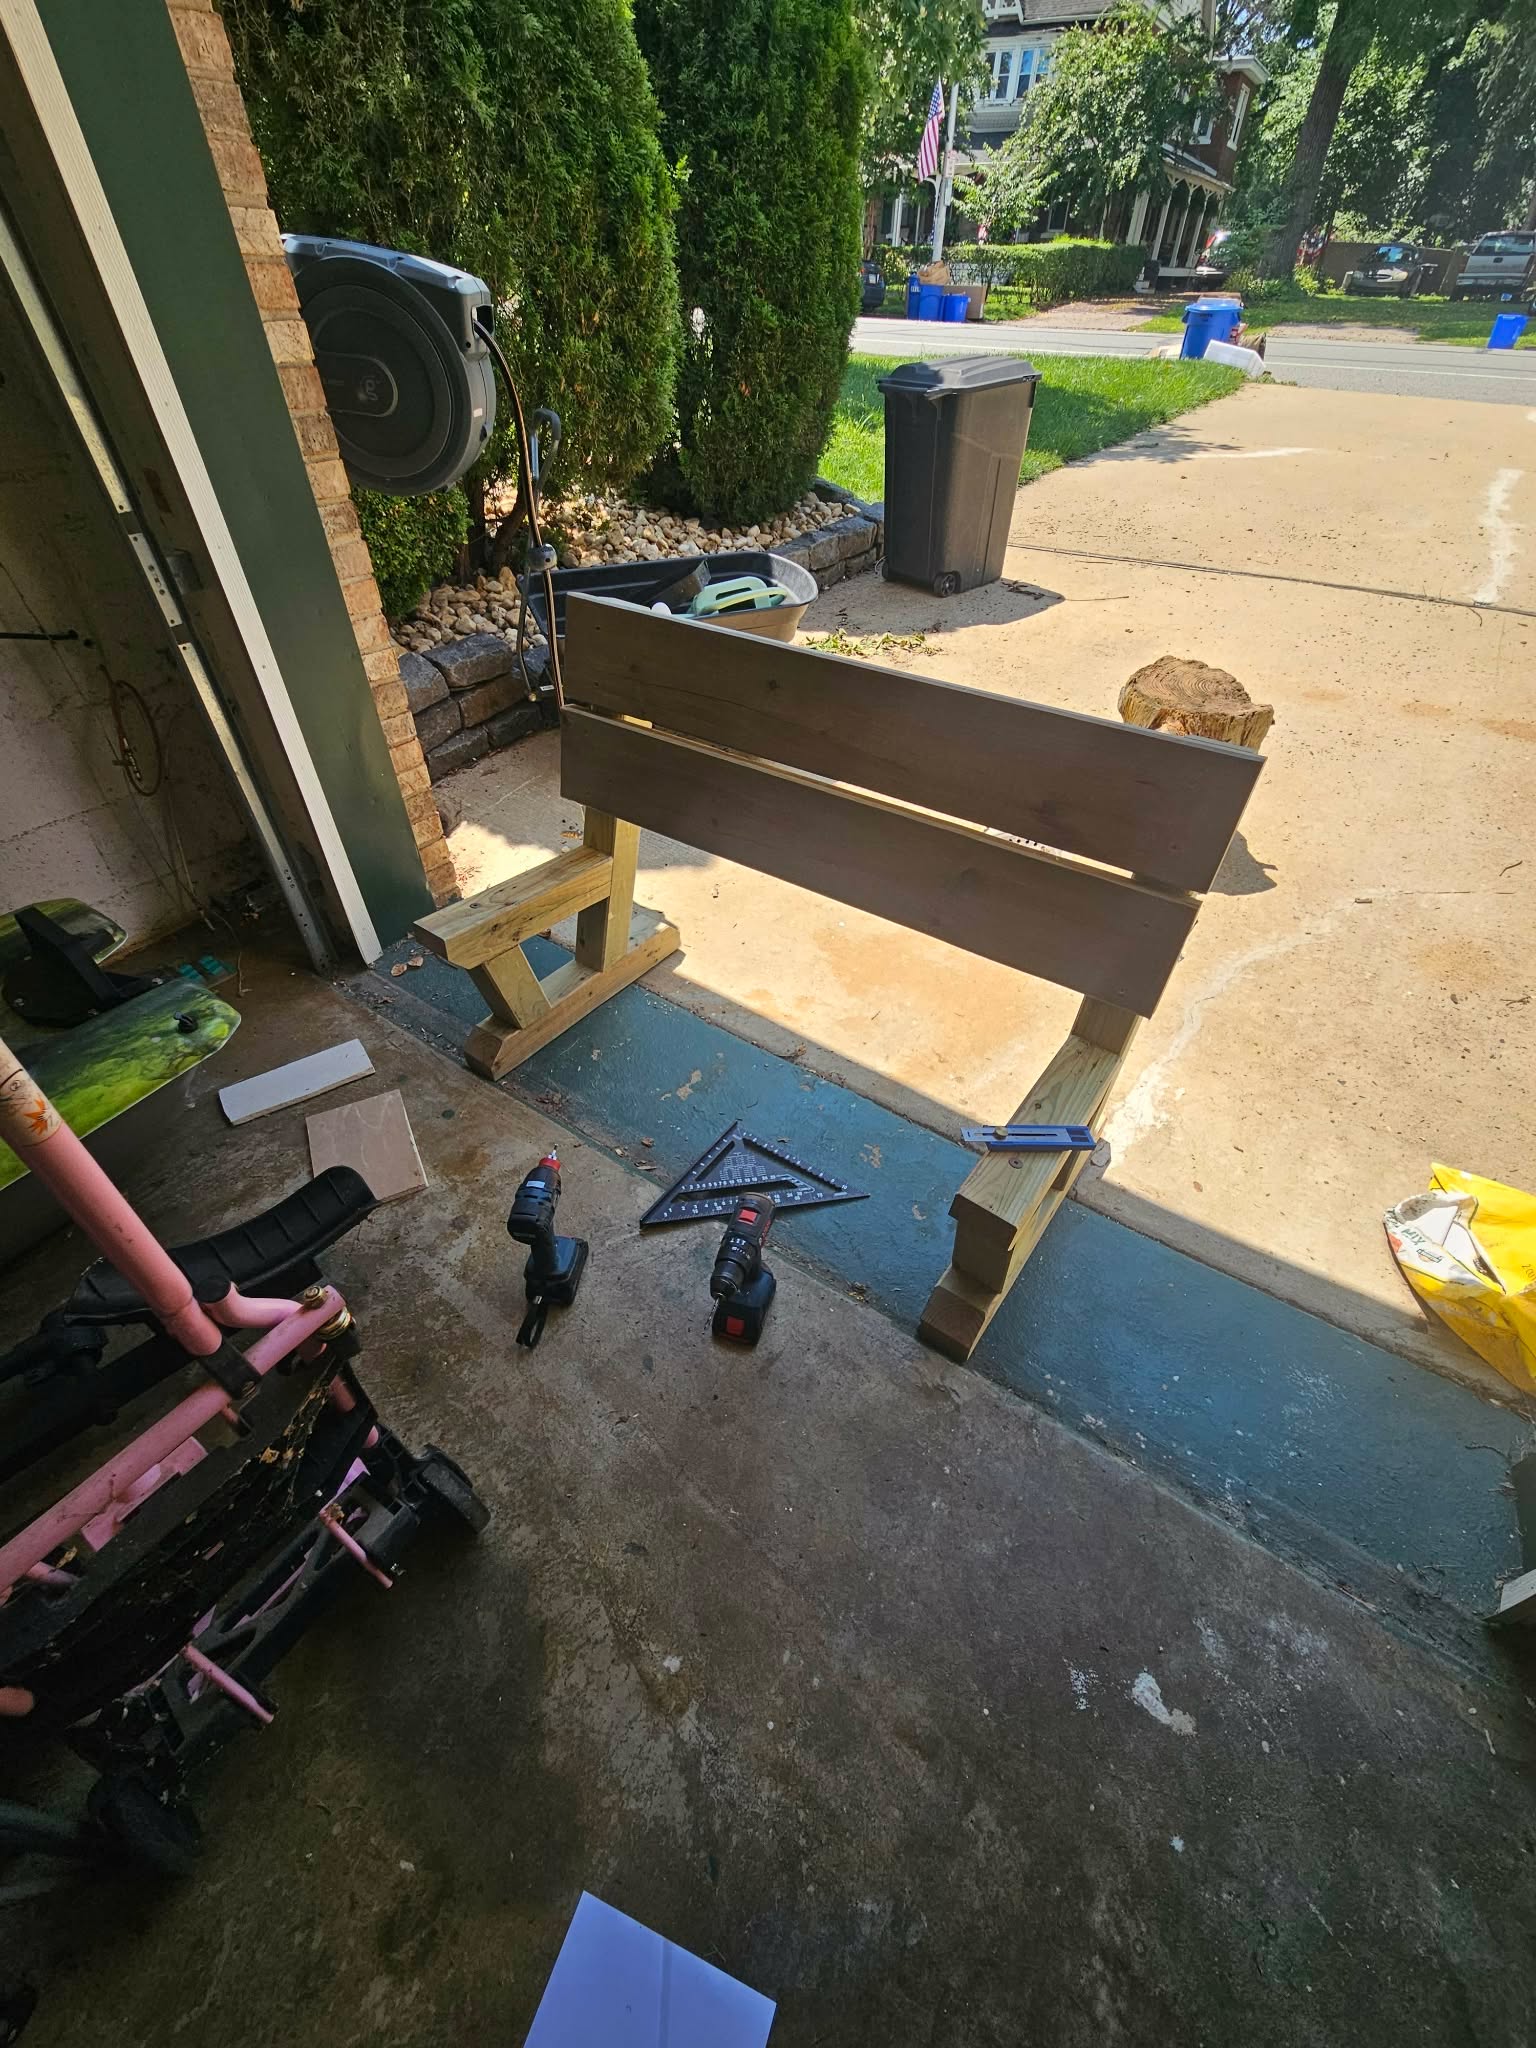
By the time both sides and the back were joined together, the bench was standing on its own in the garage, still raw and unstained. It already looked like a bench, but the plain wood color told everyone it was not finished yet.
10. Stained, finished, and sitting where it belongs
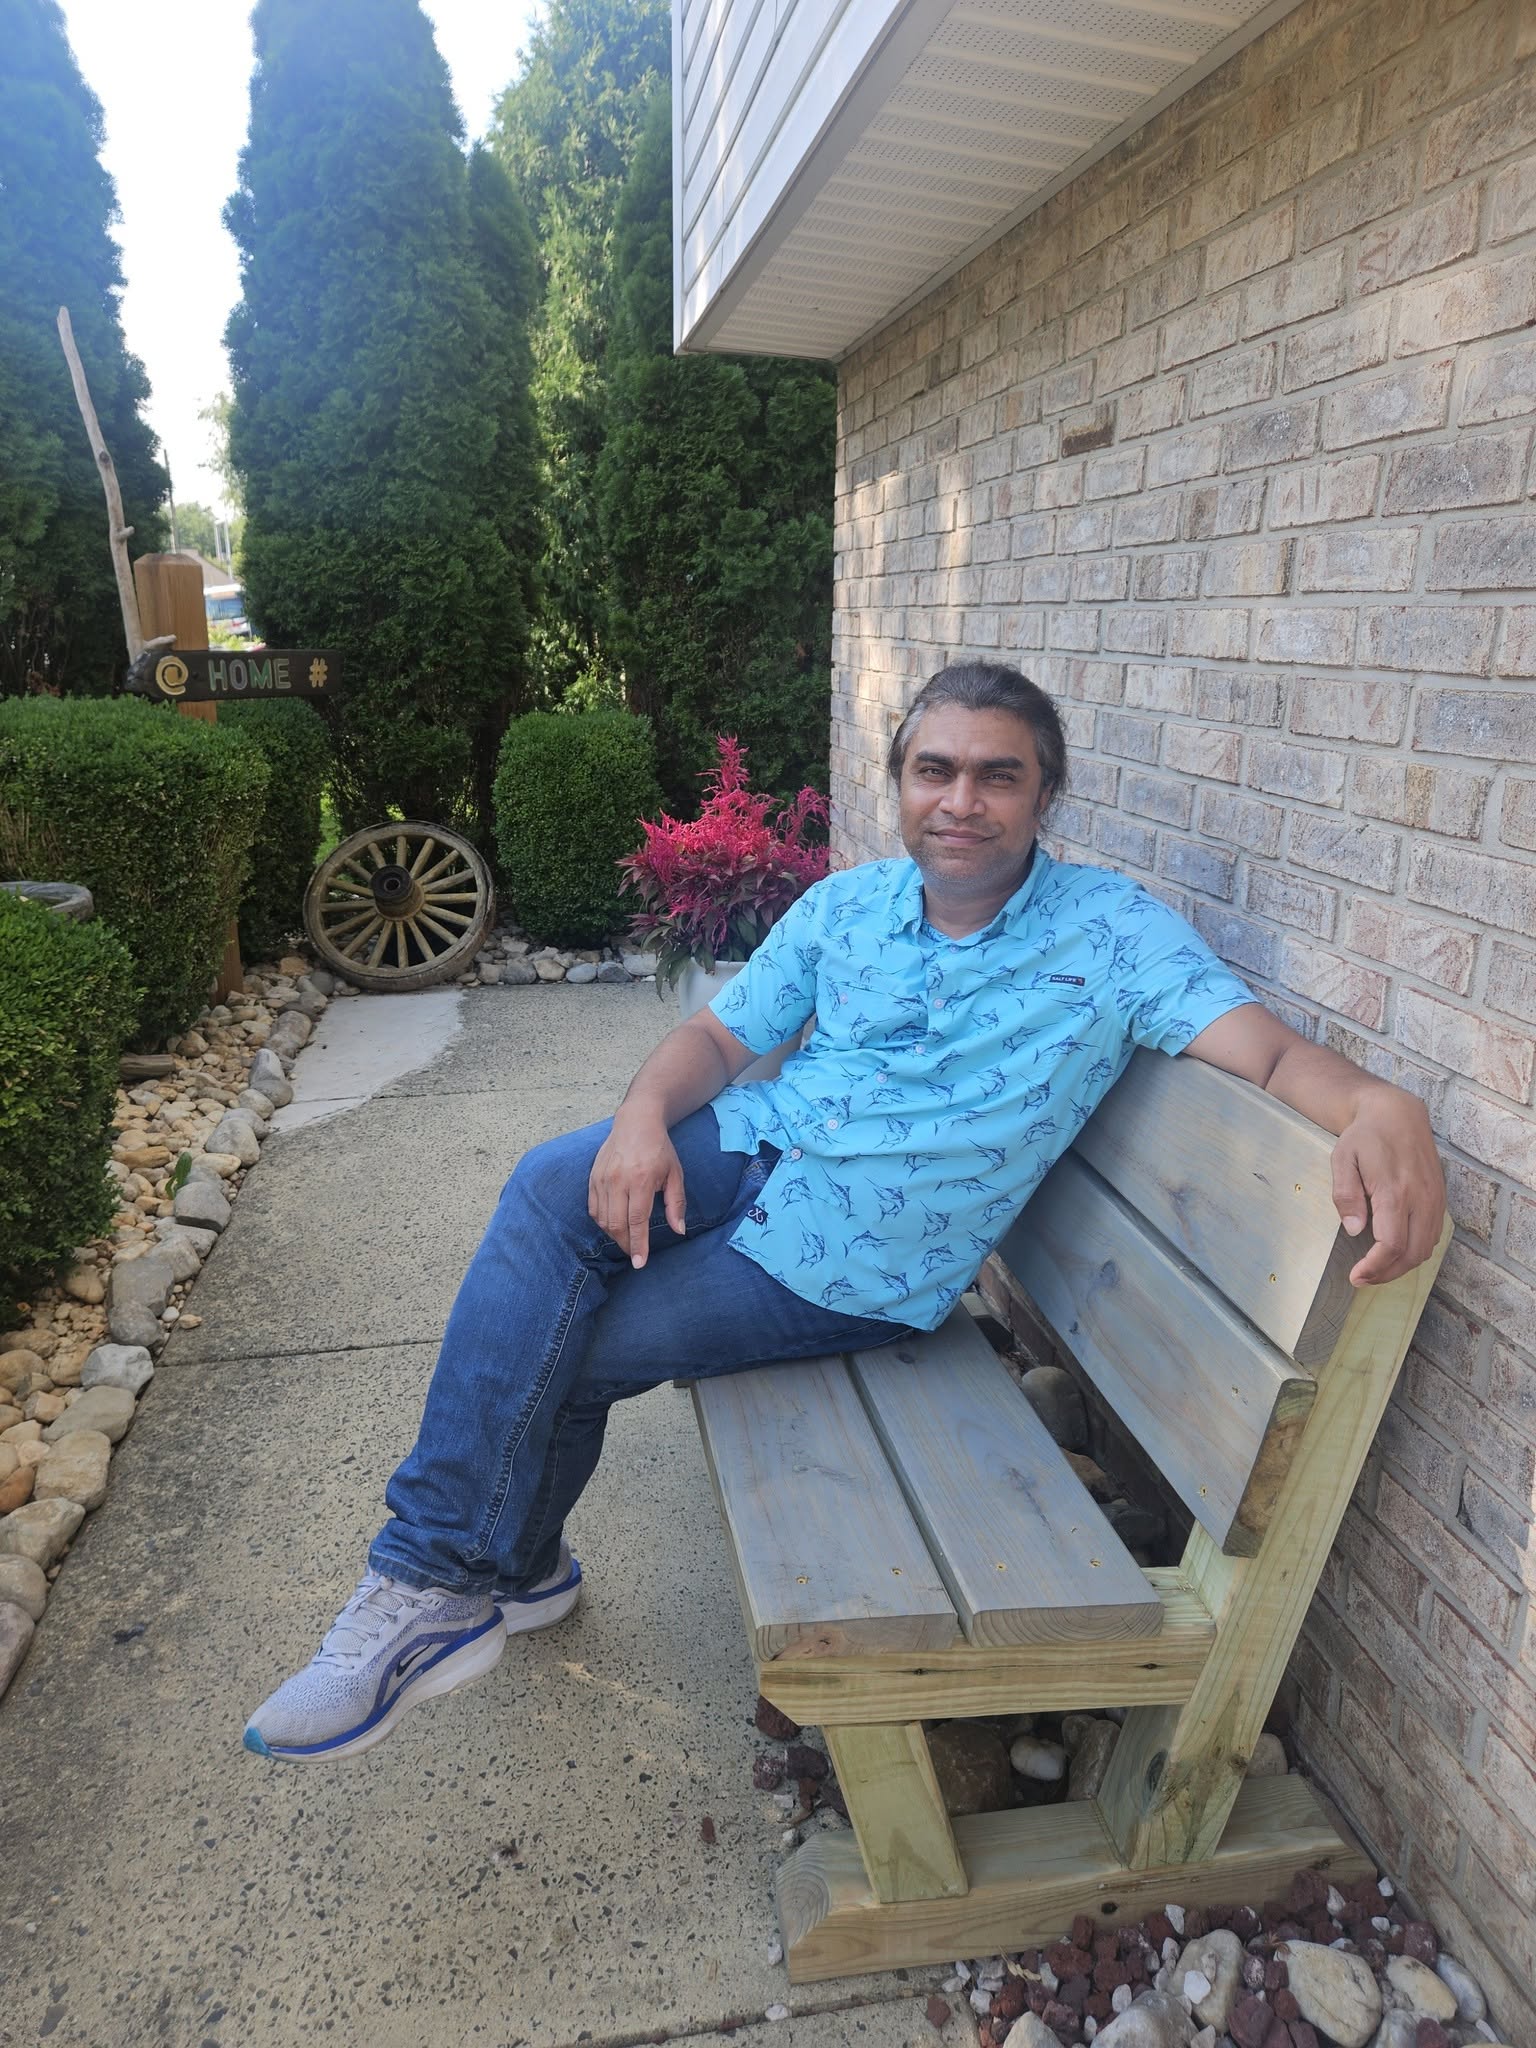
After the stain dried, I carried the bench to the spot I had been picturing all summer, right against the brick wall next to the garden. I sat down on it the same day. Summer was almost over, but I did not let this one slip to next year — and that feels as good as the bench itself.